
Setting Up Your Computer to Record Voiceover
(p. 137)
Â
Controls in the Voice Over Tool
(p. 141)
Â
Defining the Recording Duration and Destination Track
(p. 145)
Â
Recording a Voiceover
(p. 149)
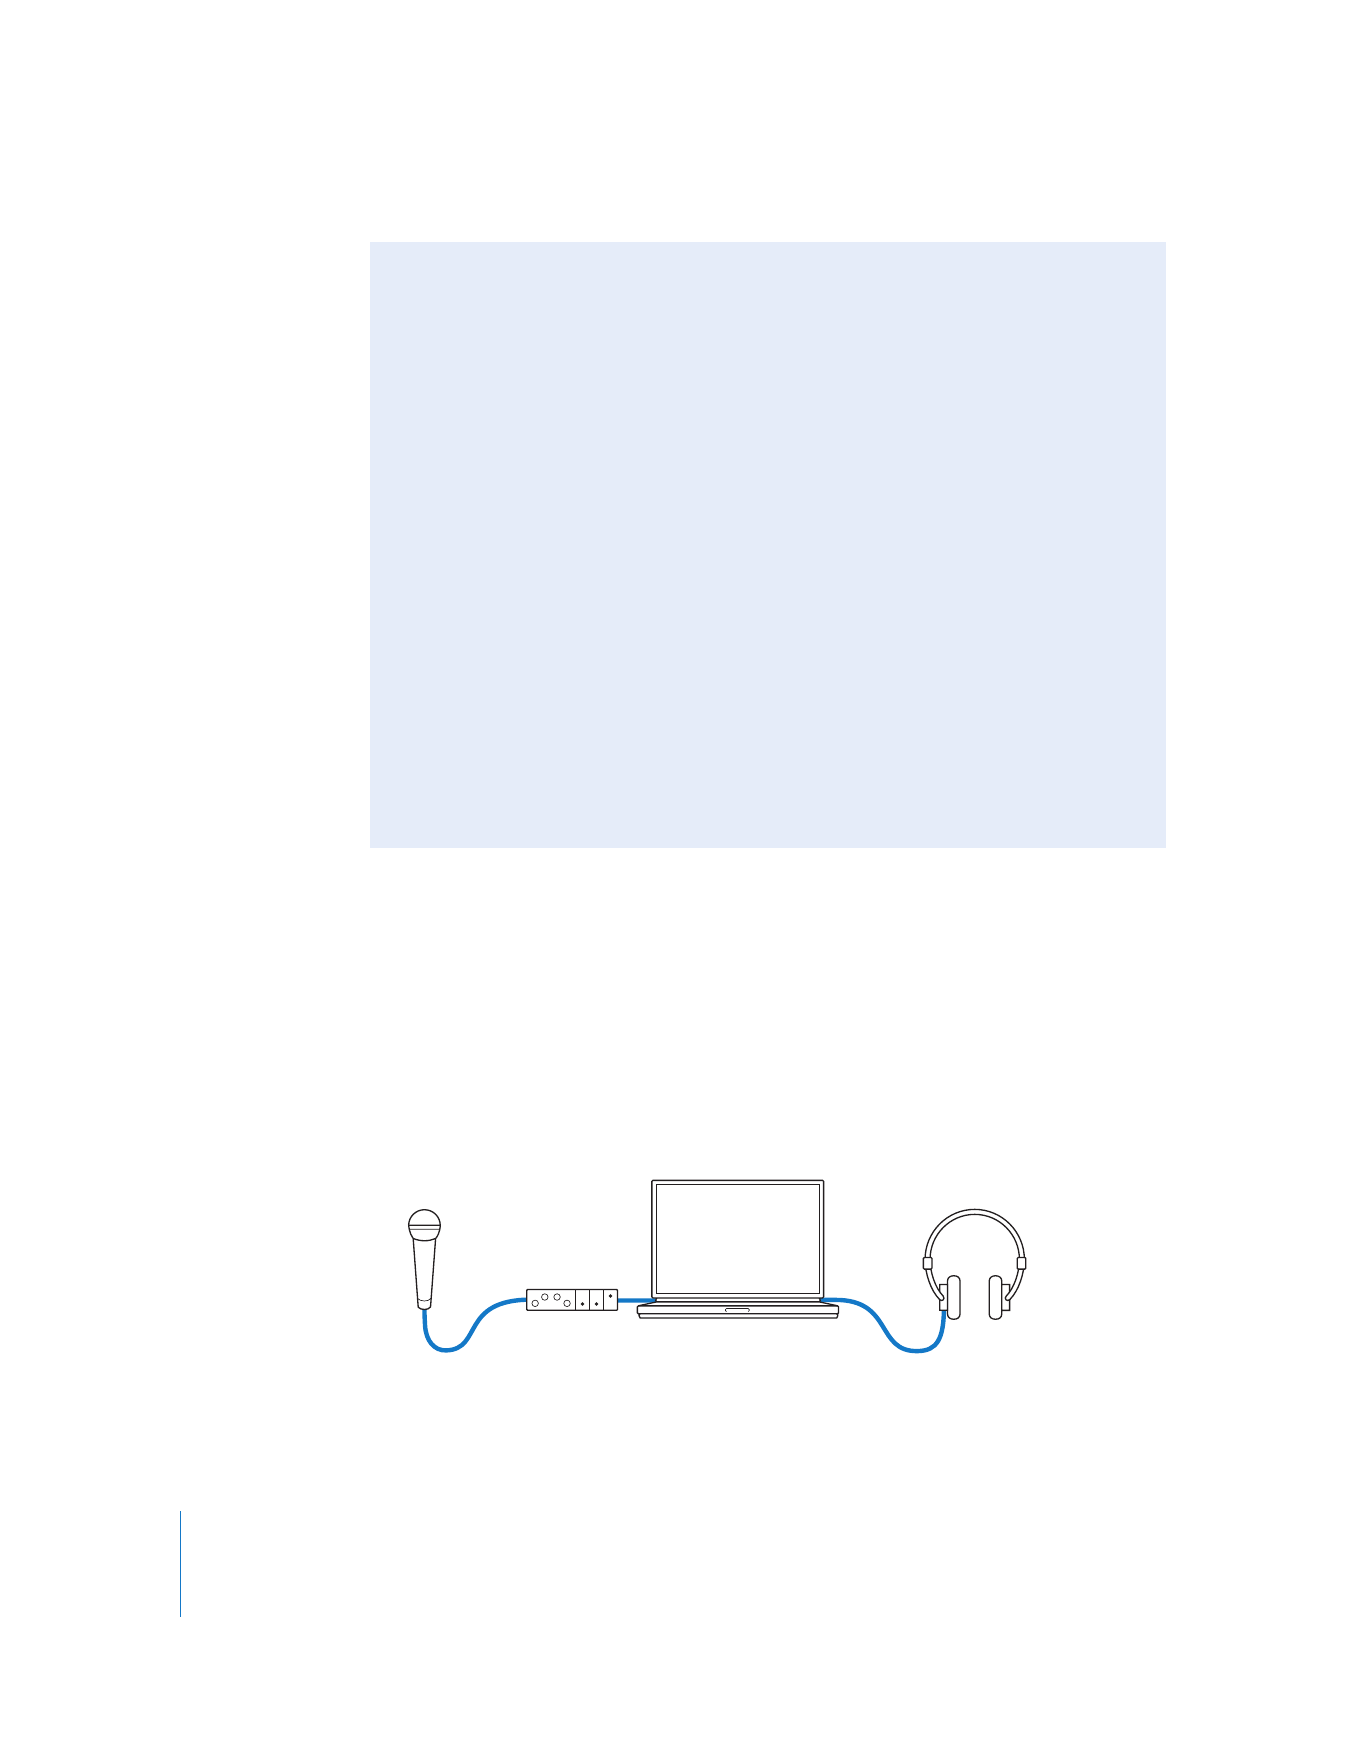
About the Voice Over Tool
The Voice Over tool records directly to an audio track in the Timeline between the
sequence In and Out points. To get audio into Final Cut Pro, you can use any Mac OS X–
compatible audio interface connected to your computer’s PCI slot, FireWire port, or USB
port. You can also use the built-in audio input on your computer. While you record, you
can monitor the sequence audio using the selected playback audio device. For more
information about selecting an audio device for output, see “
Configuring External
Audio Monitors
” on page 50.
Setting Up Your Computer to Record Voiceover
You can set up your computer to use the Voice Over tool in a studio, or you can set up
a portable computer so you can record in the field.
138
Part I
Audio Mixing
Connecting Audio Devices and Configuring Software
Setting up your computer to record voiceover involves several steps.
Step 1:
Install or connect an audio interface
An audio interface can be your computer’s built-in audio port, a PCI audio card, a USB
audio device, or a DV camcorder connected via FireWire. Regardless of which audio
interface you use, it must be compatible with Mac OS X. Once your recording device is
connected, the Voice Over tool automatically detects it and adds it to the list of devices
in the Source pop-up menu. (If you connect a USB audio device, it can take up to
10 seconds for Final Cut Pro to detect it.)