Adjusting and Deleting Keyframes
After you add keyframes to a parameter, you can adjust keyframes to produce the effect
you want. You can modify individual keyframes, interpolated values between keyframes,
or all keyframes at one time. You can also move and delete keyframes at any time.
To adjust the value of a single keyframe, do one of the following:
m
Move the playhead to the keyframe you want to adjust, then drag the appropriate
parameter control to a new value.
m
Move the playhead to the keyframe you want to adjust, type a new value in the
appropriate parameter’s number field, then press Return.
m
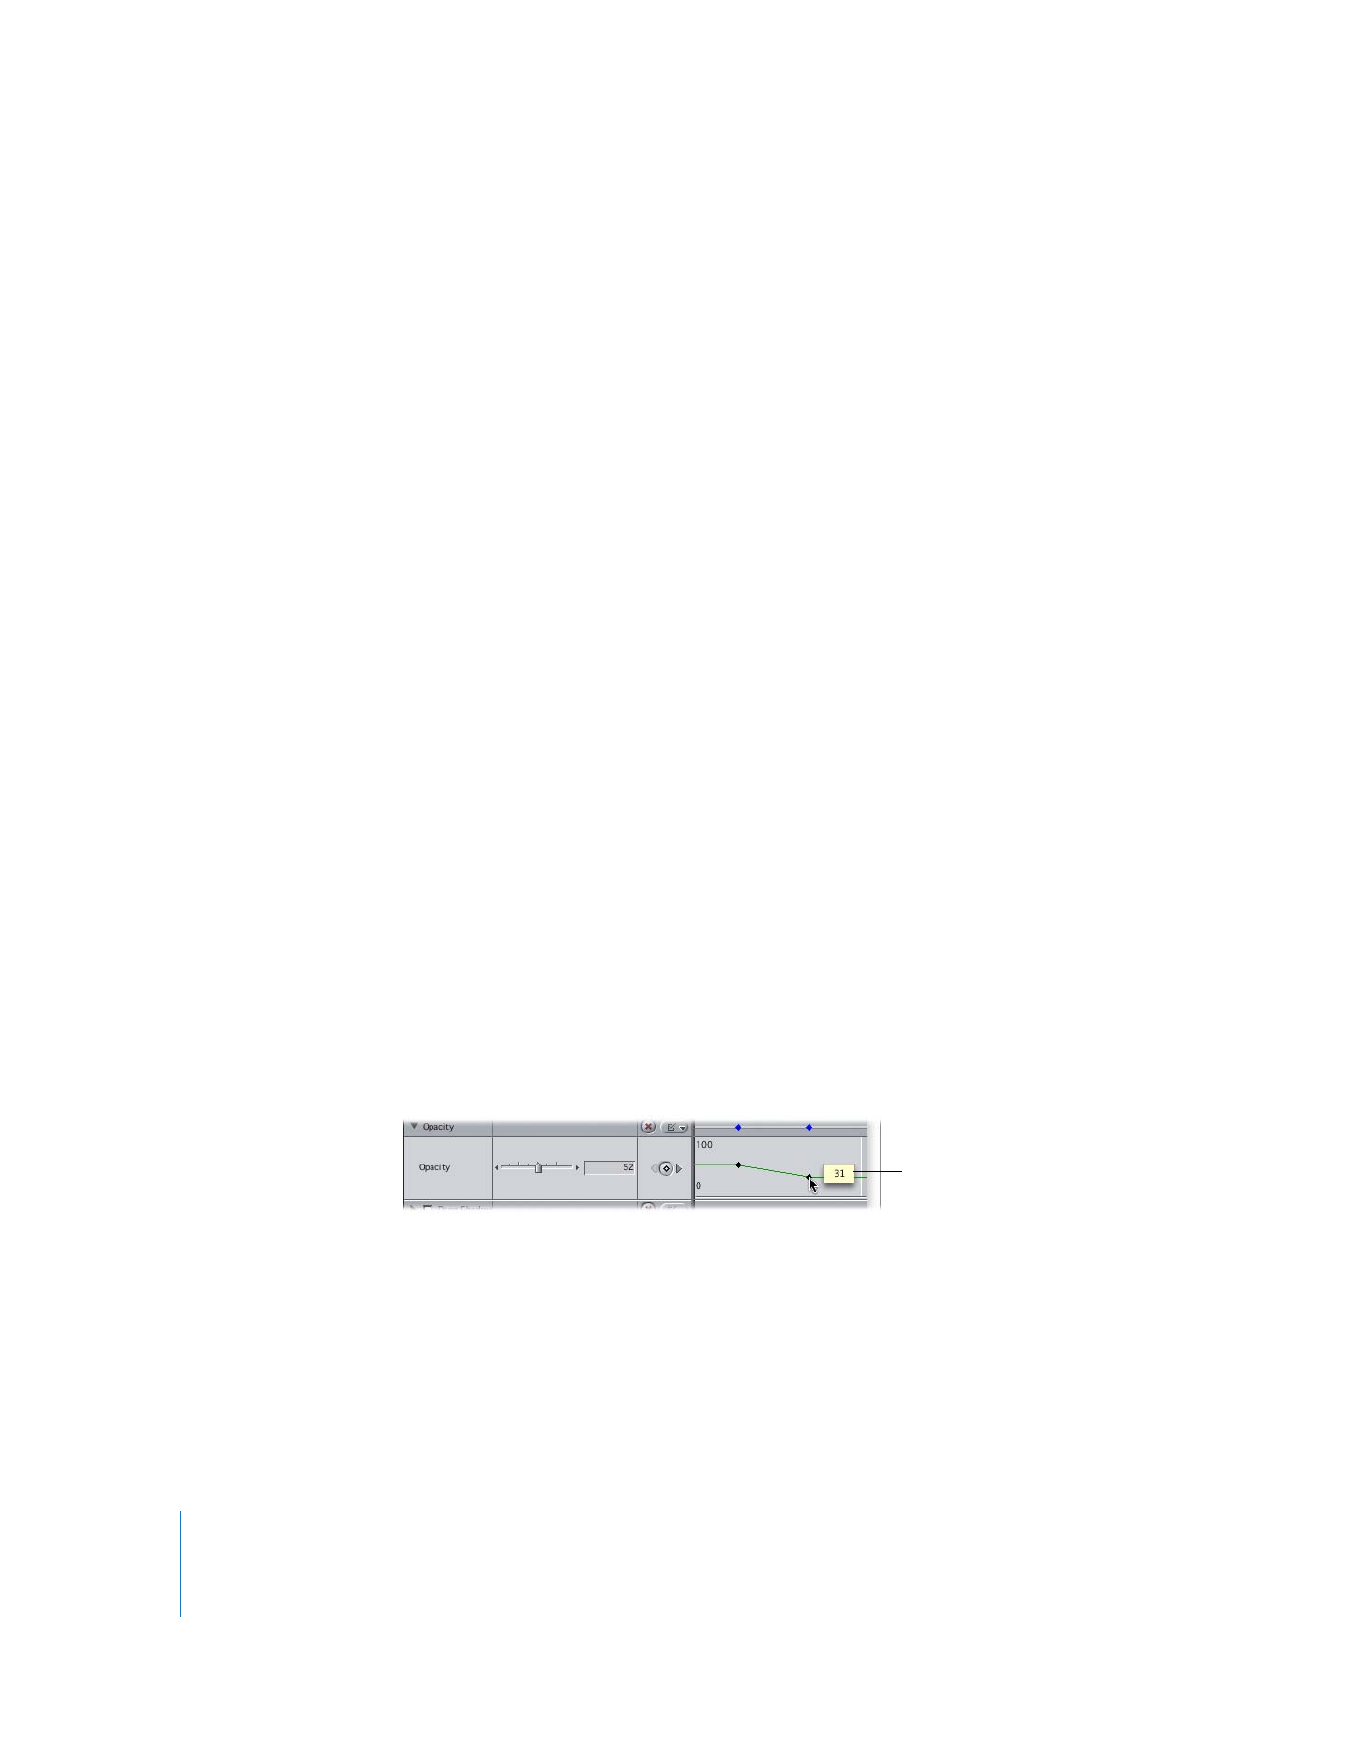
Move the pointer over the keyframe you want to modify (it becomes a crosshair), then
drag the keyframe up or down.
 To raise the keyframe’s value: Drag the keyframe up.
 To lower the keyframe’s value: Drag the keyframe down.
As you drag, a box
shows the new value
of the keyframe.

Chapter 15
Adjusting Parameters for Keyframed Effects
297
II
To adjust a parameter value between two keyframes:
m
Move the pointer over the section of the parameter’s keyframe graph line between the
two keyframes (the pointer turns into the Adjust Line Segment pointer), then drag that
area up or down to modify it.
Note: The keyframes on either side of the adjusted section are changed simultaneously.
To adjust the values of an entire parameter with all keyframes simultaneously:
1
Press and hold down the Shift key, then move the pointer over a parameter’s keyframe
graph line (the pointer turns into the Adjust Line Segment pointer).
2
Drag the parameter’s keyframe graph line up or down to change the value.
As you drag, a box displays the new values for the overlay.
Note: This method changes the values for that parameter over the course of your entire
clip, keeping the relative shape of the keyframes and interpolated values intact.
To move a keyframe forward or backward in time:
m
Position the pointer over the keyframe you want to move (the pointer turns into a
crosshair), then drag the keyframe forward (right) or backward (left).
As you drag, a box shows the timecode duration of the change you’re making.
To delete a keyframe, do one of the following:
m
Move the playhead to the keyframe you want to remove, then click the keyframe
button for the corresponding parameter.
m
Position the pointer over the keyframe you want to remove (the pointer turns into a
crosshair), then drag the keyframe out of the keyframe graph area. When the pointer
turns into a small trash can, release the mouse button.
m
Press and hold down the Option key, position the pointer over the keyframe you want
to remove (the pointer turns into the Pen Delete tool), then click the keyframe.
Note: This is also a good way to delete keyframes directly in the opacity and level
overlays of a clip in the Timeline.
Drag the area up or down
to adjust a section.
298
Part II
Effects
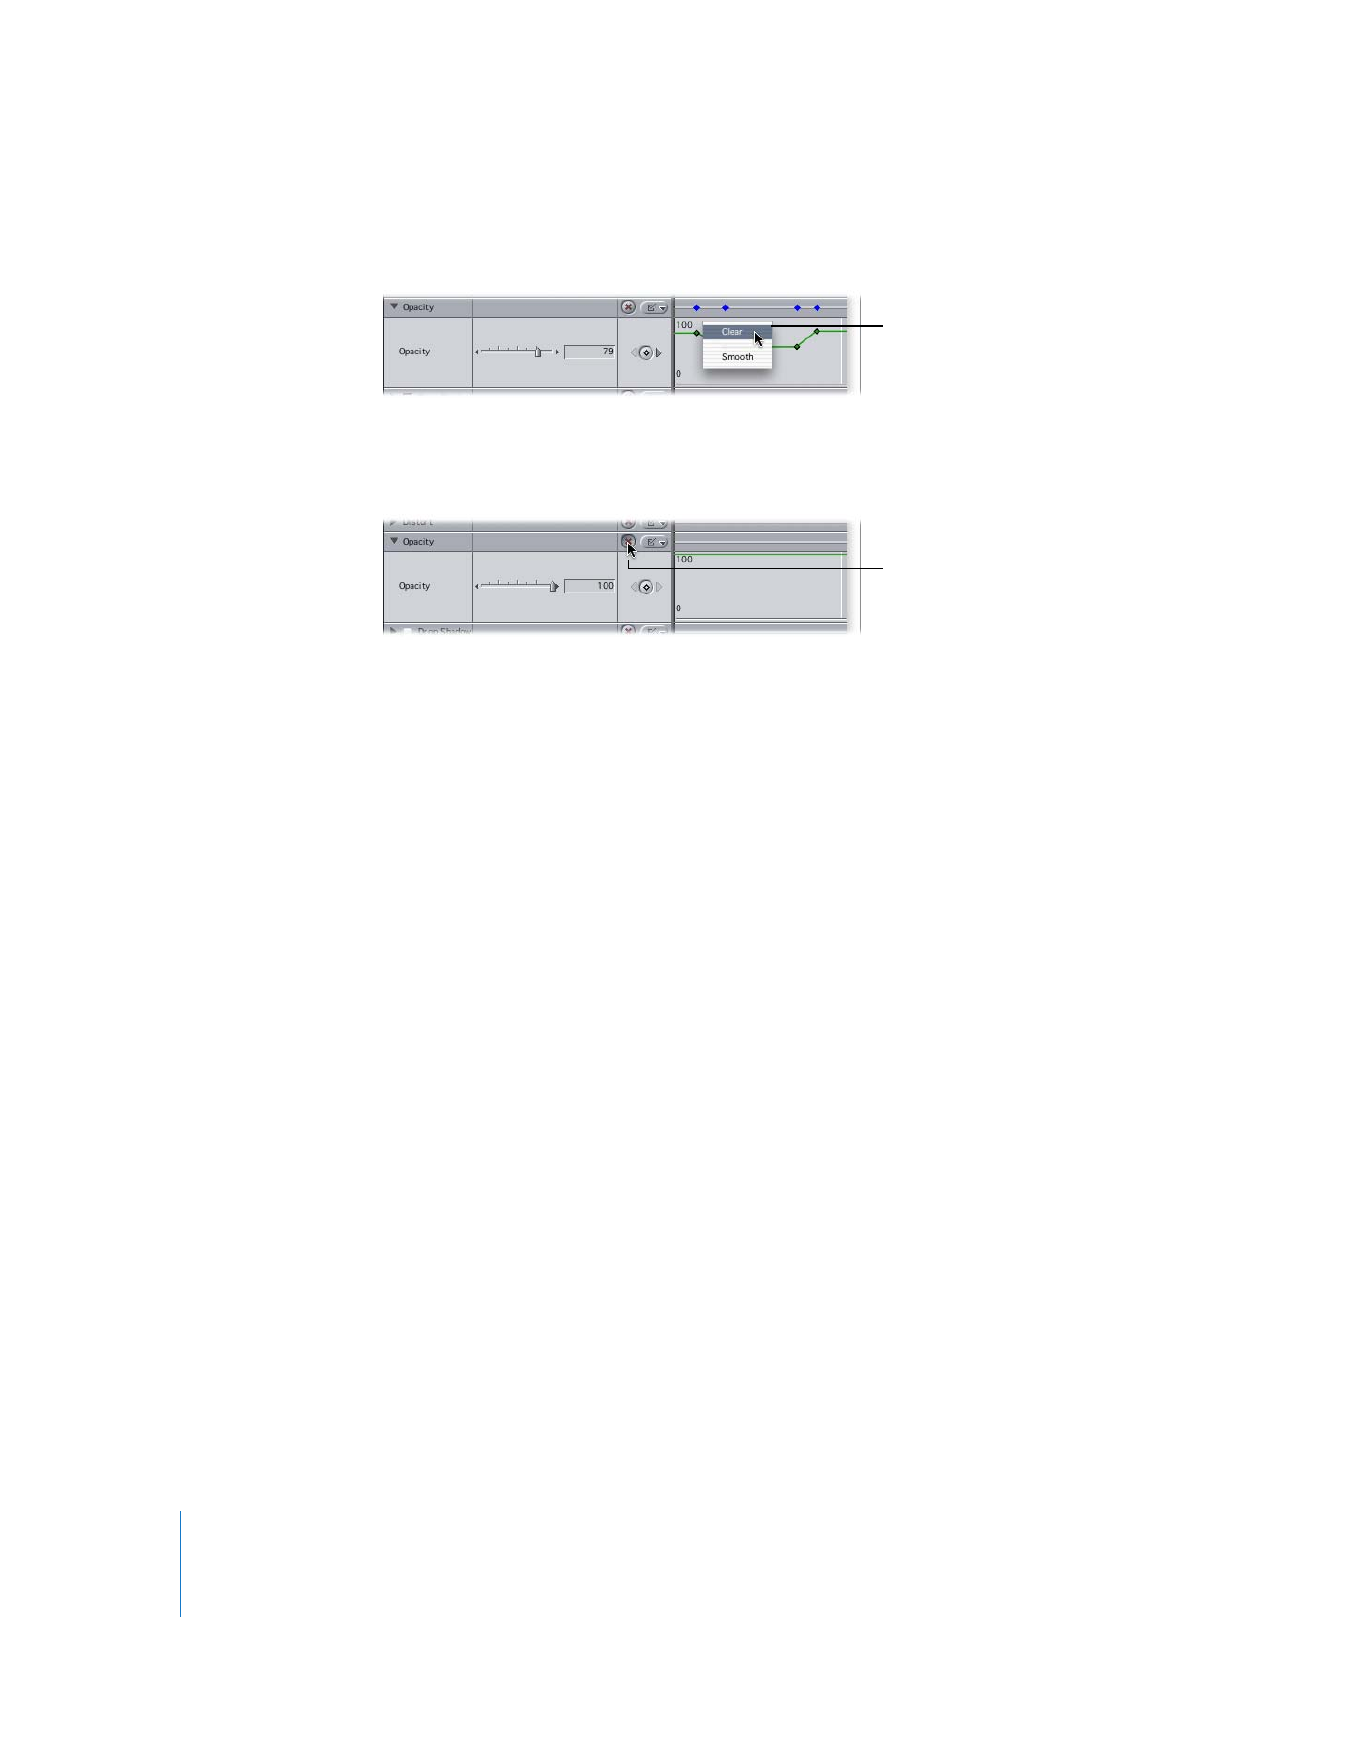
m
Control-click the keyframe you want to remove, then choose Clear from the shortcut menu.
To delete keyframes for all of an attribute’s parameters:
m
Click the Reset button for the appropriate attribute.