Example: Using Keyframes to Make Opacity Changes
This example illustrates how you can use Final Cut Pro to dynamically adjust opacity
over time to create sophisticated multilayer effects. You’ll layer two clips and adjust a
clip’s opacity over time. The topmost clip fades in, appears superimposed above the
other clip for a few seconds, and then fades up (nearly obscuring the underlying
image) before fading away completely.
Zoom control
Chapter 15
Adjusting Parameters for Keyframed Effects
303
II
1
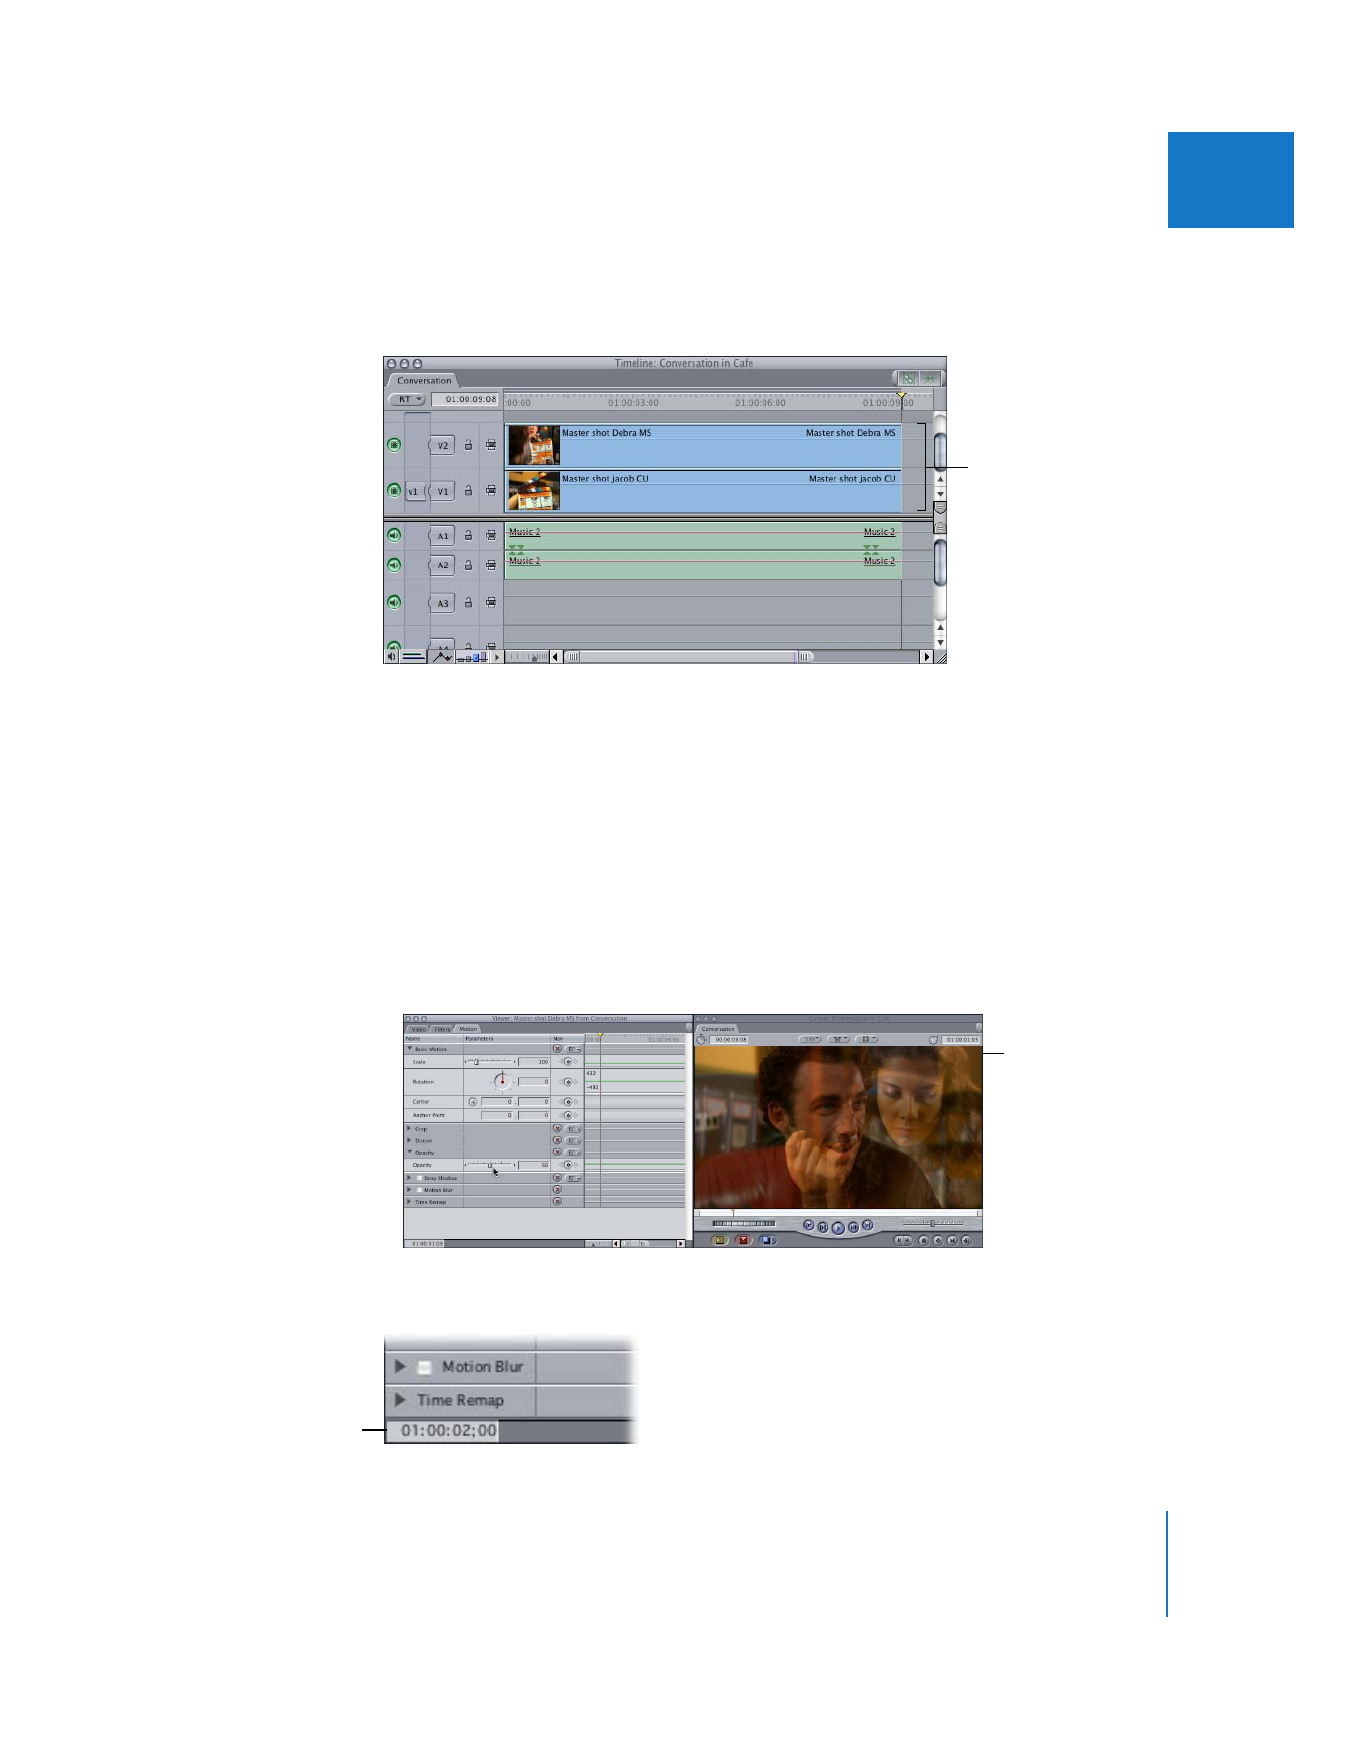
Edit two clips of equal duration into your sequence, each on its own video track.
Note: The clip you want to appear in front should be placed on track V2; the other clip
should be placed on track V1.
2
Open the clip on track V2 in the Viewer, then click the Motion tab.
3
Click the disclosure triangle for the Opacity parameter to reveal its keyframe graph line
in the keyframe graph area.
4
To adjust the opacity of the entire clip, do one of the following:
 Drag the Opacity slider to the left until the value in the number field reads “50.”
 Type “50” in the Opacity number field, then press Return.
 Position the pointer over the Opacity keyframe graph line in the keyframe graph
area; when the pointer turns into the Adjust Line Segment pointer, drag down until
the value in the number field reads “50”.
5
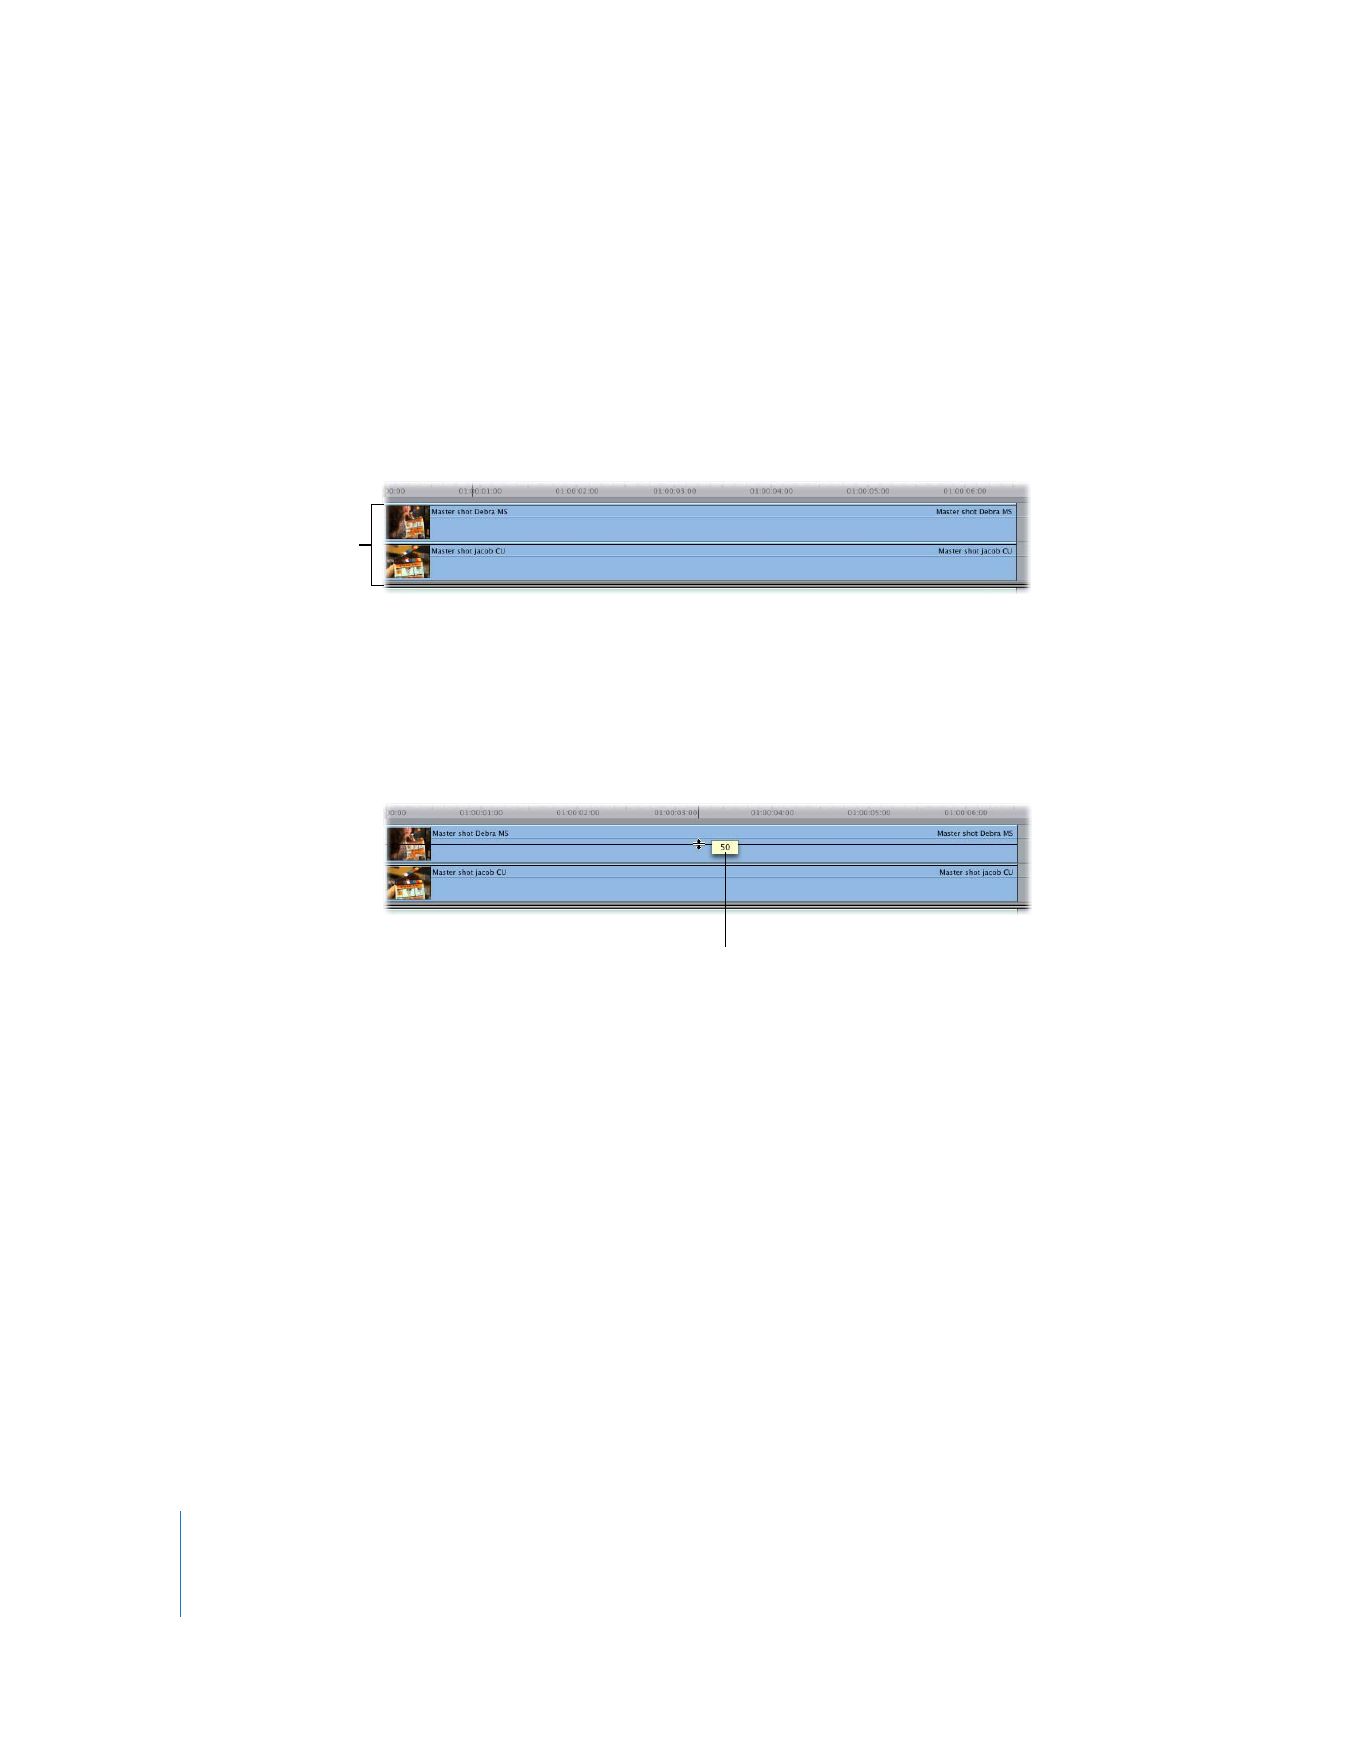
In the Current Timecode field of the Viewer, enter “01:00:02:00” to move the playhead.
Layer the clips, with one
clip on track V1 and the
other superimposed on
track V2.
The image in the
Canvas now shows
both layers blended
together.
Entering the new
timecode value moves
the playhead to this
location.
304
Part II
Effects
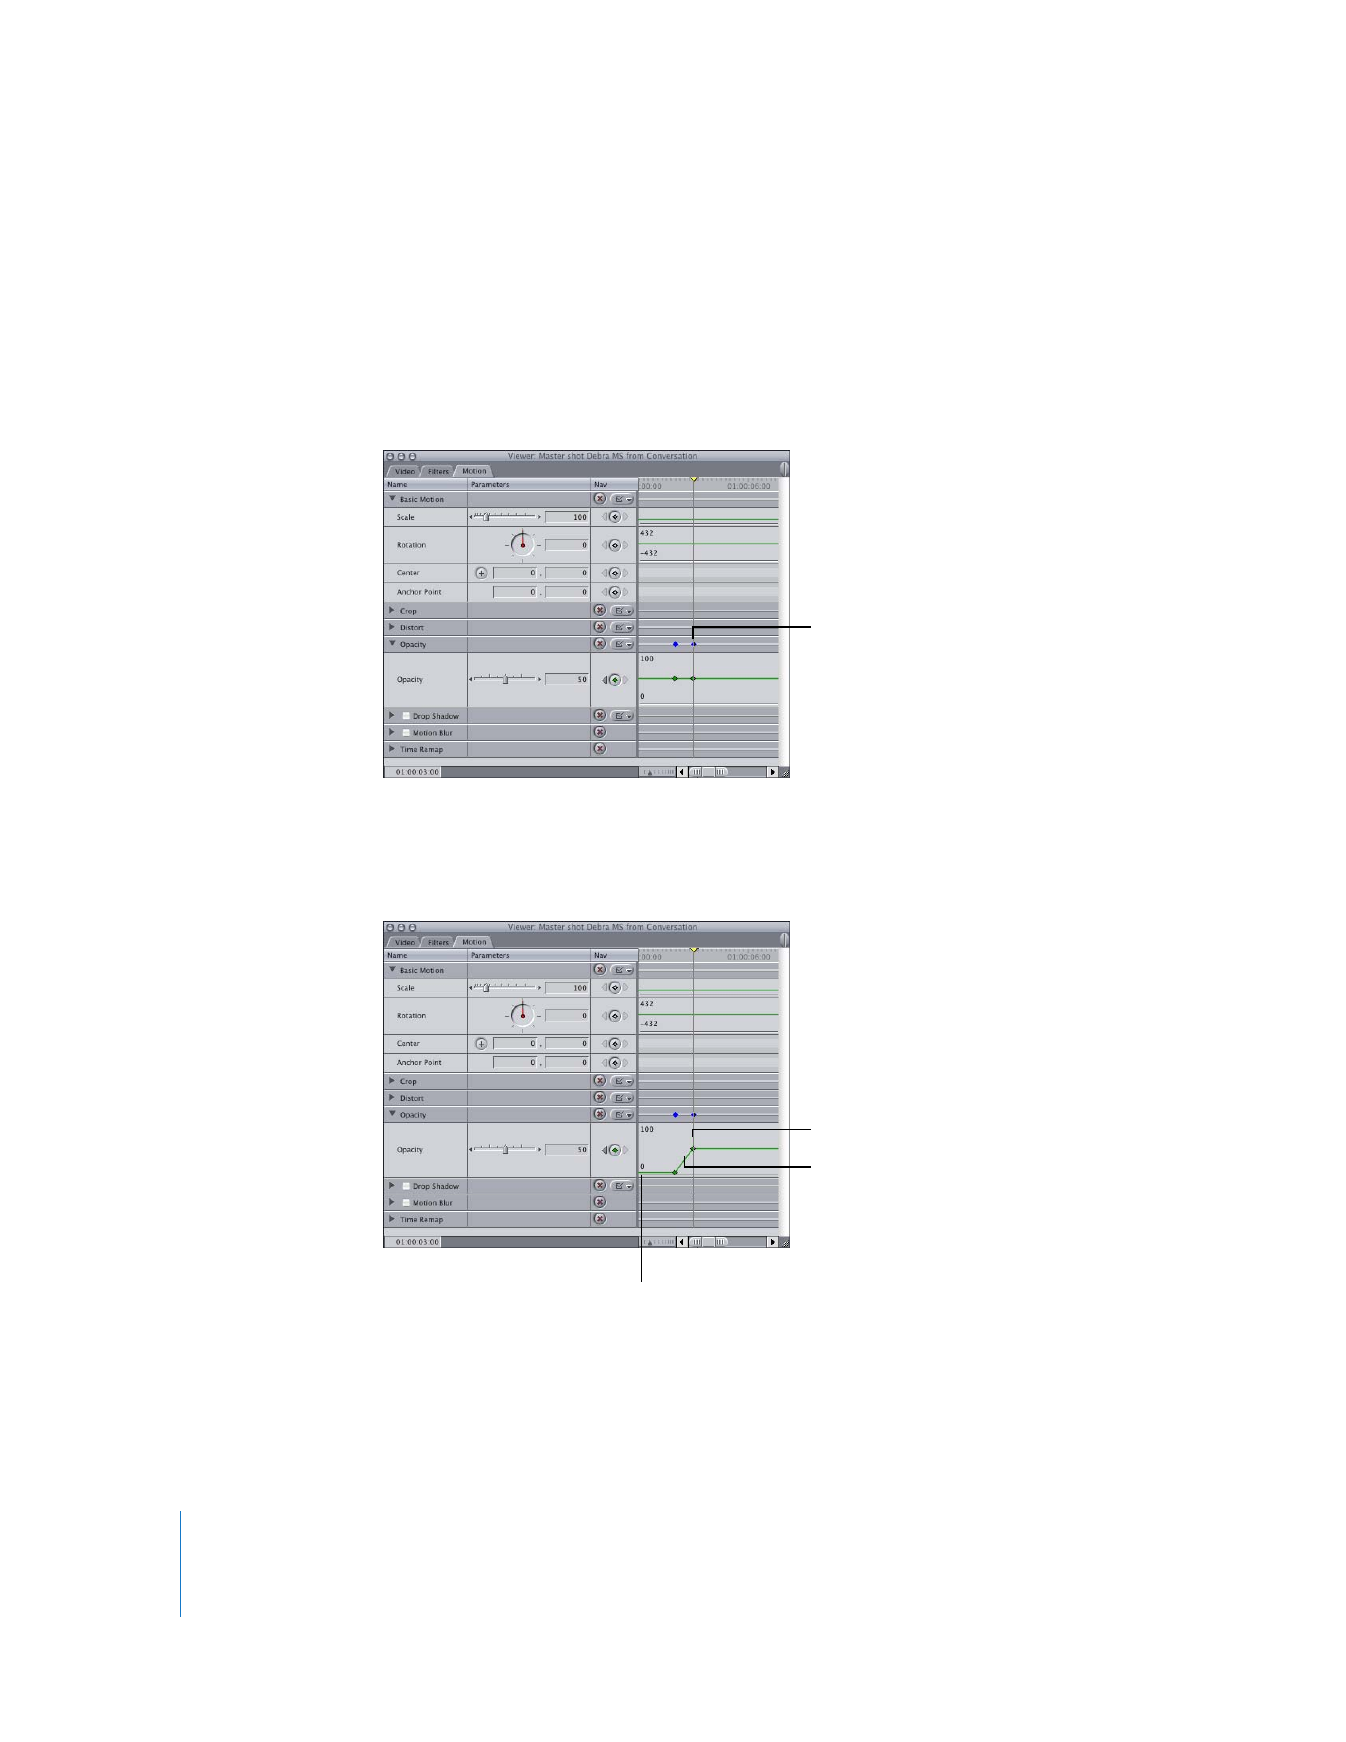
6
Click the keyframe button for the Opacity parameter to create a keyframe at the new
position of the playhead.
Because it takes at least two keyframes to create a dynamic change to a parameter over
time, you’ll need to add another keyframe.
7
Move the playhead to 01:00:03:00 on the keyframe graph ruler, then create
another keyframe.
8
In the keyframe graph area, move the pointer to the left of the two keyframes on the
Opacity keyframe graph line. When the pointer turns into the Adjust Line Segment
pointer, drag down until the number field reads “0.”
The shape you’ve given to the Opacity parameter’s keyframe graph line makes the top layer
completely invisible for the first 2 seconds of playback. Over the next second it fades up
until it reaches a total opacity of 50 percent, which looks like an even mix of both layers.
A second keyframe is
added to the Opacity
keyframe graph line.
A segment at 50 percent
opacity results in an even
mix of both layers.
The increase from
0 percent to 50 percent
causes the clip on track
V2 in the Timeline to fade
up over the clip on
track V1.
A segment at 0 percent makes
the top layer invisible for the
duration of the segment.
Chapter 15
Adjusting Parameters for Keyframed Effects
305
II
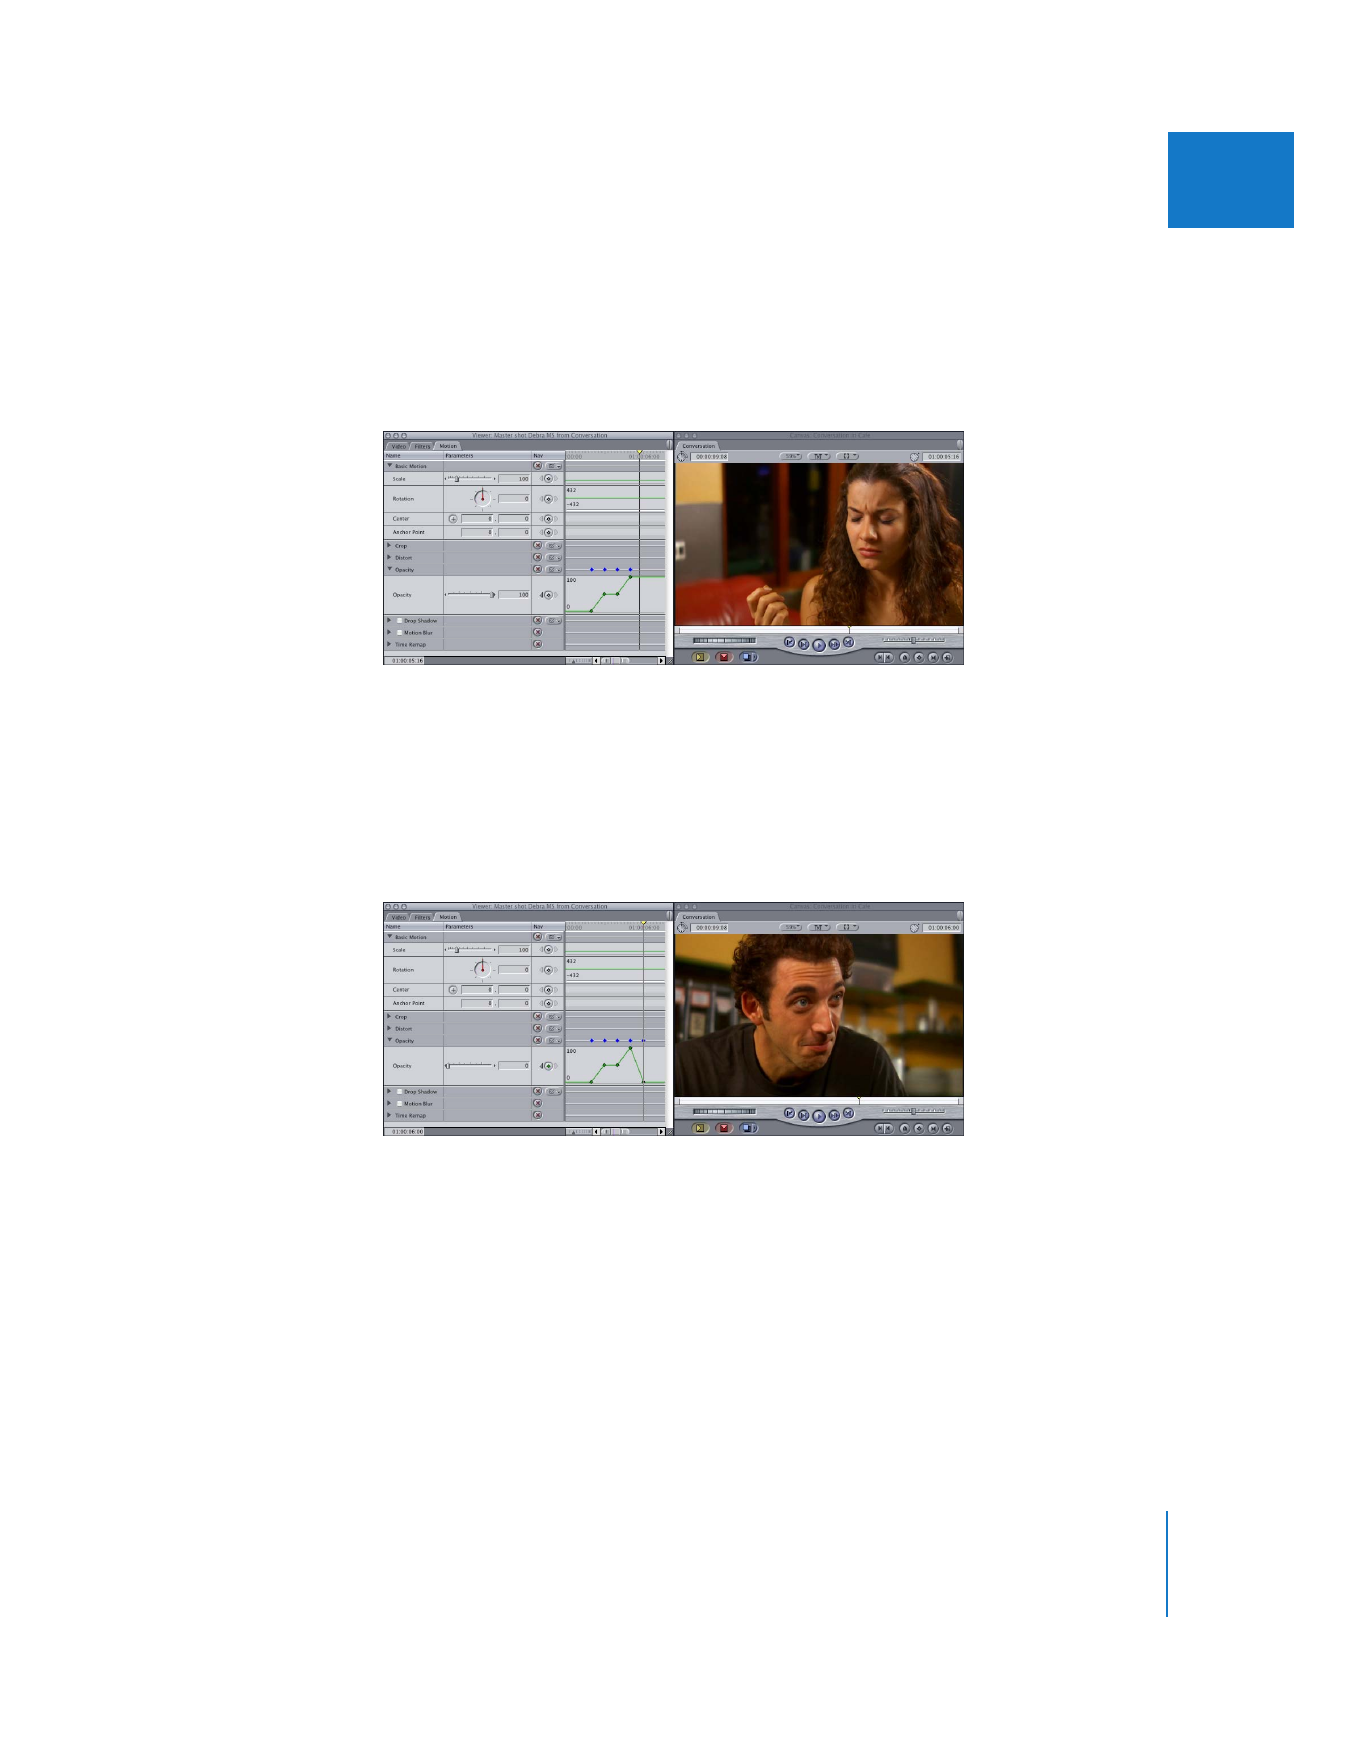
9
Move the playhead to 01:00:04:00, then add another opacity keyframe.
Because you can’t move this keyframe without causing a ramp in that segment of the
keyframe graph line, you need to add another keyframe.
10
Move the playhead to 01:00:05:00, then add another keyframe.
11
Adjust the opacity setting of this last keyframe to 100 percent.
The shape of the Opacity parameter’s keyframe graph line leaves the opacity of the top
layer at 50 percent for 1 second, and then the topmost layer fades up to 100 percent,
completely obscuring the clip on track V1.
12
To complete this sequence, fade the topmost layer out again by adding one last
keyframe. Move the playhead to 01:00:06:00, add another keyframe, then change its
opacity value to 0.
∏
Tip: You can also do the above steps using the opacity overlay in the Timeline. See the
next example for more information.
306
Part II
Effects