
How Keyframing Works
You place keyframes at specific points in a clip or sequence to change parameter values
at those points. For example, if you want the last clip in your sequence to fade to black,
you set two opacity keyframes at two different times: one with the value of 100 (fully
visible) and a second with the value of 0 (fully transparent). Final Cut Pro interpolates
the values between 100 and 0, creating a smooth fade to black.
To add keyframes to a sequence clip, you can use the Canvas or Timeline, or you can
open the clip in the Viewer. If you’re keyframing motion, you set keyframes in the
Motion tab of the Viewer; if you’re keyframing filter effects, you set keyframes in the
Filters tab of the Viewer.
Note: You can also add keyframes to master clips that are opened in the Viewer from
the Browser, but these keyframed effects accompany the clip whenever it’s edited into
a sequence.
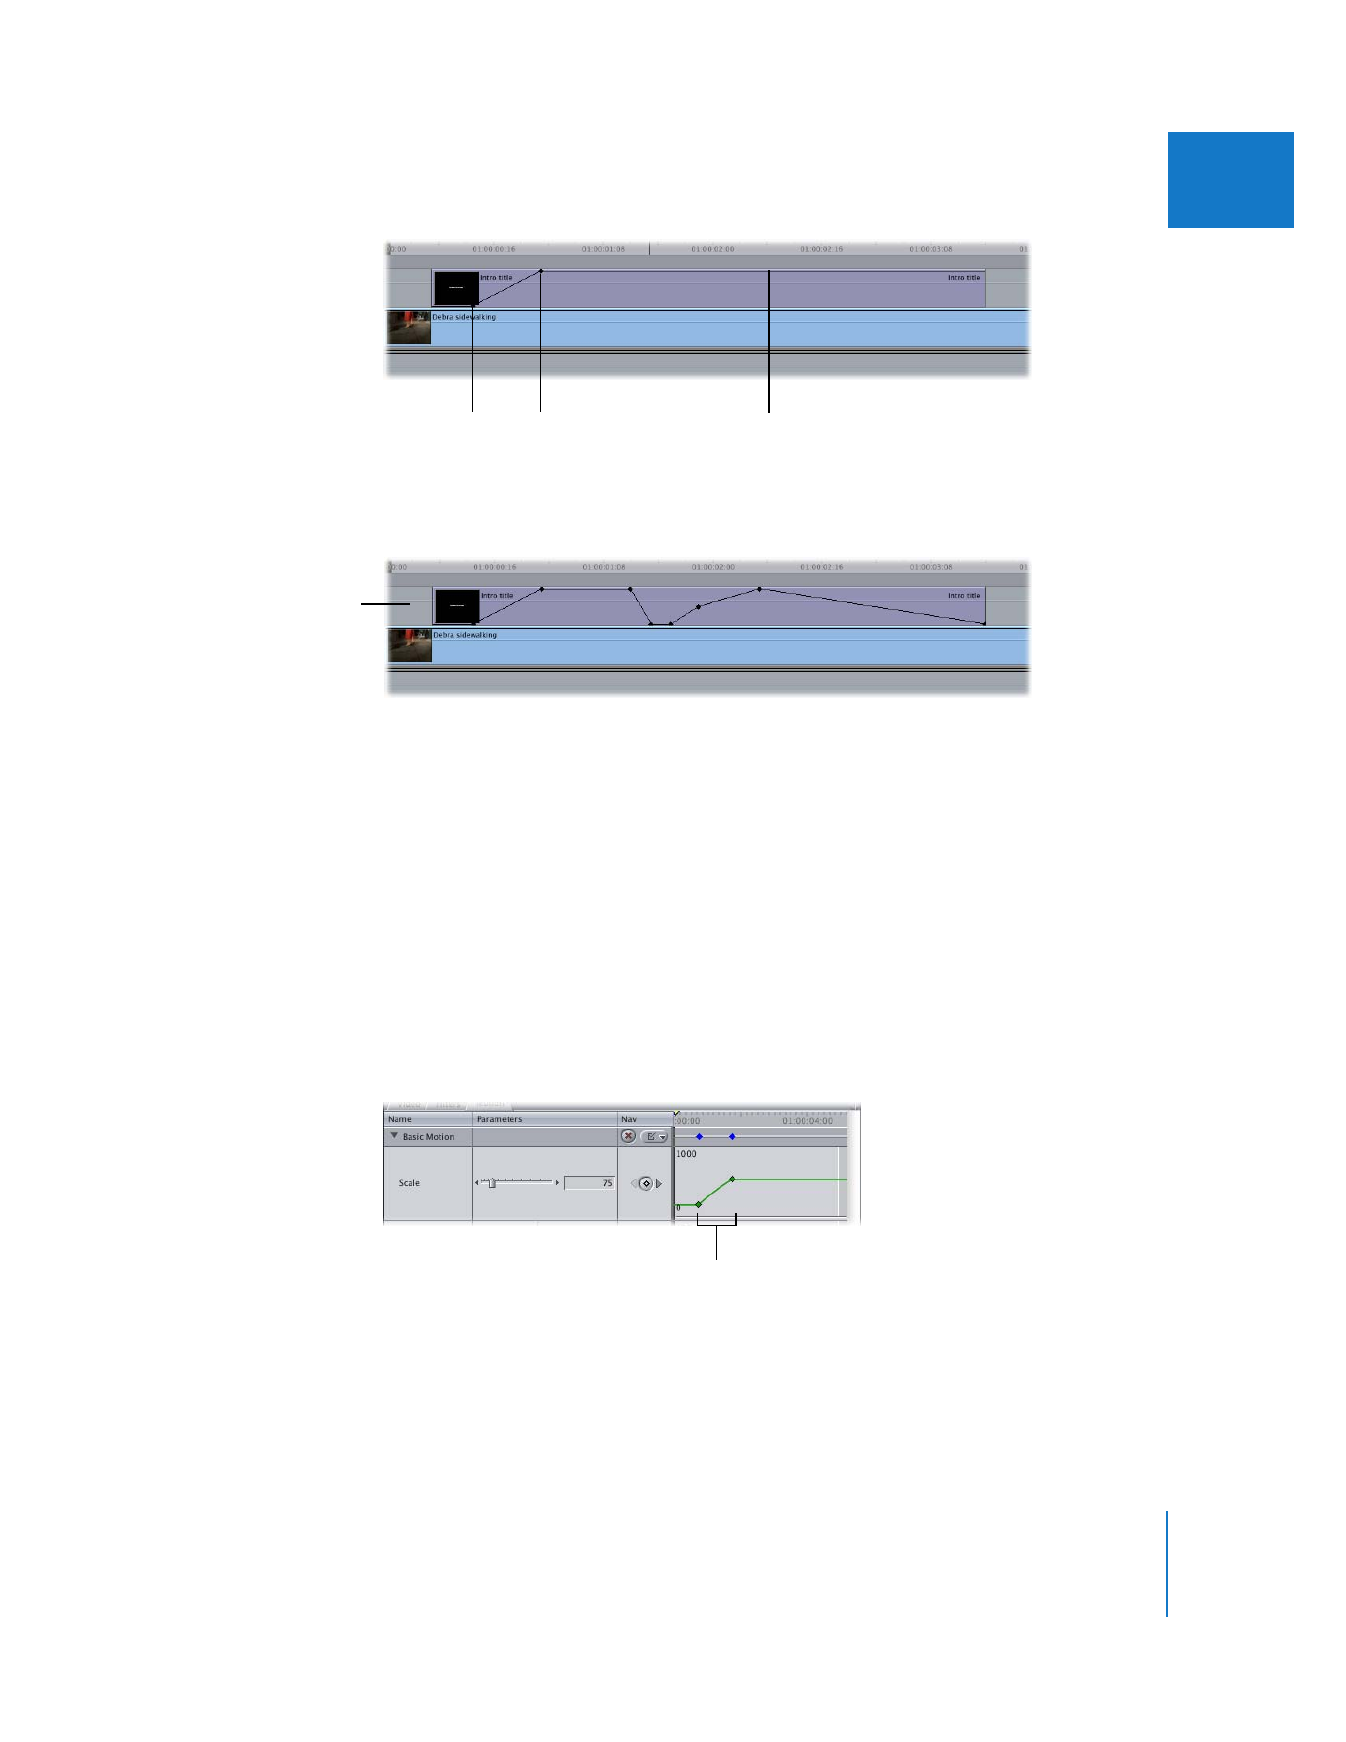
When you use two or more keyframes to change an effect over time, Final Cut Pro
automatically interpolates the values between the keyframes so that there’s a smooth
change in that parameter. For example, when you look at a clip with a change in
opacity using two keyframes, you can see the gradual change from one keyframe to
the other in the slope of the opacity overlay, as shown below in the Timeline.
Chapter 15
Adjusting Parameters for Keyframed Effects
289
II
Adding additional keyframes increases the complexity of the effect, but the area in
between each pair of keyframes in your clip is still smoothly interpolated.