Setting Keyframes
Until you create at least one keyframe for a parameter of a clip, changes you make to
that parameter affect the entire duration of the clip. Once you set the first keyframe for
a parameter, additional keyframes are generated automatically when you make any
subsequent changes to that parameter anywhere else in that clip. You generally need
to set at least two keyframes to make changes or effects that are useful or noticeable.
Note: For some parameters, you must click the parameter’s disclosure triangle to view
its keyframes in the keyframe graph area.
∏
Tip: To better adjust and view the keyframes you’re setting, you may want to zoom in
to the keyframe graph area (see “
Zooming In to the Keyframe Graph Area
” on
page 300).
To set a keyframe:
1
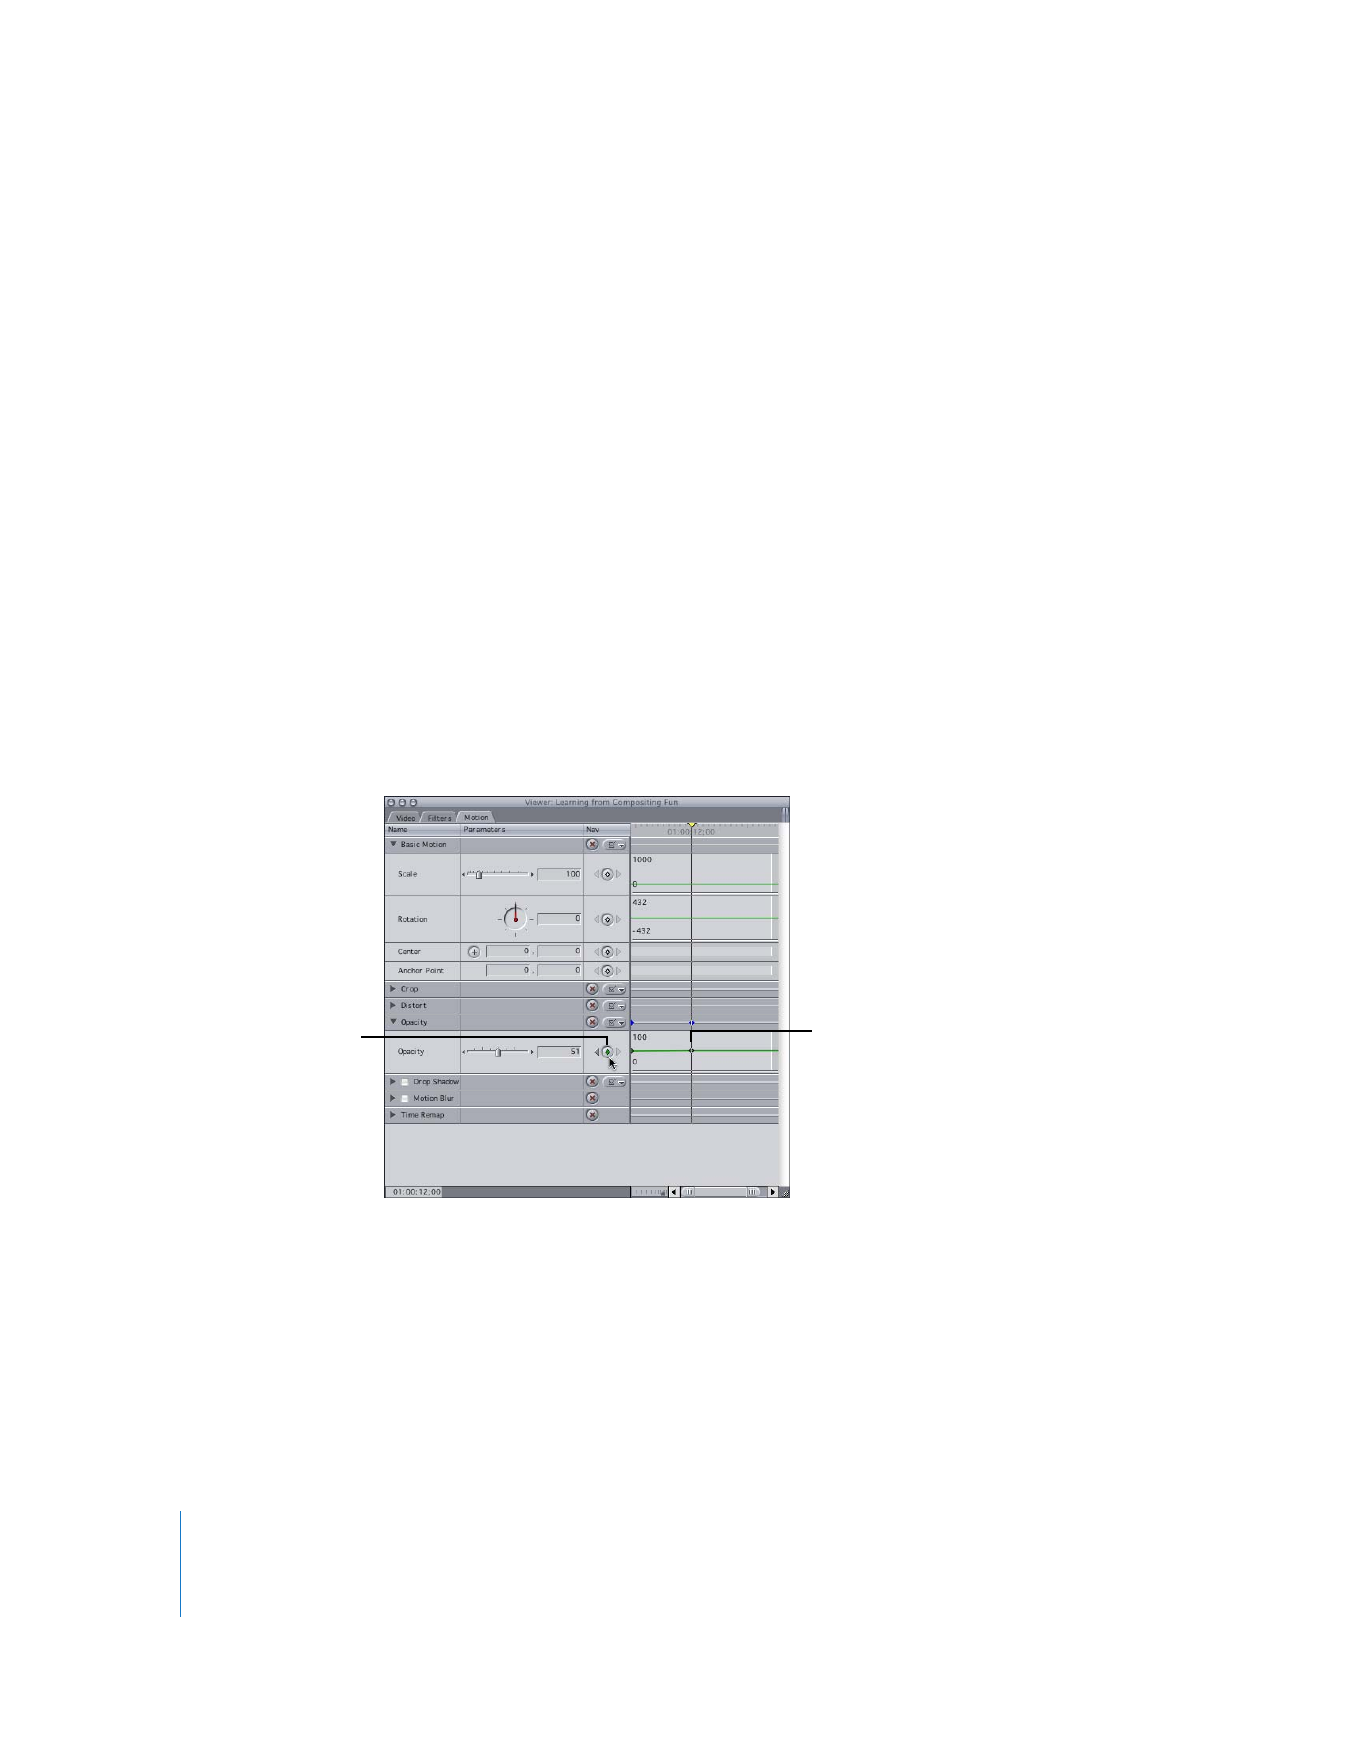
Open a clip in the Viewer, then click the Motion or Filters tab.
2
In the keyframe graph area, move the playhead to the location where you want to put
a keyframe.
3
Click the keyframe button that corresponds to the parameter you are modifying.
∏
Tip: Any motion effect, audio parameter, or filter parameter can be adjusted in the
keyframe graph area of the Timeline.
For more information about adjusting keyframe graphs in the Timeline, see “
Working
with the Timeline Keyframe Editor
” on page 325.
The keyframe appears
as a small diamond in
the keyframe graph
area.
Click the keyframe button
for a parameter to add
a keyframe at the
playhead’s current
location.
Chapter 15
Adjusting Parameters for Keyframed Effects
295
II
To set keyframes from the Viewer or Canvas, do one of the following:
m
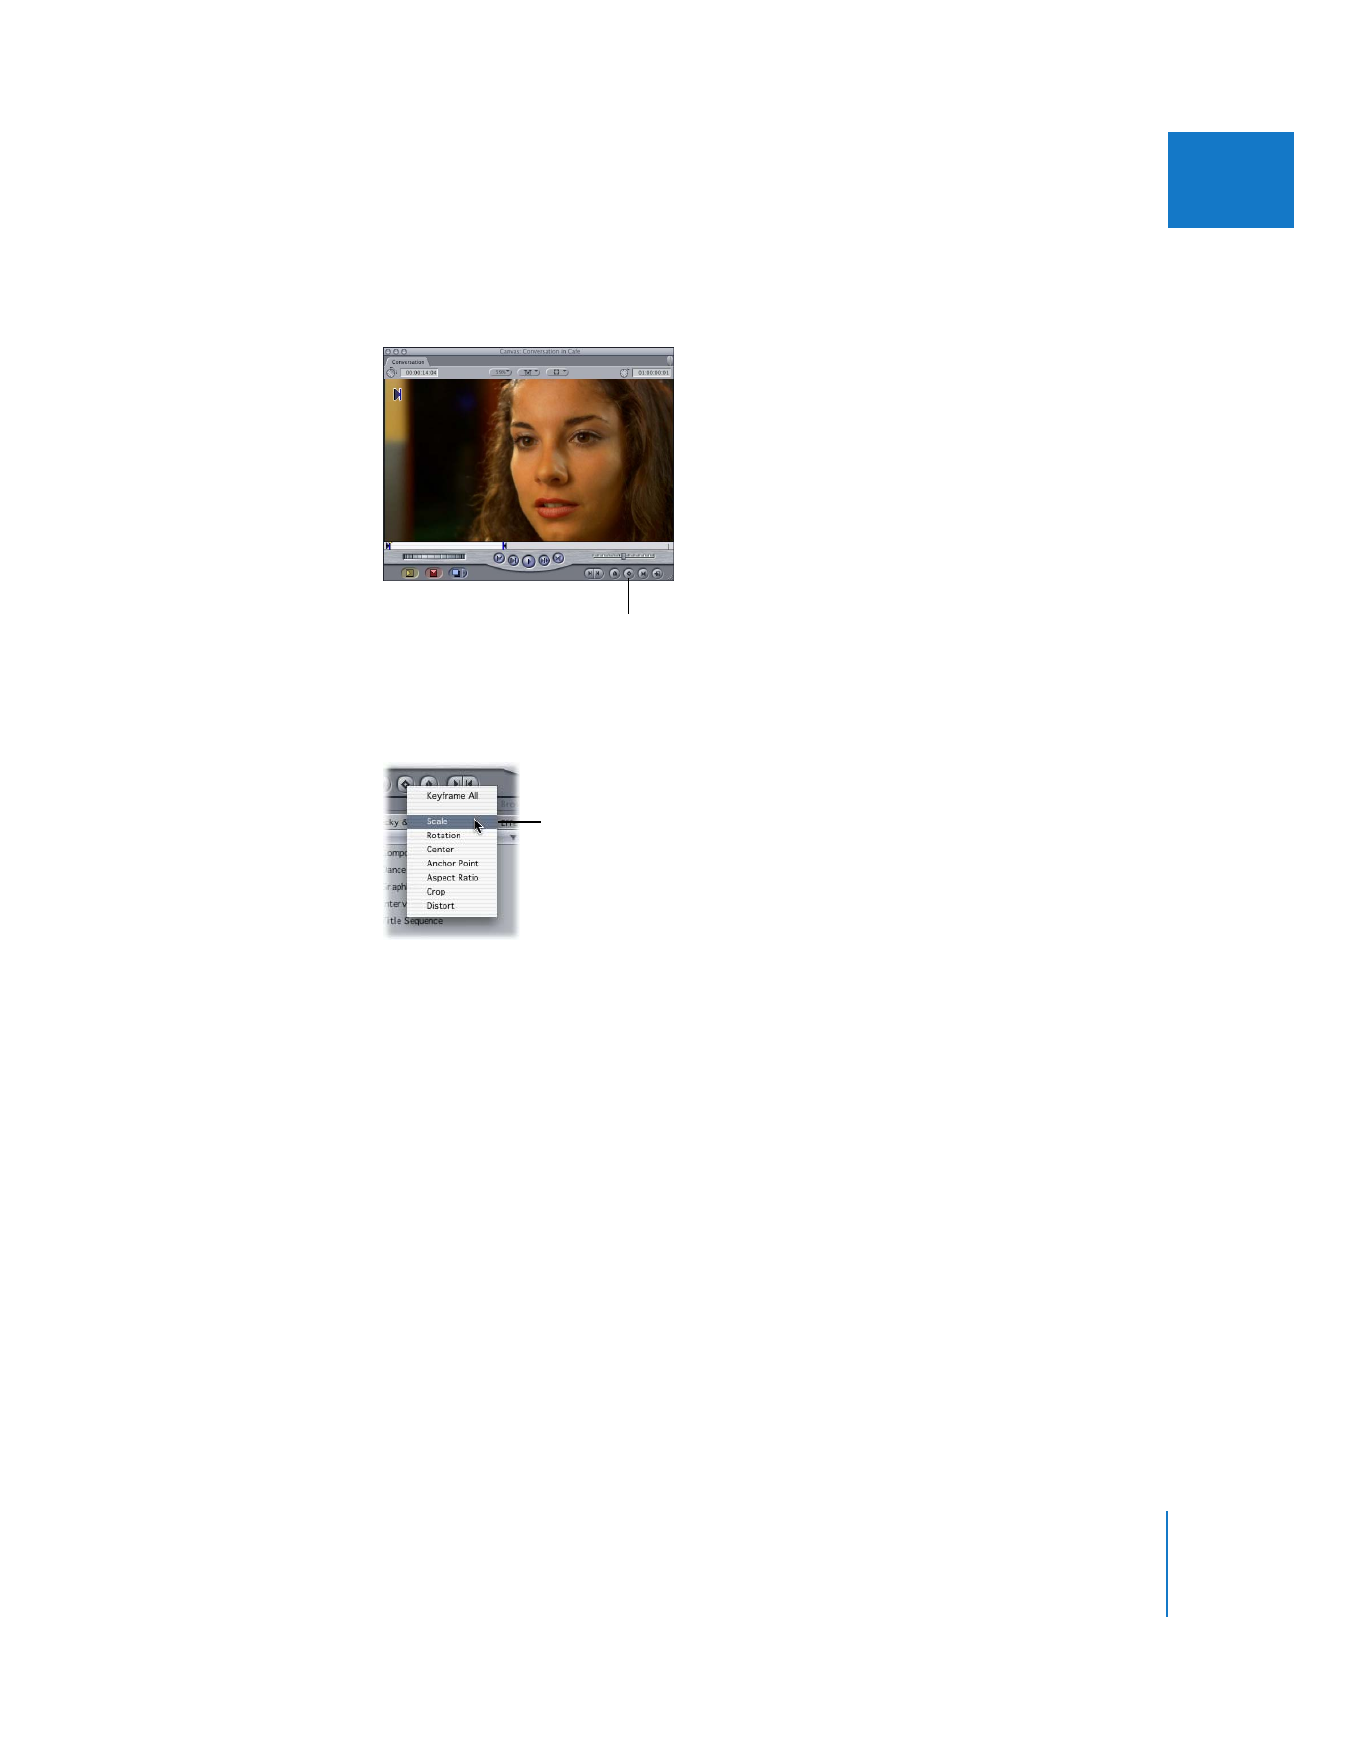
To add a keyframe to all of the selected clip’s motion settings at once: In the Video tab of
the Viewer or in the Canvas, click the Add Motion Keyframe button.
m
To set keyframes for a single parameter: Control-click the Add Motion Keyframe button,
then choose a parameter from the shortcut menu.
To set a keyframe using the Pen tool, do one of the following:
m
Select the Pen tool in the Tool palette (or press P); then, in the appropriate tab of the
Viewer, click a parameter’s keyframe graph line (in the keyframe graph area) where you
want to add the keyframe.
m
Hold down the Option key and click a parameter’s keyframe graph line where you want
to add the keyframe.
∏
Tip: This is also useful for setting keyframes in the video opacity and audio level
overlays of a clip in the Timeline.
Once you’ve added at least one keyframe to a parameter, new keyframes are
automatically added whenever you move the playhead and make further adjustments.
To better see what you are doing, you may want to add more space to the keyframe
graph area before you set additional keyframes. For more information about resizing
the keyframe graph area, see “
Resizing the Keyframe Graph Area
” on page 299.
Add Motion Keyframe
button in the Canvas
Choose a motion
parameter from the
shortcut menu.
296
Part II
Effects
To add more keyframes:
1
Move the playhead to another point in the clip where you want to set a keyframe.
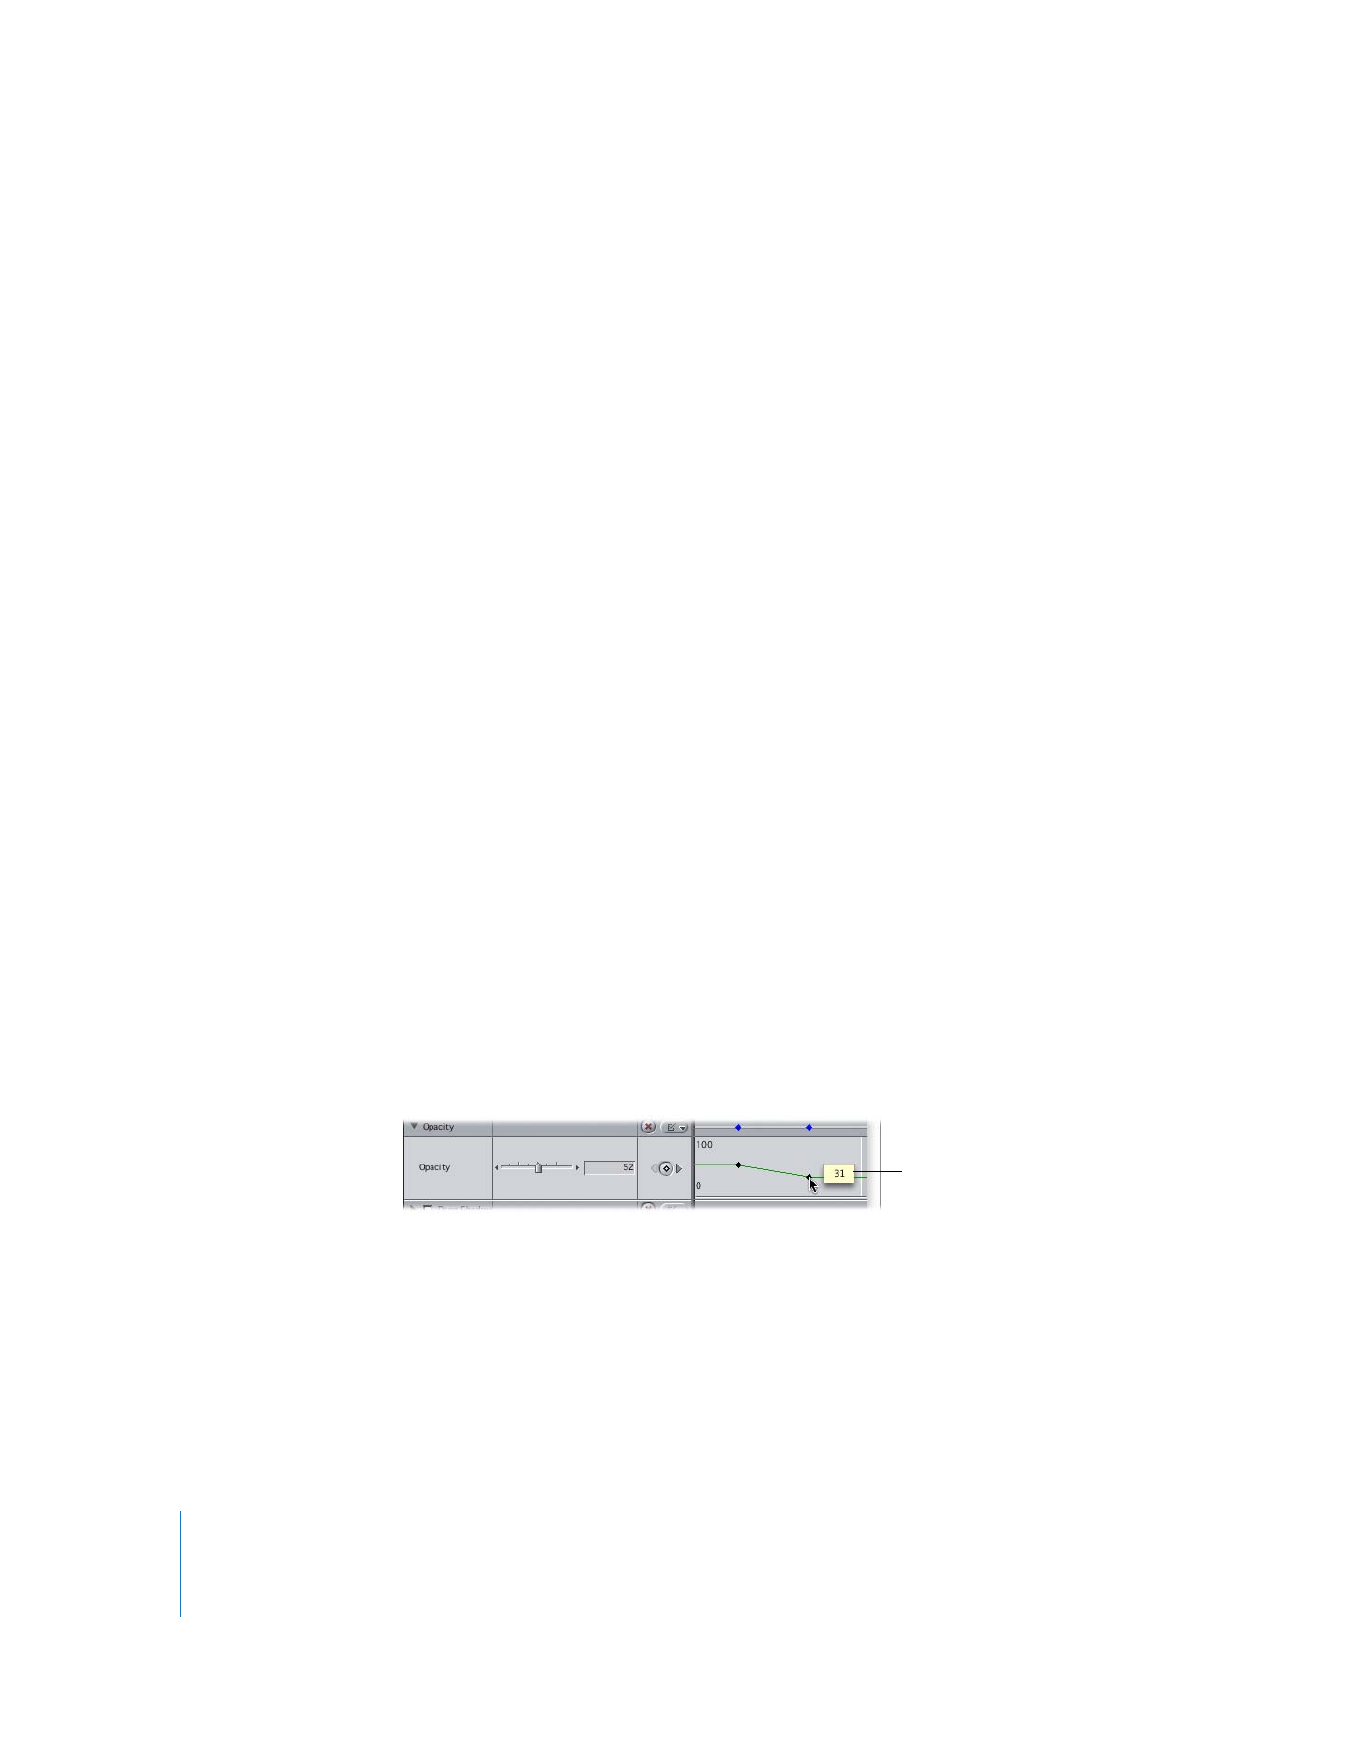
2
Do one of the following:
 Adjust the appropriate parameter control.
 Type a number in the appropriate number field.
 Click a parameter’s keyframe button to add a keyframe with the current value of
the parameter.
 Hold down the Option key and click a parameter’s keyframe graph line where you
want to add the keyframe.
This doesn’t change the parameter’s current value; it simply adds a keyframe with the
same value. You can add as many keyframes as you want by clicking repeatedly with
the Option key held down.