Creating Keyframed Motion Paths in the Canvas
You can create motion for a clip by repositioning it and then setting keyframes to
change the clip’s Center parameter value over time. By setting enough keyframes, you
can eventually create the motion path you want.
There is an easier way, however, which can produce more sophisticated results; you set
up the motion in the Canvas using a motion path (in Image+Wireframe or Wireframe
mode). Once you set the first Center parameter keyframe for a clip in its Motion tab, all
subsequent changes made to that clip at different points in time introduce additional
center keyframes. When you create two or more center keyframes, they appear in the
Canvas along a line called the motion path.
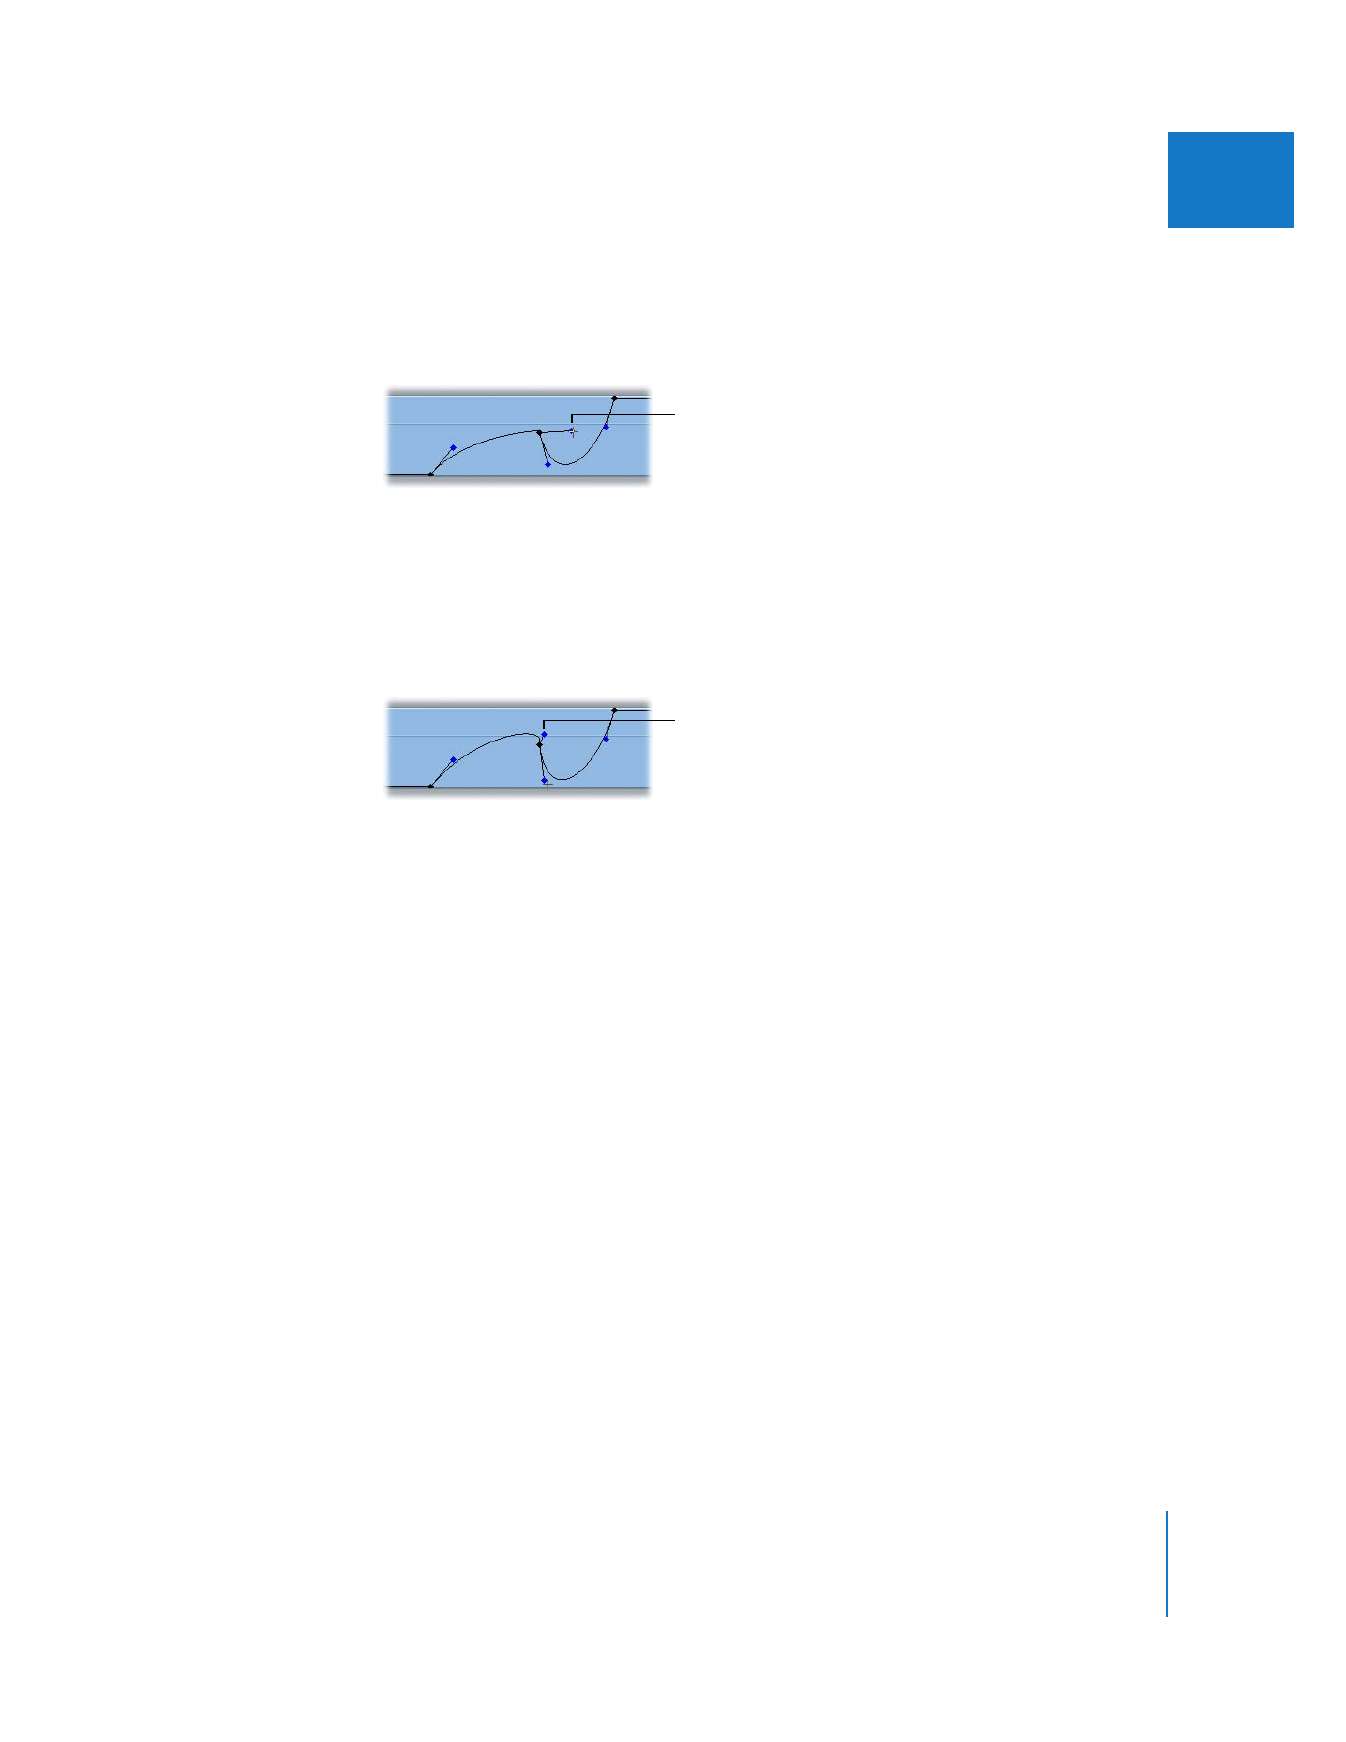
Hold down the
Command key to change
the angle of a handle
independently of the
other handle.
Hold down the
Command and Shift keys
to change the length and
angle of a handle
independently of the
other handle.

312
Part II
Effects