Creating Motion Paths
The simplest way to make changes to a clip’s motion path is by manipulating it directly
in the Canvas while in Image+Wireframe mode.
To create a motion path:
1
Open the clip you want to animate in the Viewer, then click the Motion tab.
2
In the Canvas, choose a wireframe mode from the View pop-up menu.
3
In the Viewer, Canvas, or Timeline, move the playhead to the location where you want
that clip’s motion to begin.
Note: When you open a clip from your sequence in the Viewer, all three playheads are
locked together, so it doesn’t matter which playhead you use.
4
Select the Selection tool in the Tool palette.
5
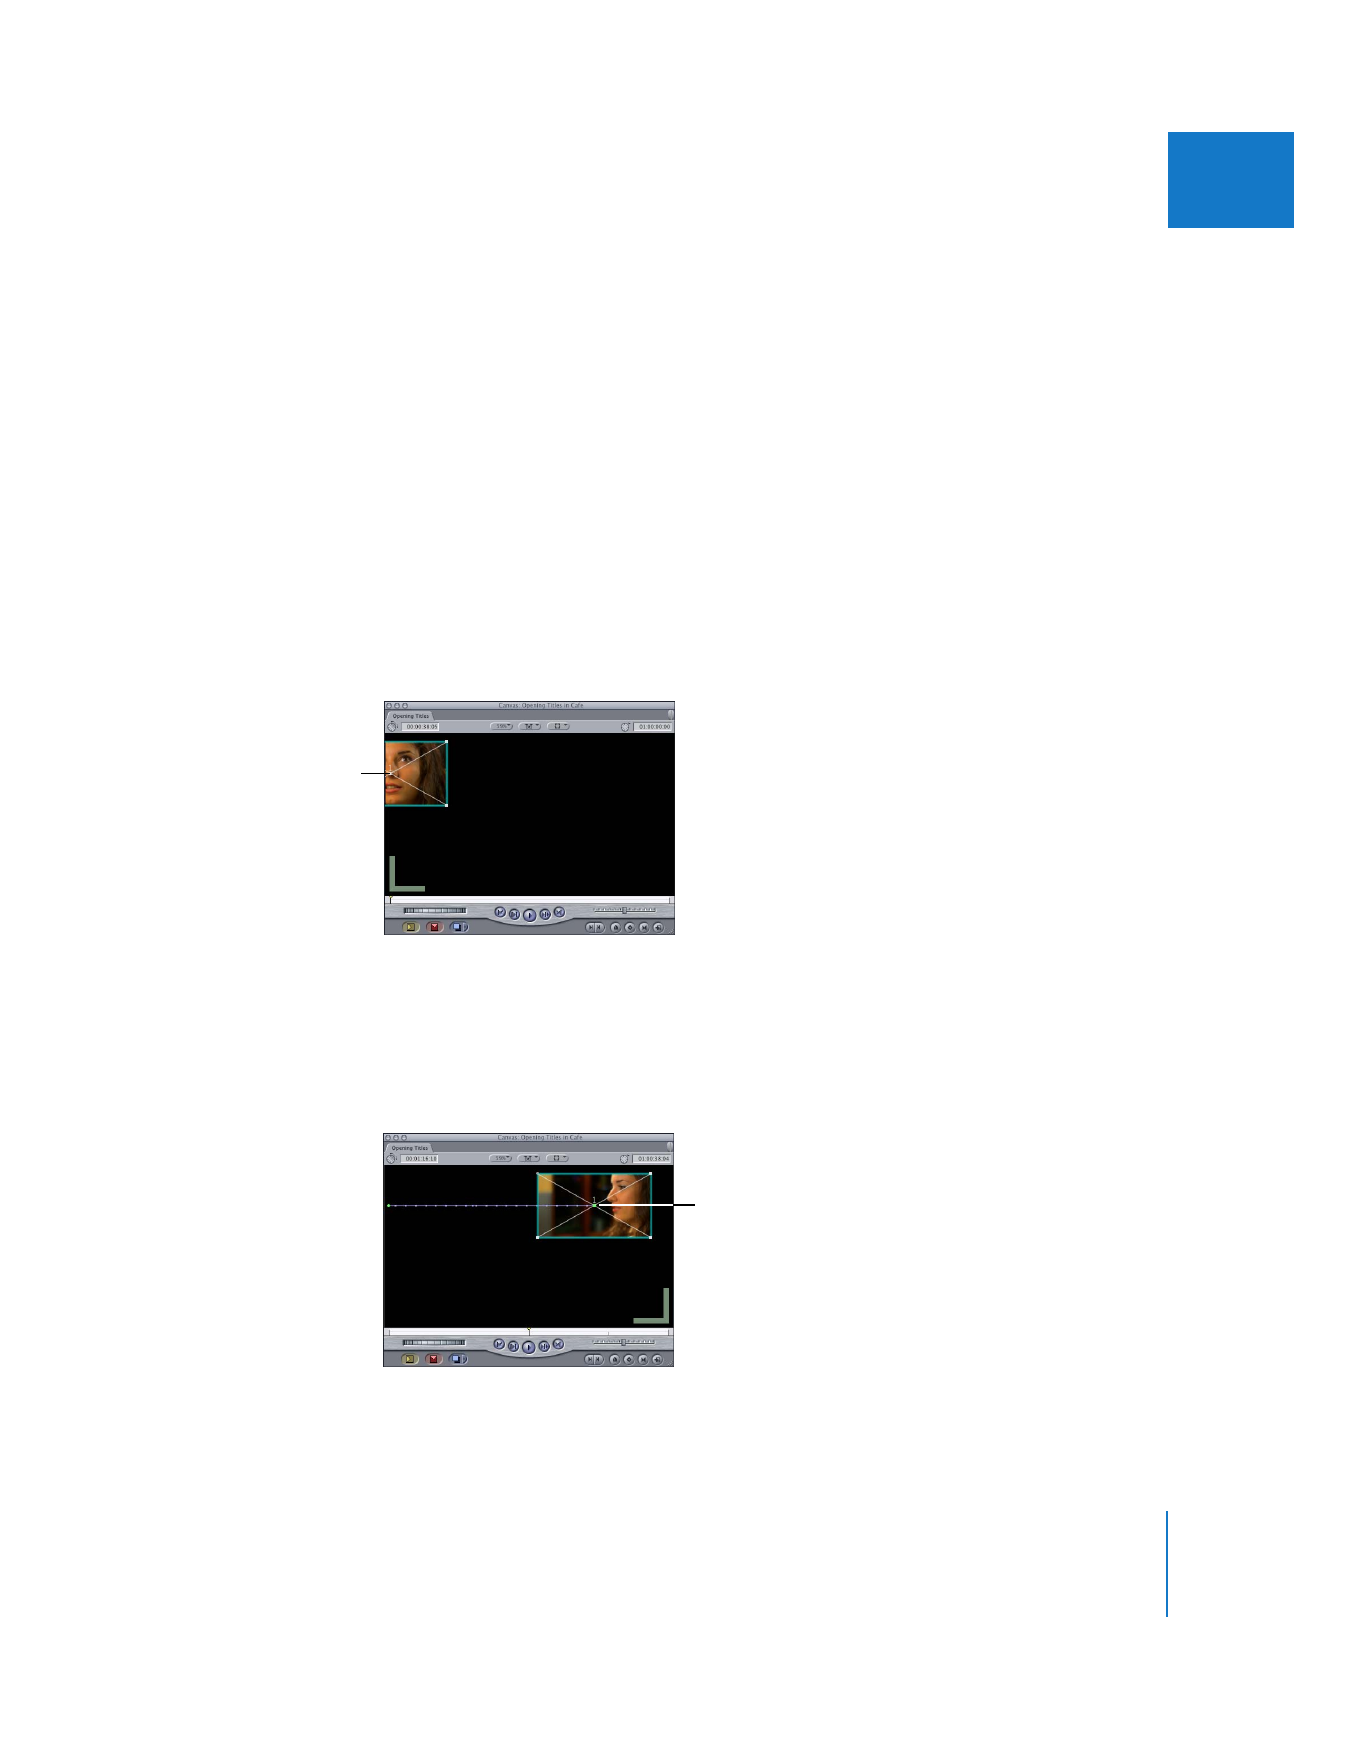
In the Canvas, drag the clip’s center point and position the clip at the starting point of
the motion path you want to create.
6
Add a keyframe at the starting point.
For more information, see “
Setting Keyframes
” on page 294.
7
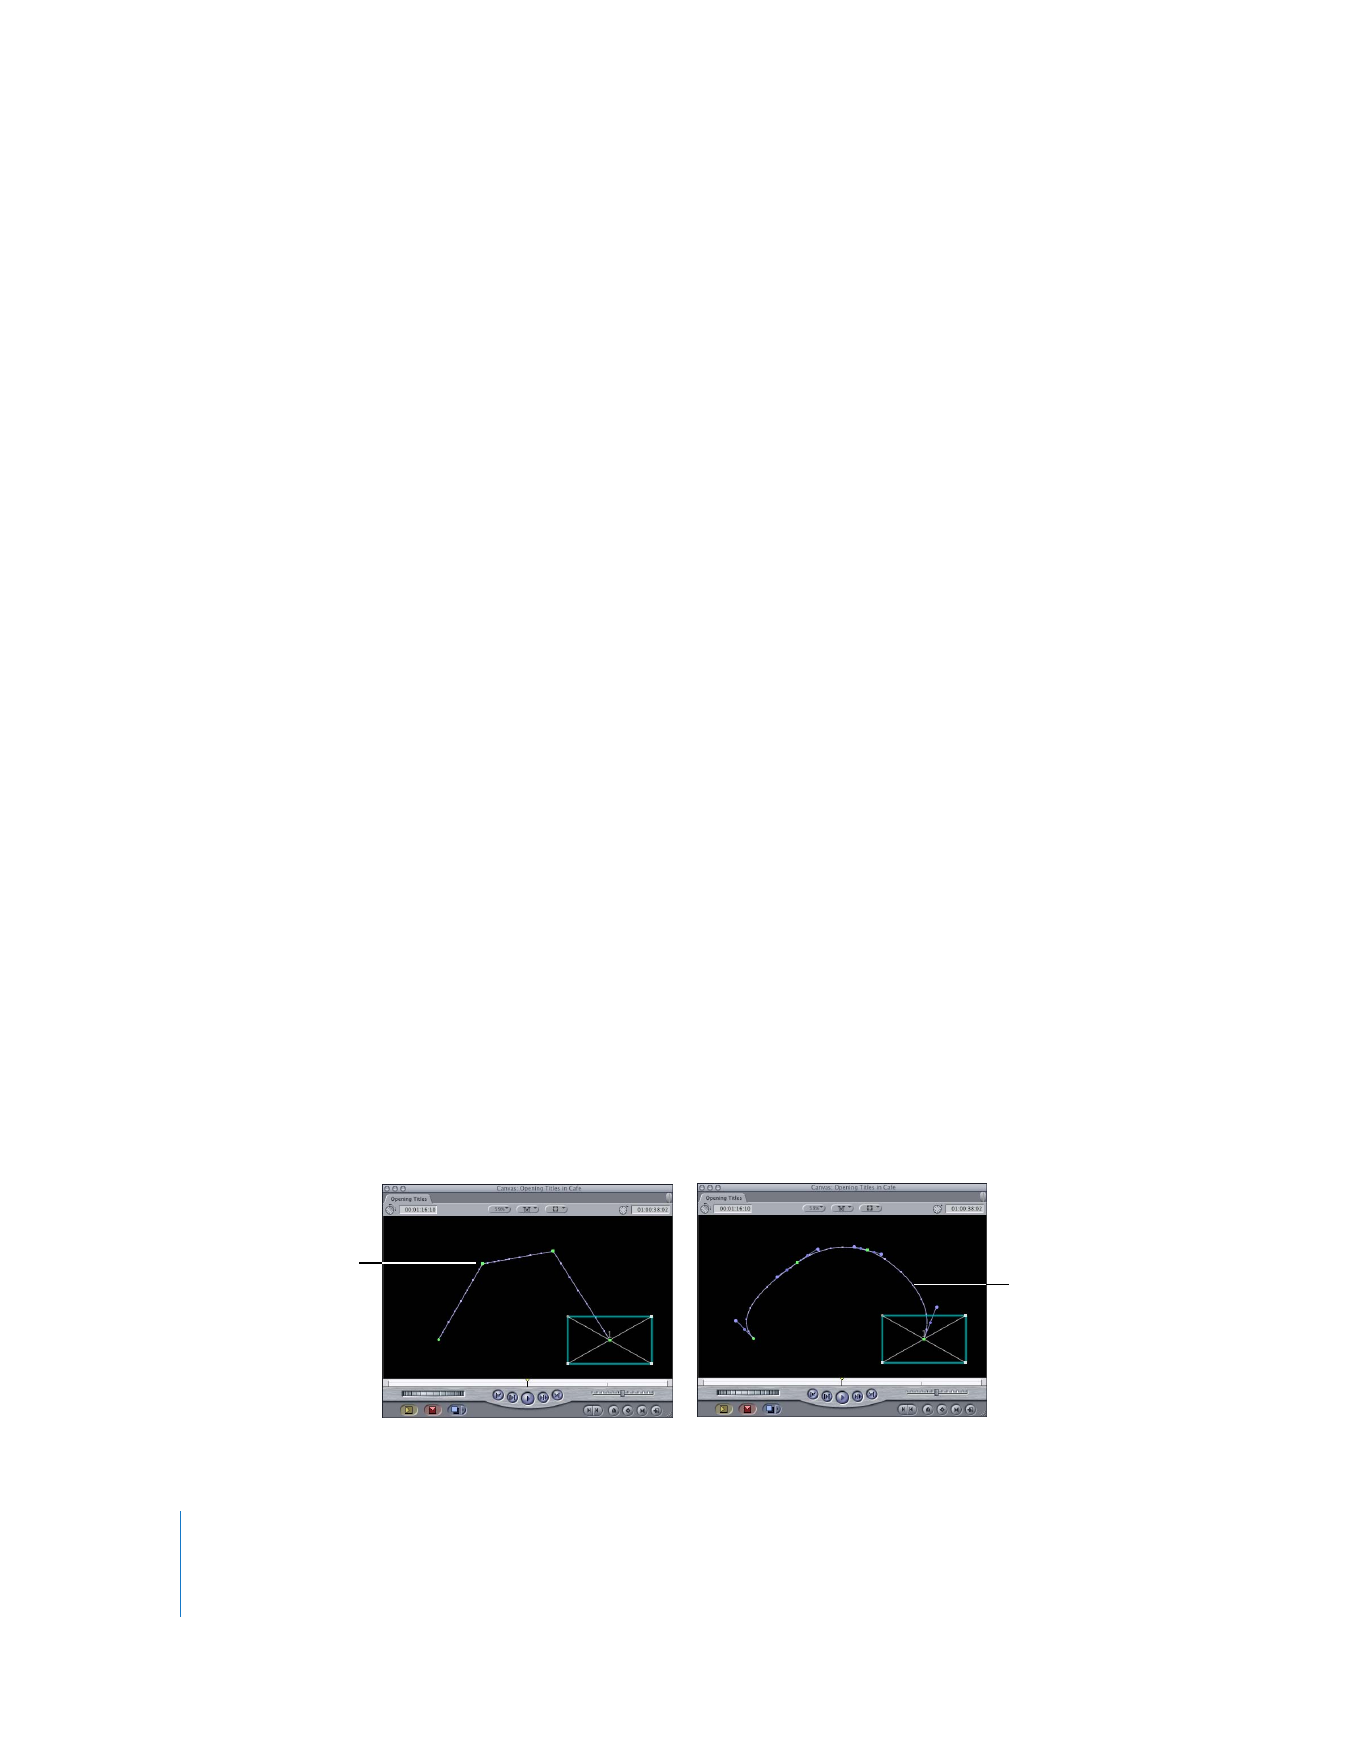
Move the playhead to the location where you want to add your next keyframe.
8
Drag the clip to the next position in the Canvas.
Final Cut Pro automatically adds a new keyframe and creates the appropriate motion
path in the Canvas. Repeat steps 7 and 8 to add as many keyframes as you need.
Starting point
of motion path
With the Selection tool
still selected, drag the
clip to the next position.
314
Part II
Effects