What Are Motion Paths?
The simplest motion path is a straight line defined by two center keyframes. Once the
first keyframe is defined in the Motion tab, any time you move the Canvas or Timeline
playhead to another location and then move that clip’s wireframe somewhere else in
the Canvas, another keyframe is created automatically.
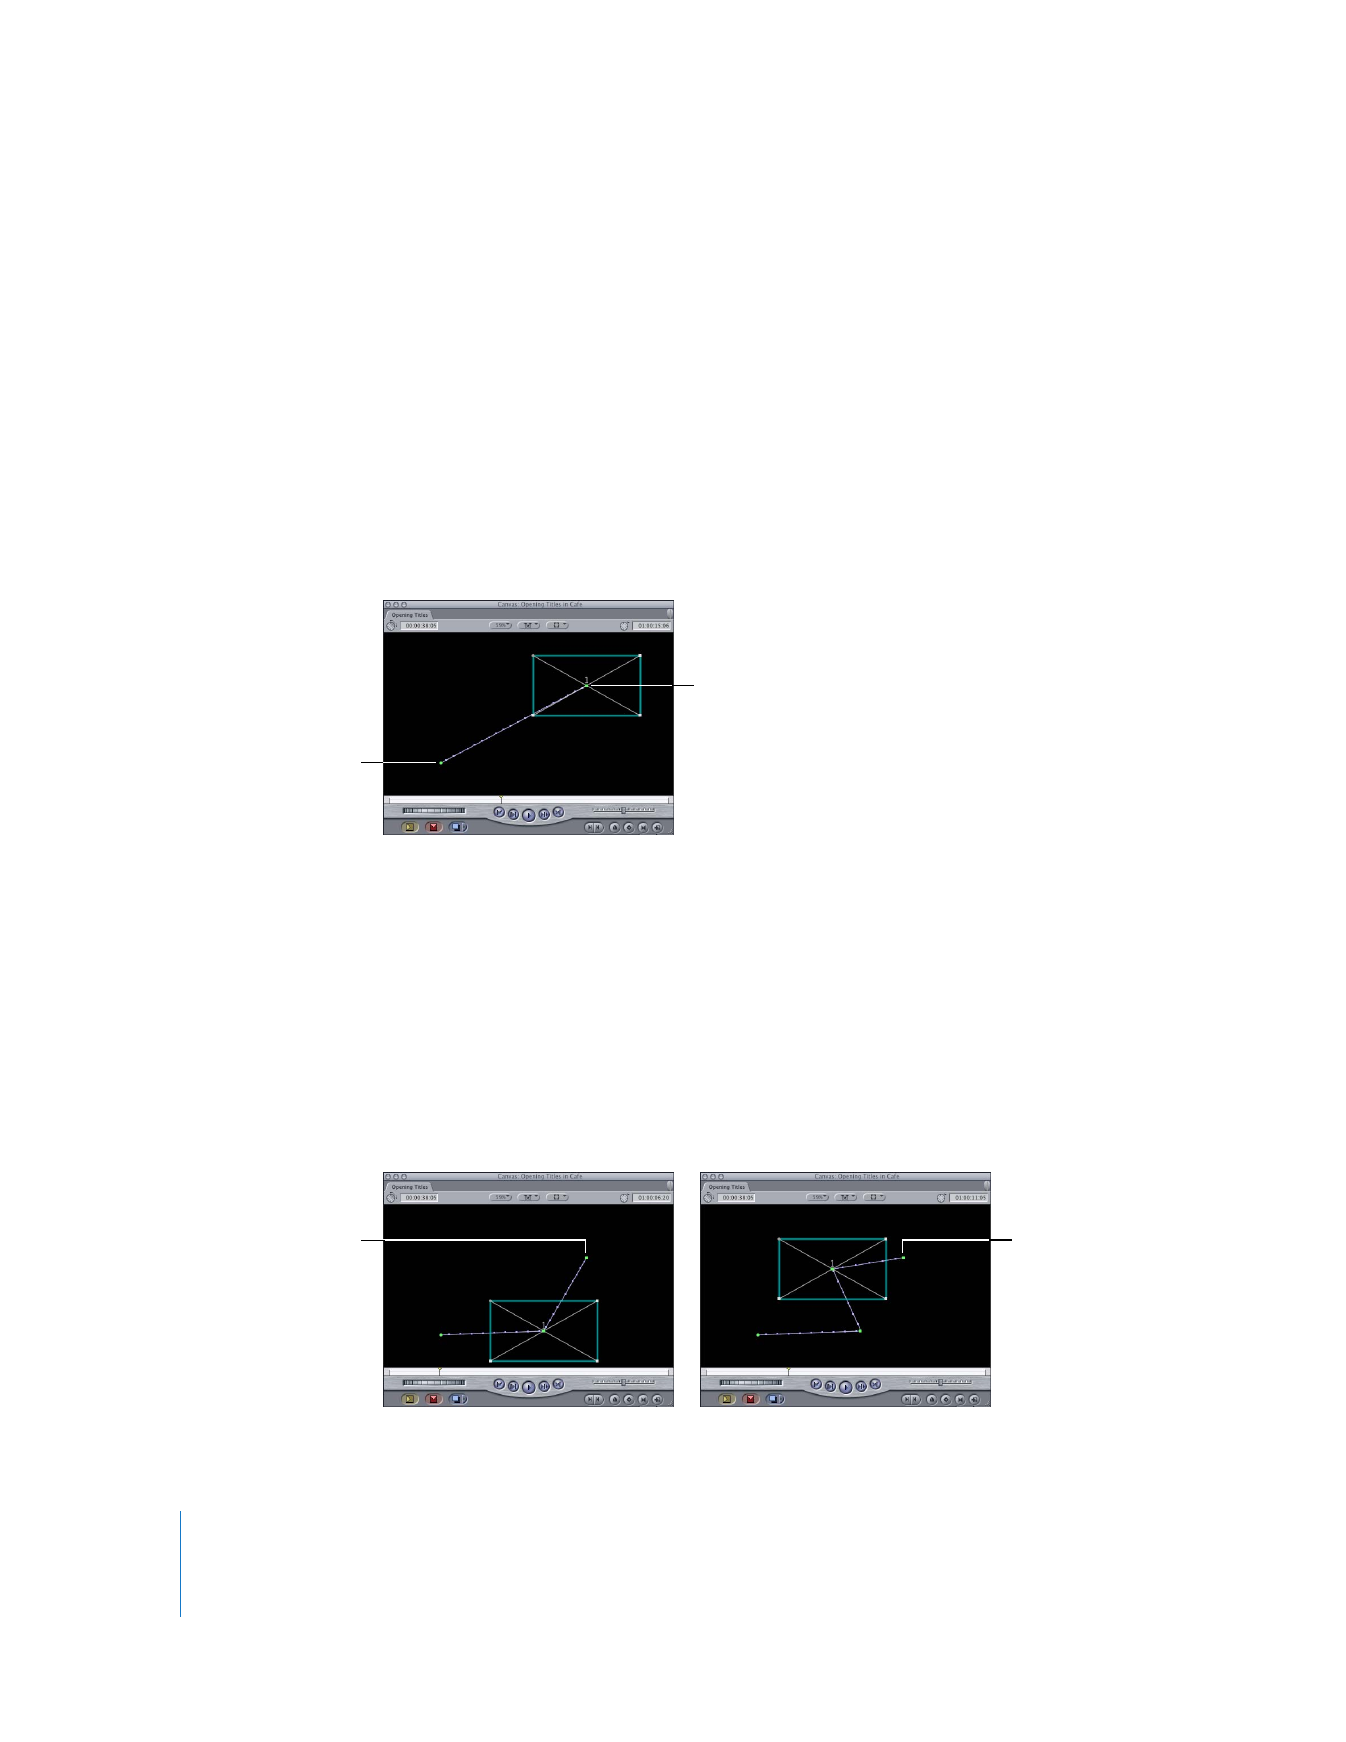
For example, suppose you define a center keyframe for a video clip at the x and y
coordinates of –160, 100. You then move the playhead 3 seconds later in your sequence
and drag the clip by its center point to 160, –100. The result is a diagonal motion path
moving from the lower-left corner of the Canvas to the upper-right corner, shown
below. When your sequence plays, the clip moves along this path, with its anchor point
following the motion path exactly.
As you add additional keyframes, you can create more complex paths. For example,
with the motion path above already defined, you can move the playhead to a location
in between these two keyframes. With the playhead in between these two keyframes,
moving the clip to –90, –90 adds a third keyframe to this motion path, shown next. In
this way, you can create as many keyframes as you like, changing the shape of the
motion path accordingly.
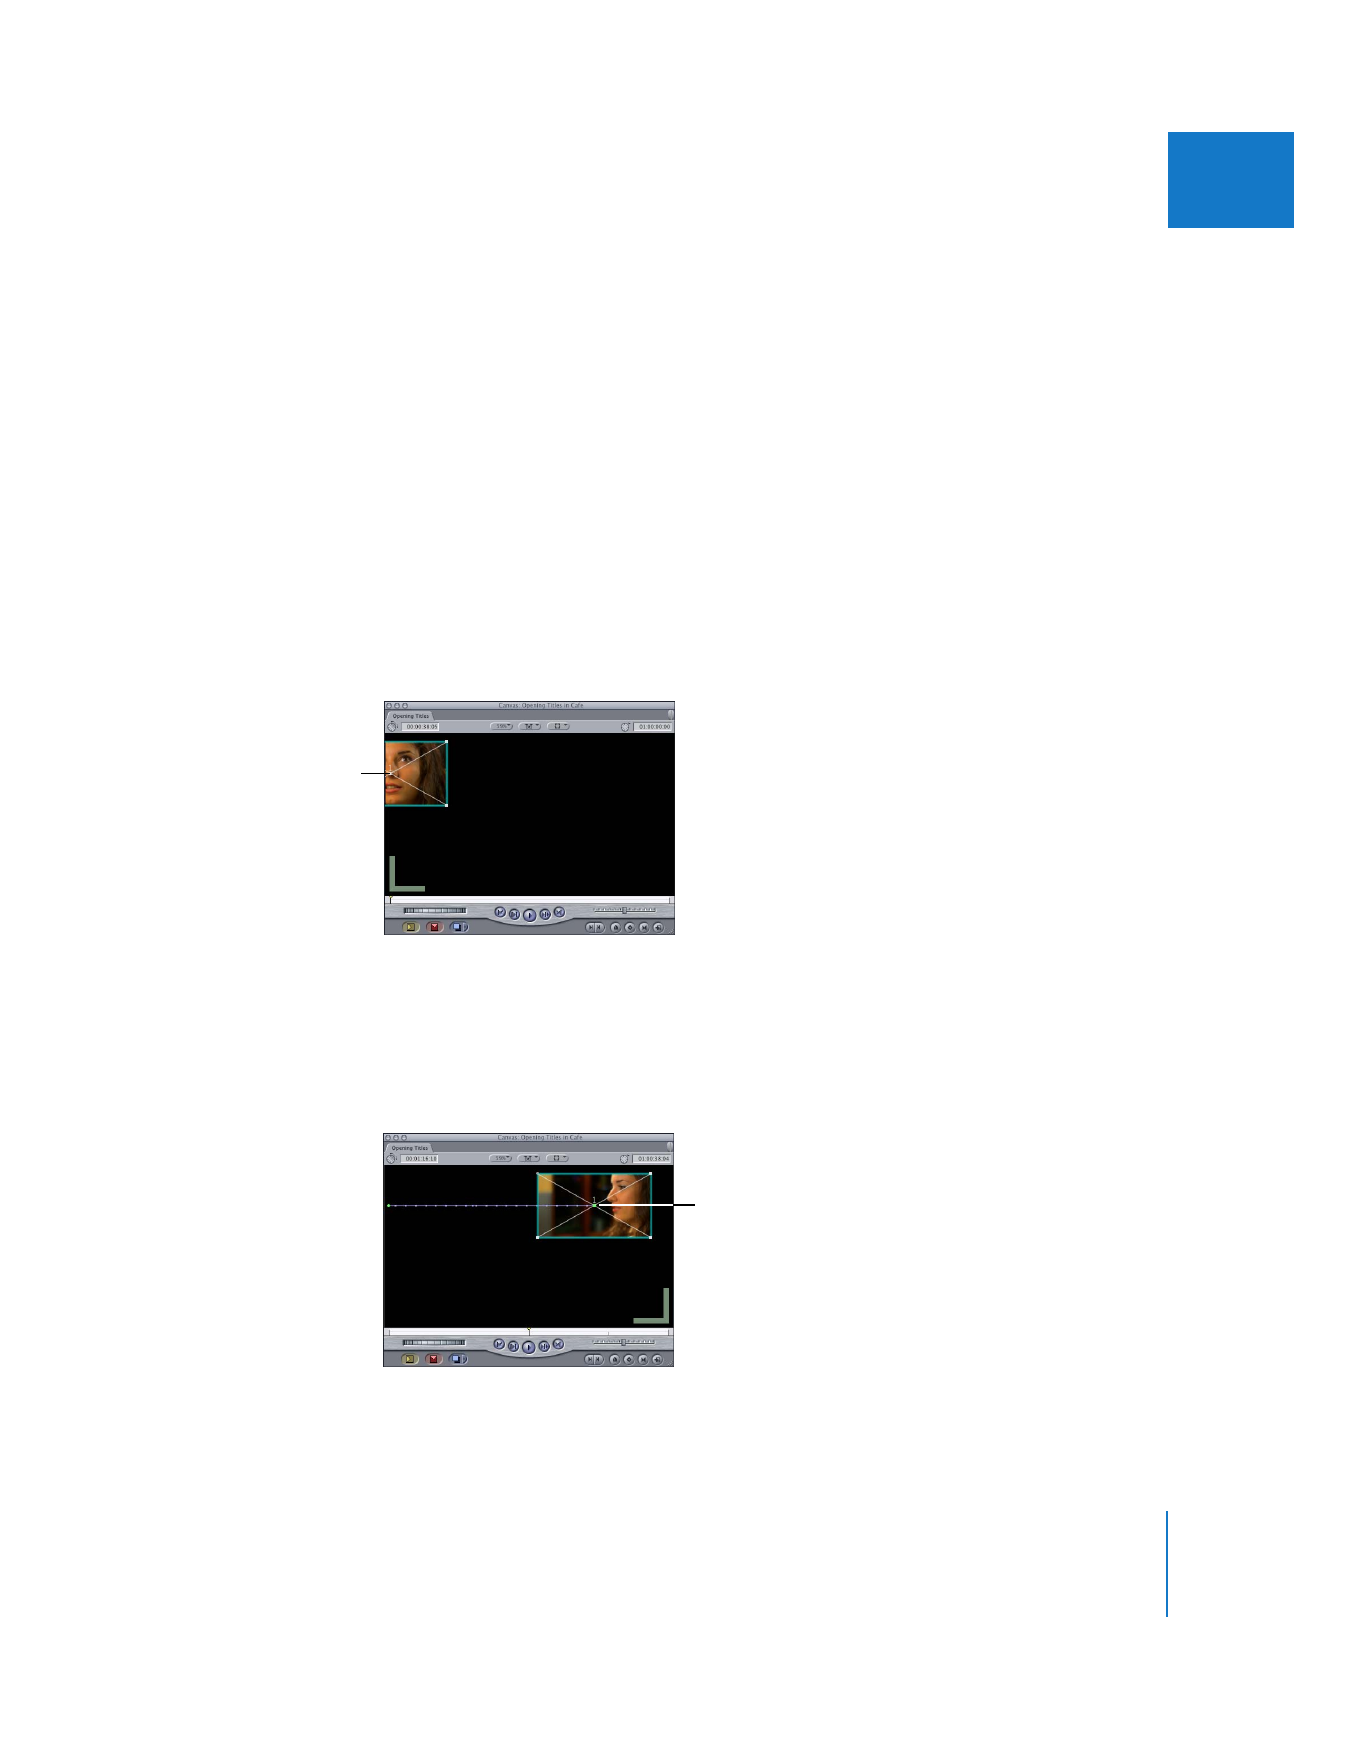
∏
Tip: To move the playhead relative to these keyframes, you can view your clip’s keyframes
in the Motion tab of the Viewer. To view these keyframes below your clips in the Timeline,
you can select the Clip Keyframes control to display the keyframe graph area.
A simple motion
path results from
the movement of a
clip from this first
center keyframe...
...to this second center
keyframe.
A fourth keyframe,
between the three
others, changes
the motion path
even more.
A third keyframe is
added, between two
existing keyframes, for
additional movement.
Chapter 15
Adjusting Parameters for Keyframed Effects
313
II