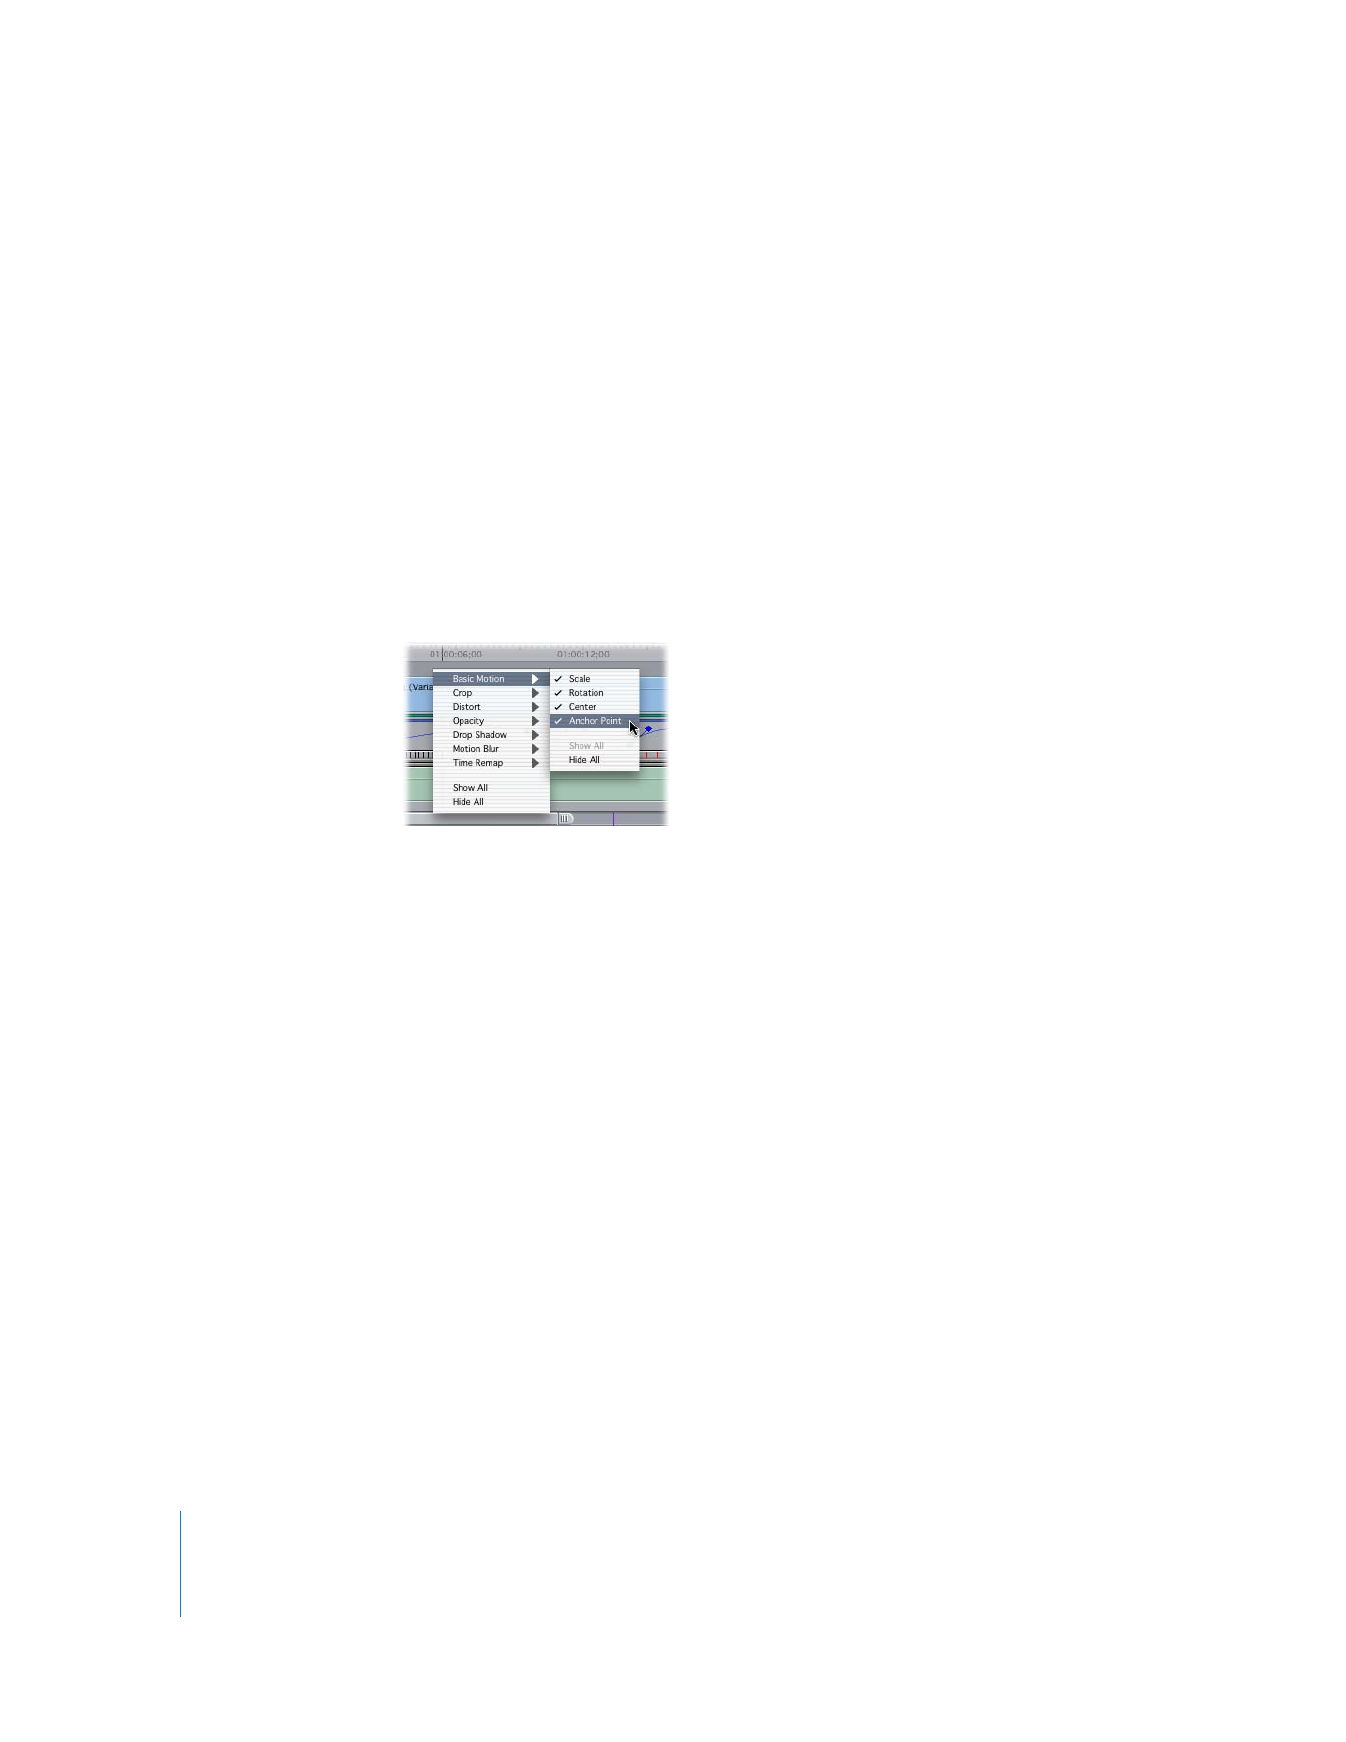
Customizing the Keyframe Graph Area in the Timeline
Each of the four parts of the keyframe graph area can be displayed or hidden
individually, so that you can customize the Timeline view for specific tasks. Additionally,
these areas can be displayed or hidden in the video and audio tracks separately.
To selectively display the individual parts of the keyframe graph area:
1
In the Timeline, Control-click the Clip Keyframes control.
2
Choose Audio or Video to select a keyframe graph area in either kind of track.
3
From the Audio or Video submenu, choose one of the following:
 Filters Bar, Motion Bar, Keyframe Editor, or Speed Indicators: A checkmark appears to
the left of each of these areas when displayed. Choose an area to show or hide it.
(The Motion Bar option is available only for video tracks.)
 Select All: Shows all four keyframe graph areas at once.
 Select None: Hides all four keyframe graph areas.
The keyframe graph areas of each track can be individually resized so that keyframe
graphs displayed in the keyframe editor area are more detailed. The keyframe graph
area is resized separately from individual tracks.

324
Part II
Effects