Working with the Filters and Motion Bars
The filters and motion bars are useful for seeing at a glance the keyframes of one or
more clip parameters in the Timeline. You can choose which parameter keyframes are
visible in each bar, and you can use the Selection tool to slide these keyframes back
and forth in time.
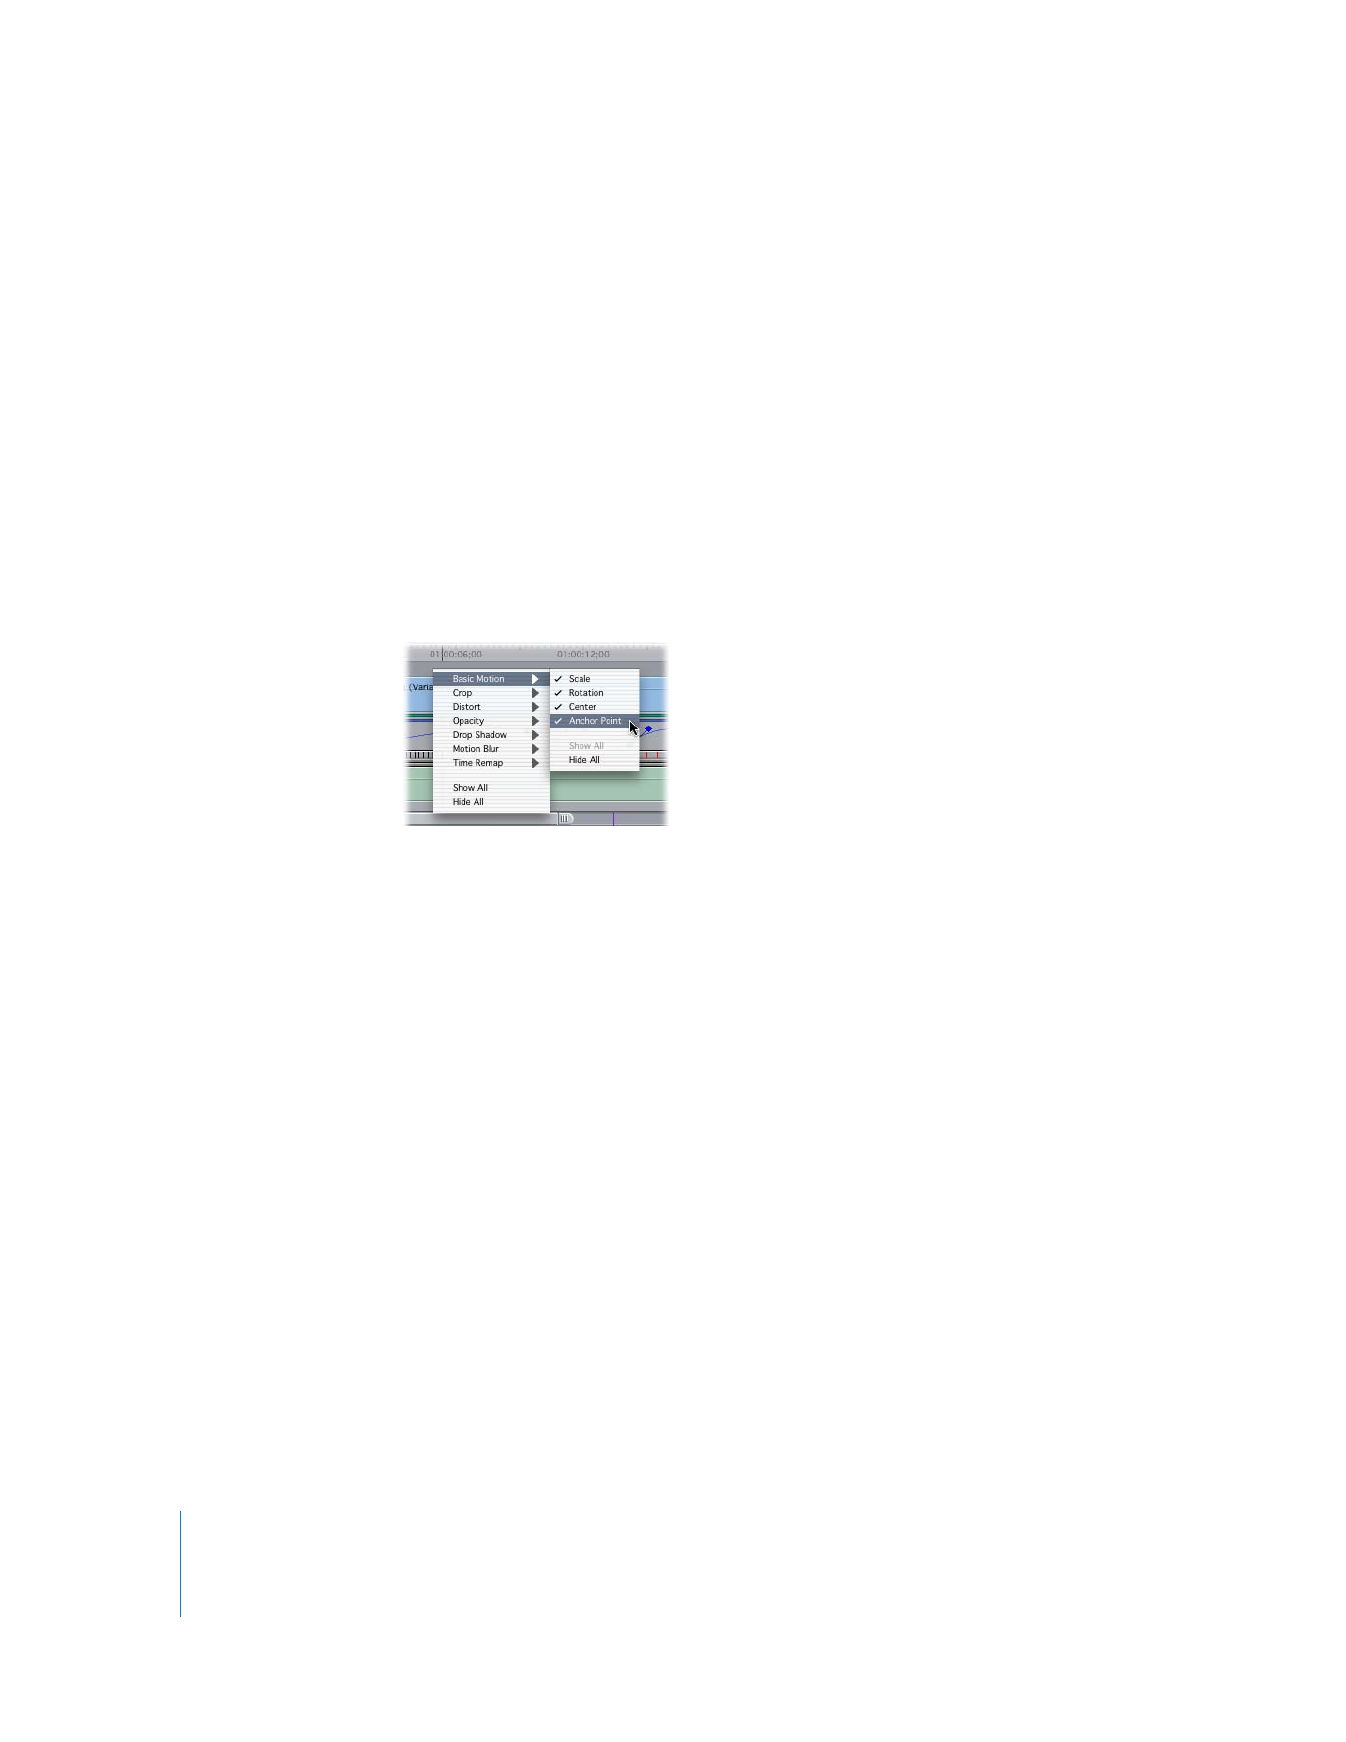
To selectively display which keyframes are visible in a motion bar:
m
Control-click a motion bar, then choose the parameter whose keyframes you want
to isolate:
 Single parameter (for example, Scale, Rotation, Center, or Anchor Point): Displays
keyframes for the selected parameter.
 Show All: Displays all keyframes associated with an attribute.
 Hide All: Hides all keyframes associated with an attribute.
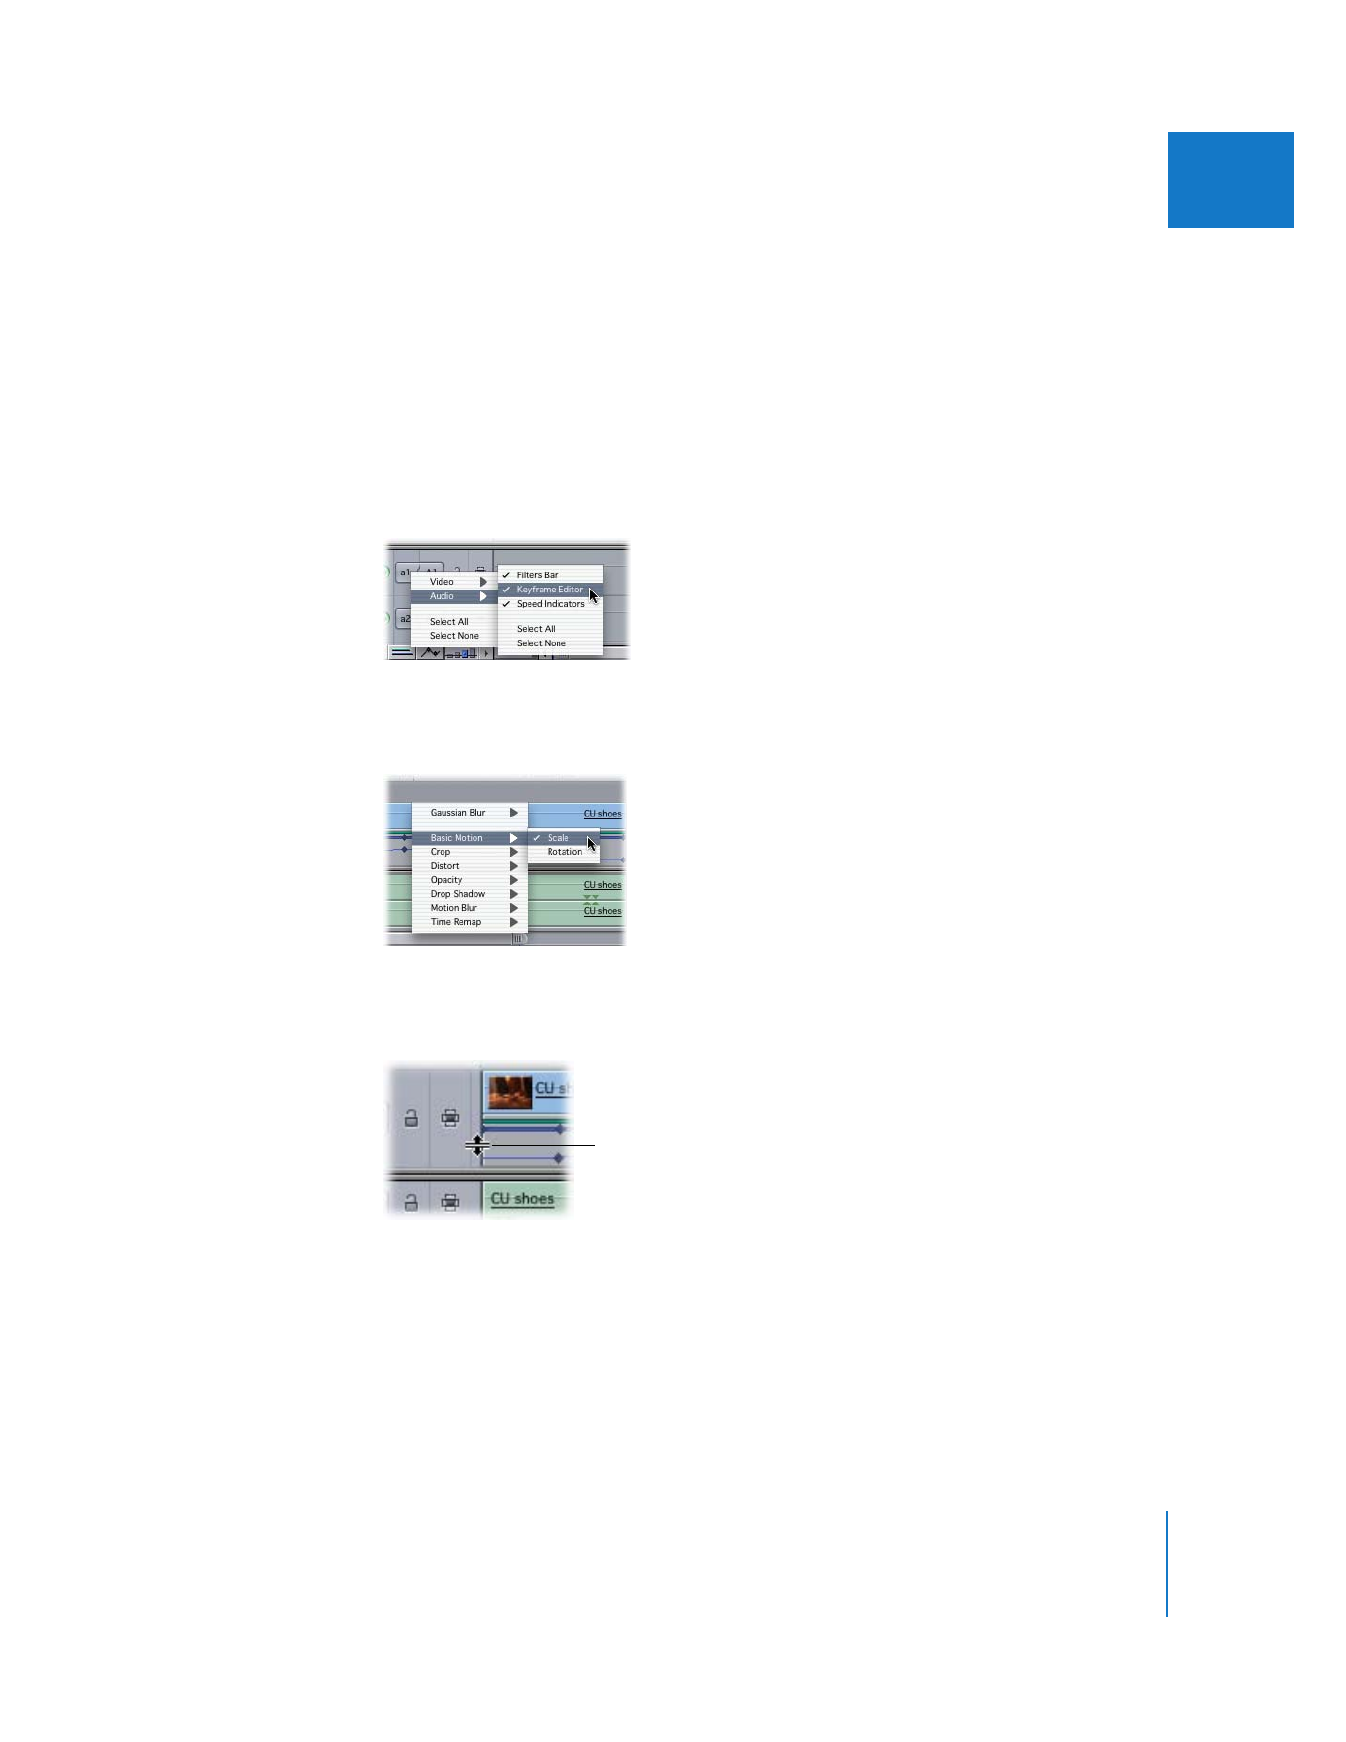
To move a clip’s keyframe forward or backward in the Timeline:
m
Use the Selection tool to drag a keyframe on a motion bar to another position on that bar.
To open a clip in the Viewer using a clip’s motion bar in the Timeline:
m
Double-click a blue bar to open that clip in the Viewer with the Motion tab selected.
To open a clip in the Viewer using a clip’s filters bar in the Timeline:
m
Double-click a green bar to open that clip in the Viewer with the Filters tab selected.
Chapter 15
Adjusting Parameters for Keyframed Effects
325
II