Adjusting Time Remapping Keyframes in the Motion Bar
Once you’ve created one or more time remapping keyframes, you can adjust them in
the motion bar.
To adjust time remapping keyframes in the motion bar:
1
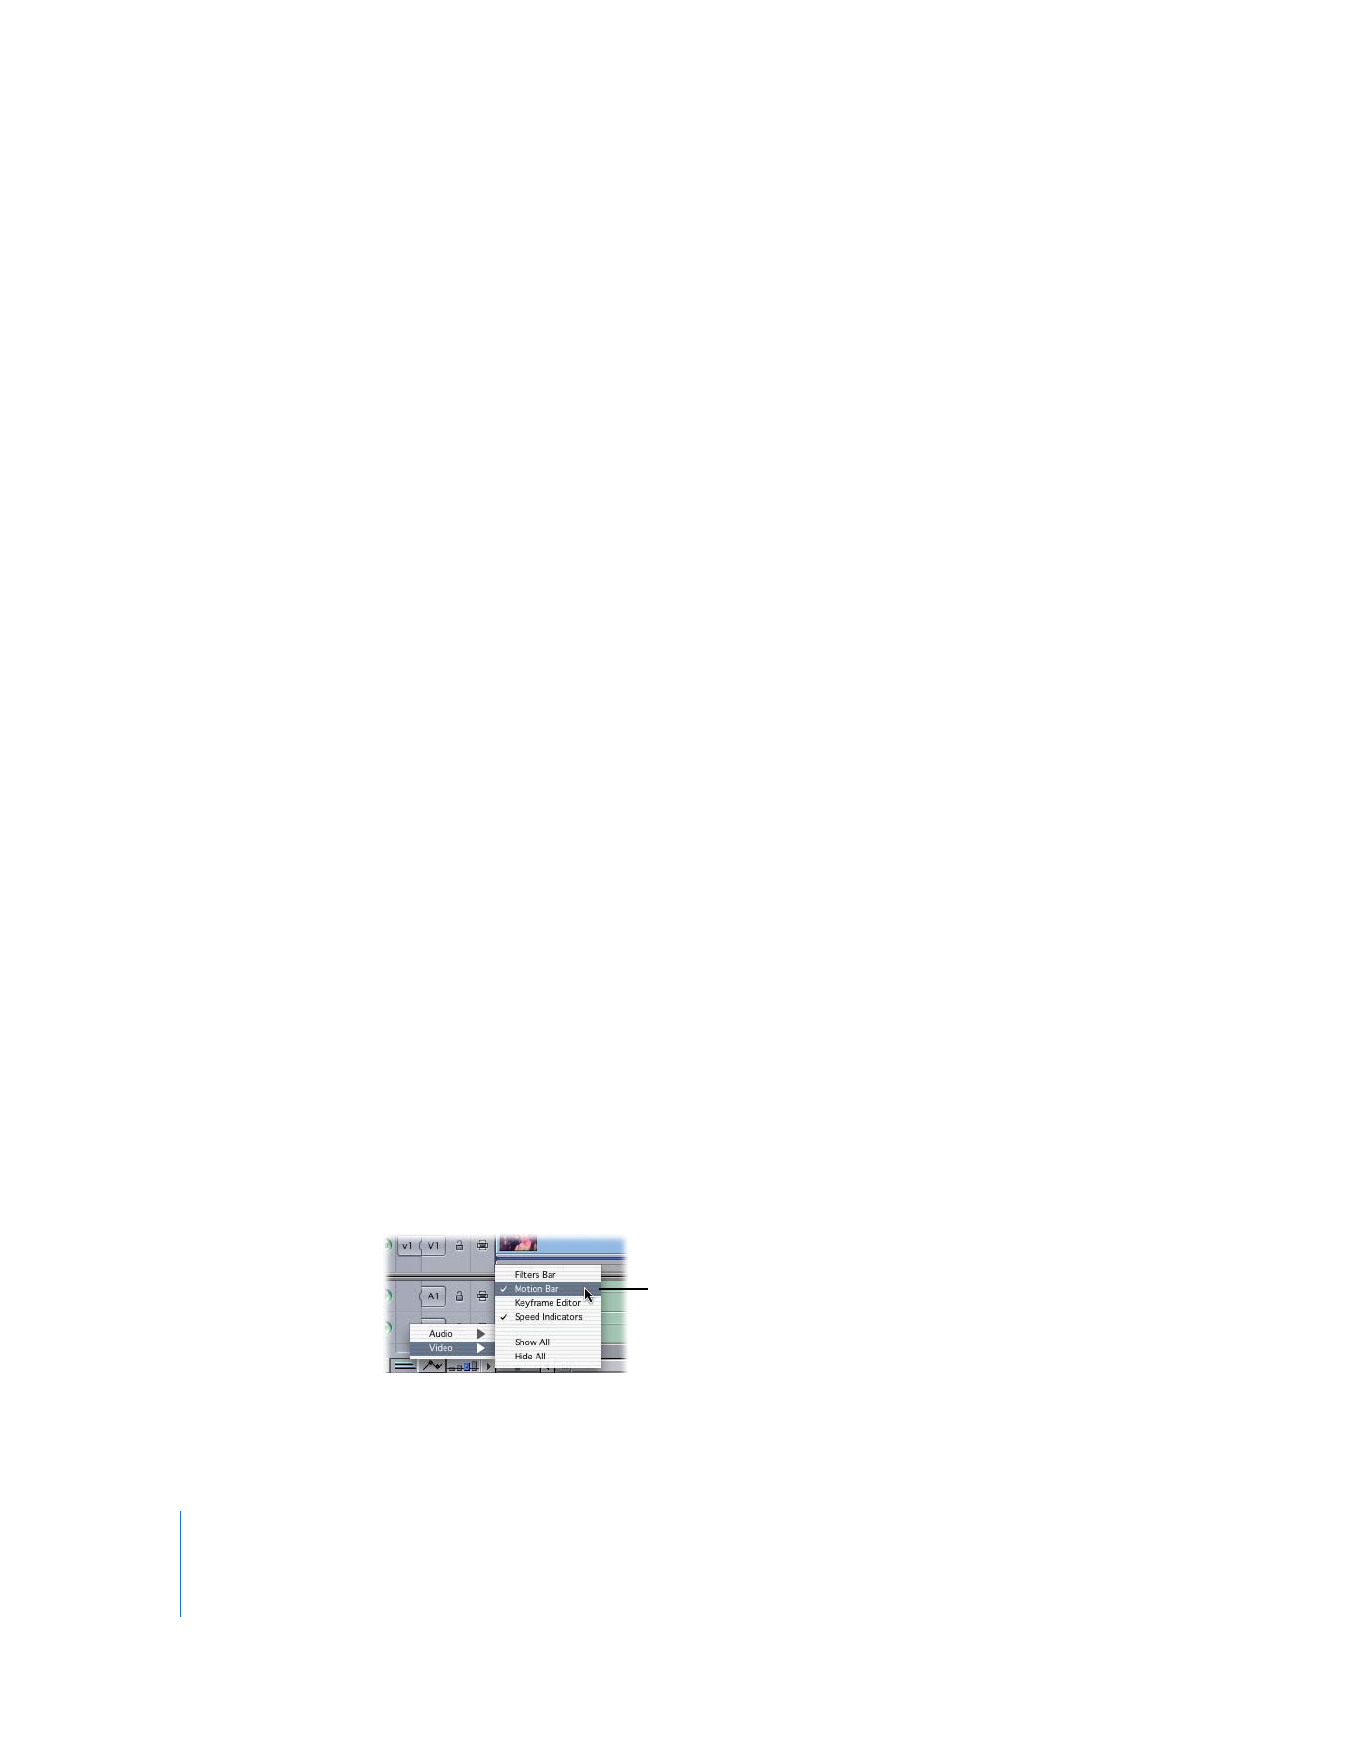
Control-click the Clip Keyframes control in the Timeline, then choose Video > Motion
Bar from the shortcut menu.
Choose this to display
the motion bar.
Chapter 17
Changing Clip Speed and Time Remapping
359
II
2
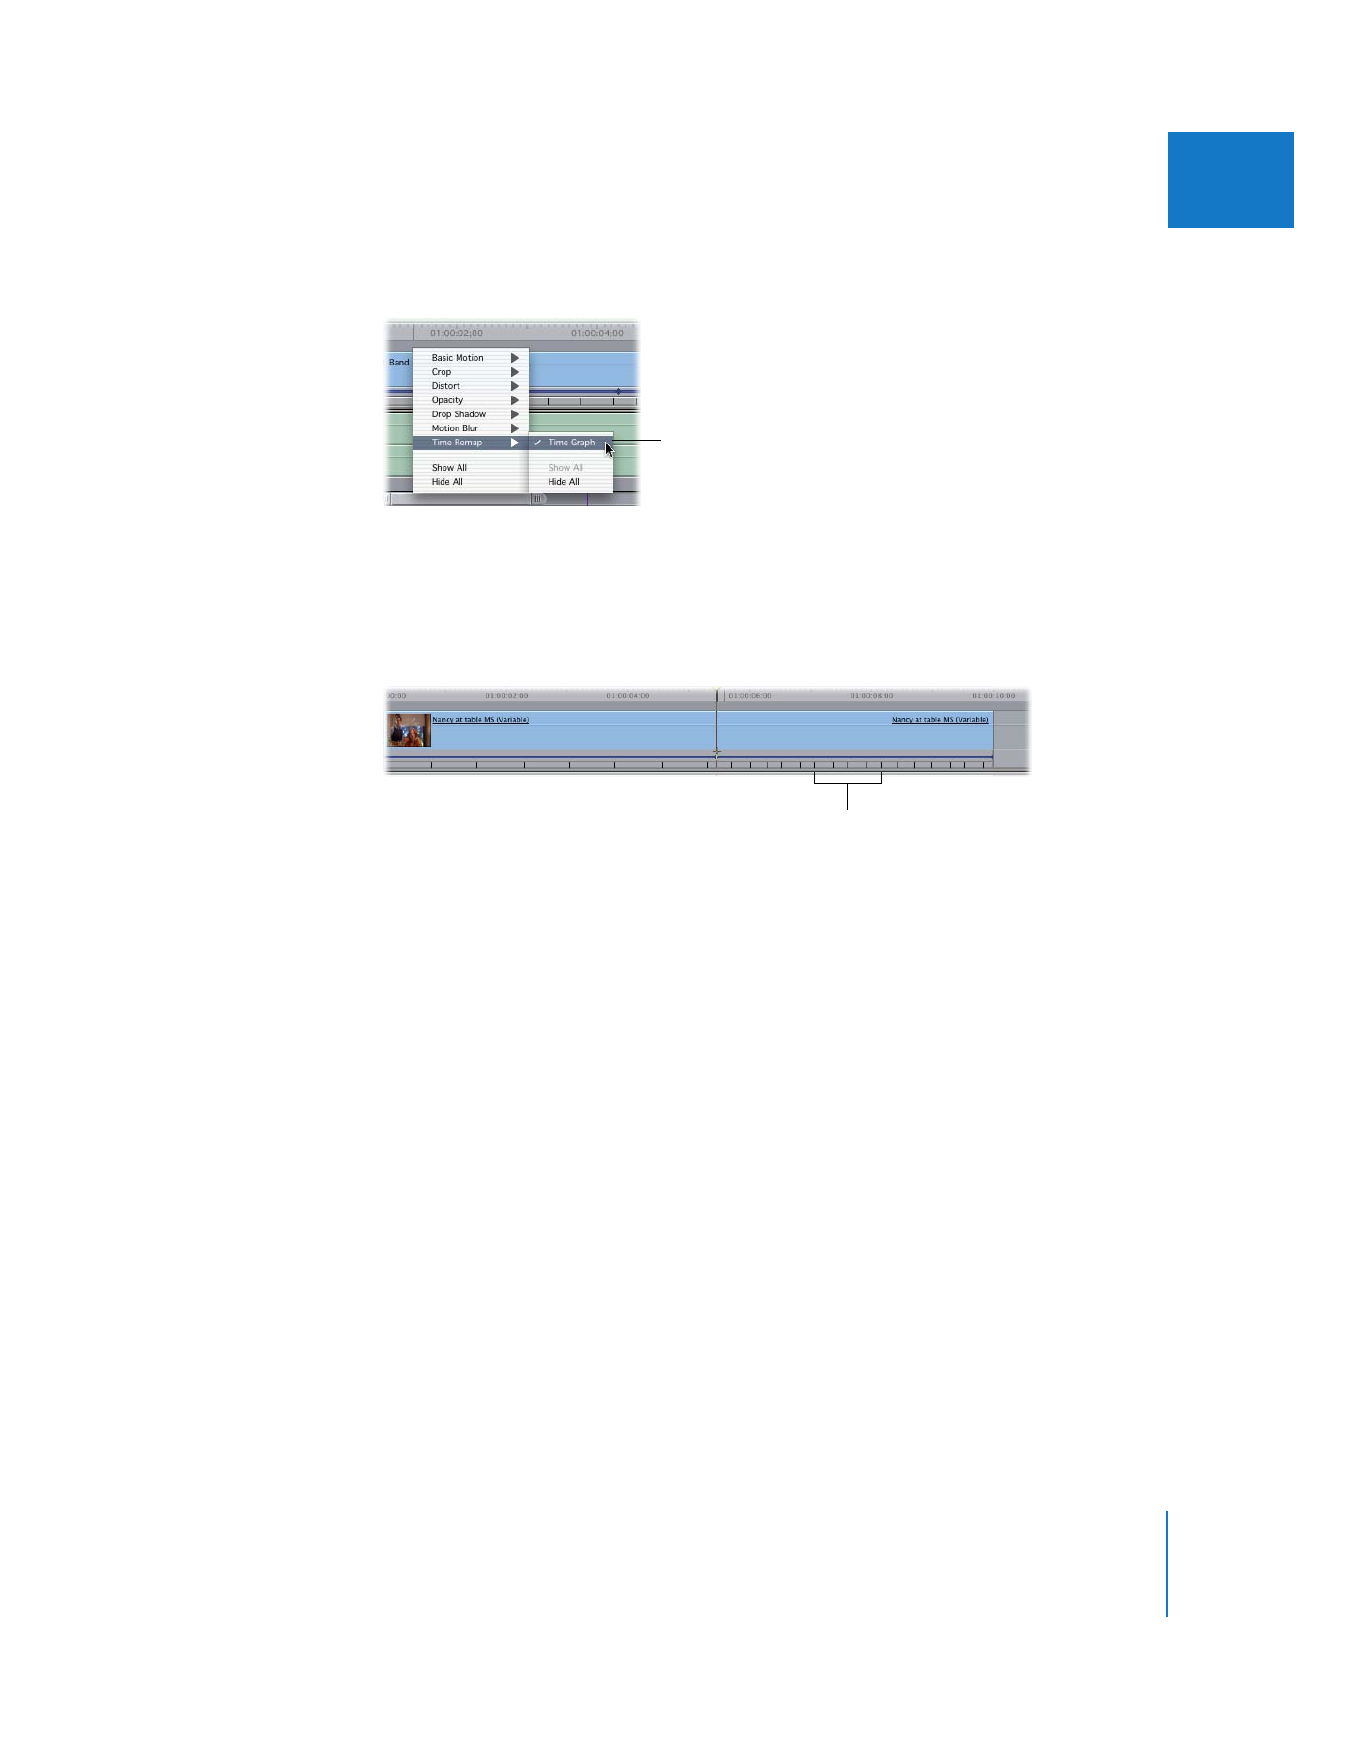
Control-click the motion bar, then choose Time Remap > Time Graph from the shortcut
menu to make time remapping keyframes visible.
3
Select the Selection tool in the Tool palette, then drag a keyframe left or right in the
motion bar to change its position in time.
As you adjust individual keyframes, the Timeline speed indicators change to show you
the modified speed to the left and right of the currently chosen time.