Using the Time Remap Tool
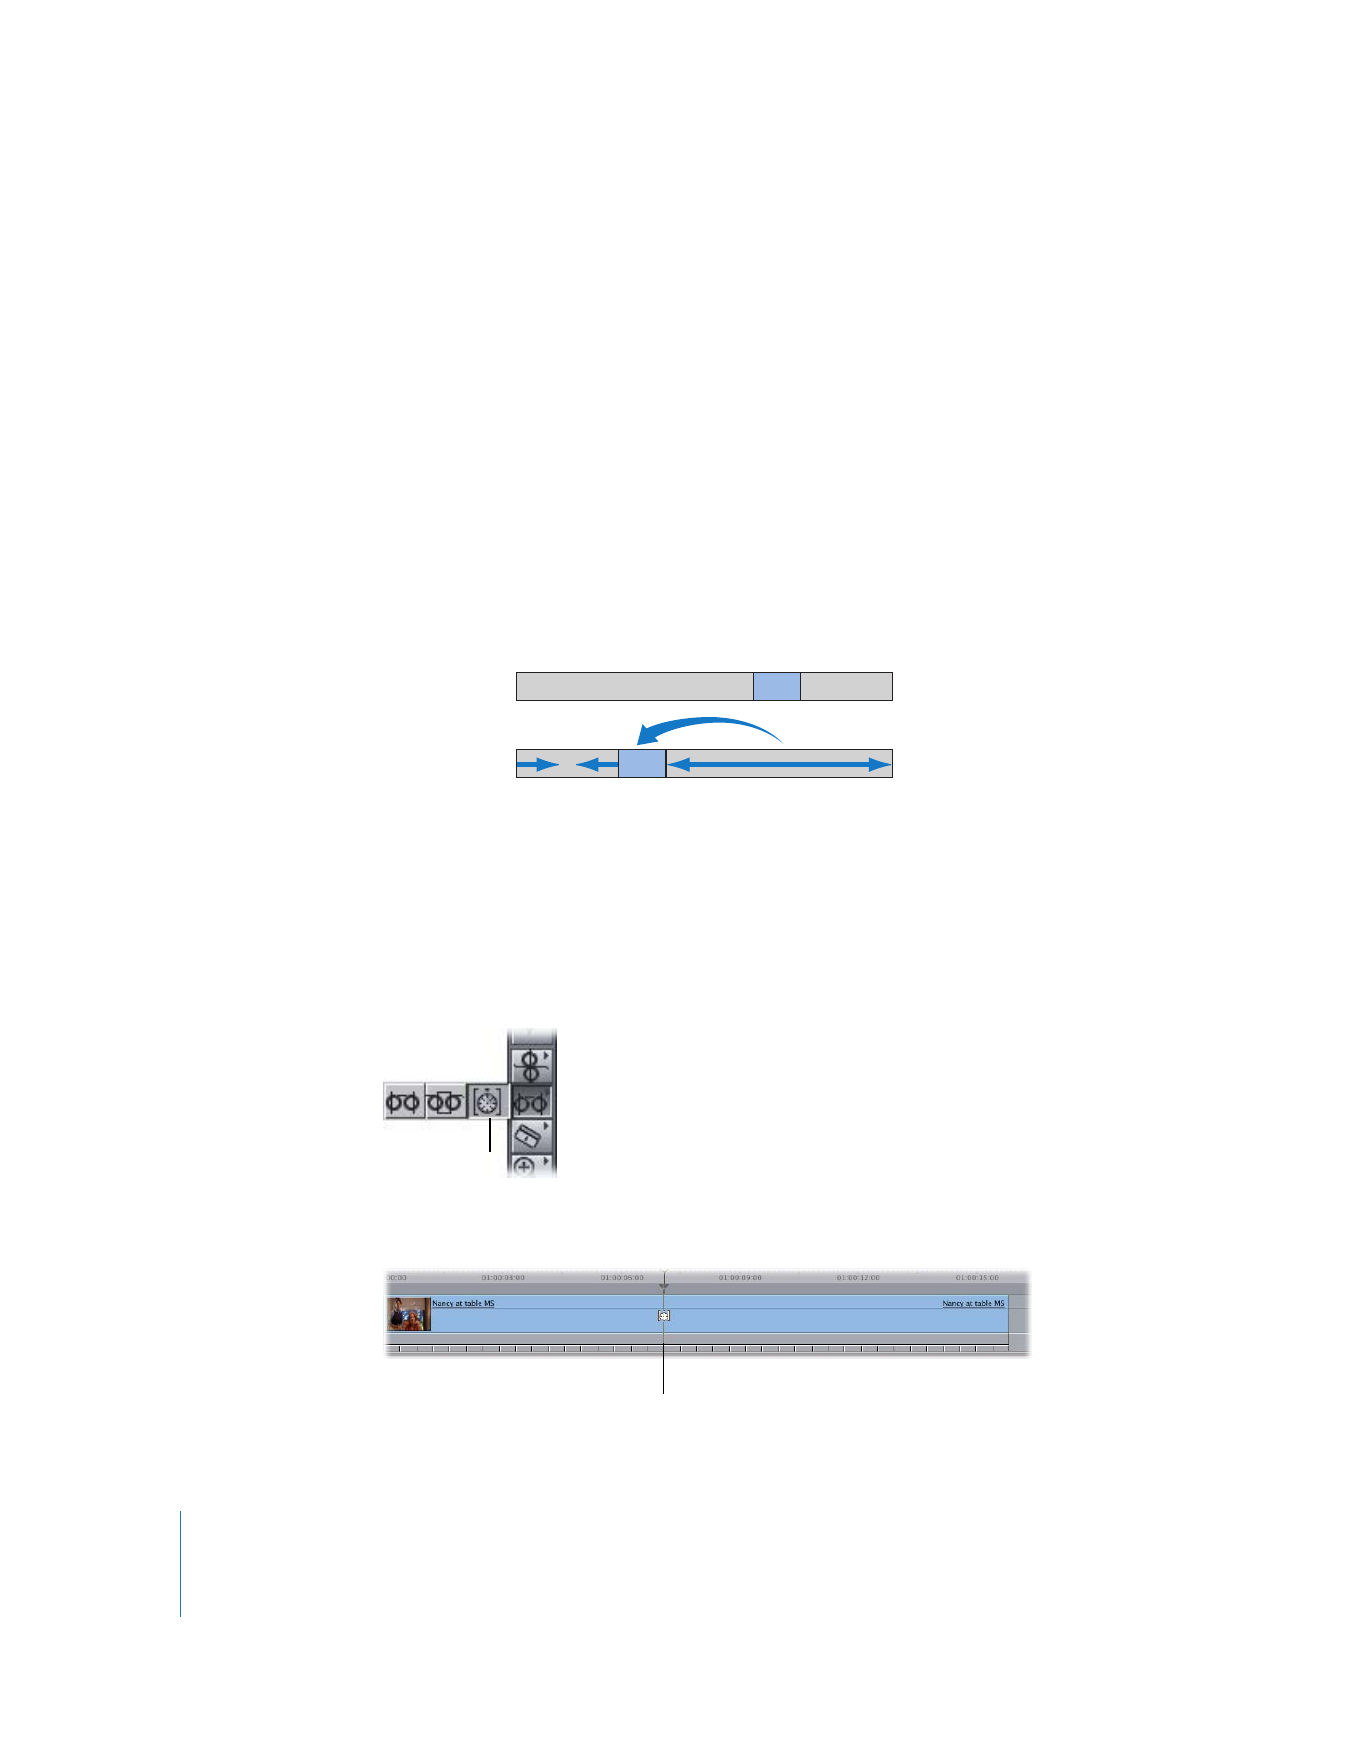
You can use the Time Remap tool in two ways:
 Slide a frame from somewhere else in the clip to the current position of the Time
Remap tool. In this case, the Time Remap tool does not move. Instead, you move a
frame from elsewhere in the clip to the position of the Time Remap tool.
 Slide the frame beneath the Time Remap tool to a new position in the Timeline. This
method allows you to move the frame you want to a precise location in the Timeline.
In both cases, the resulting clip changes speed before and after the selected frame to
compensate for its new placement in time.
∏
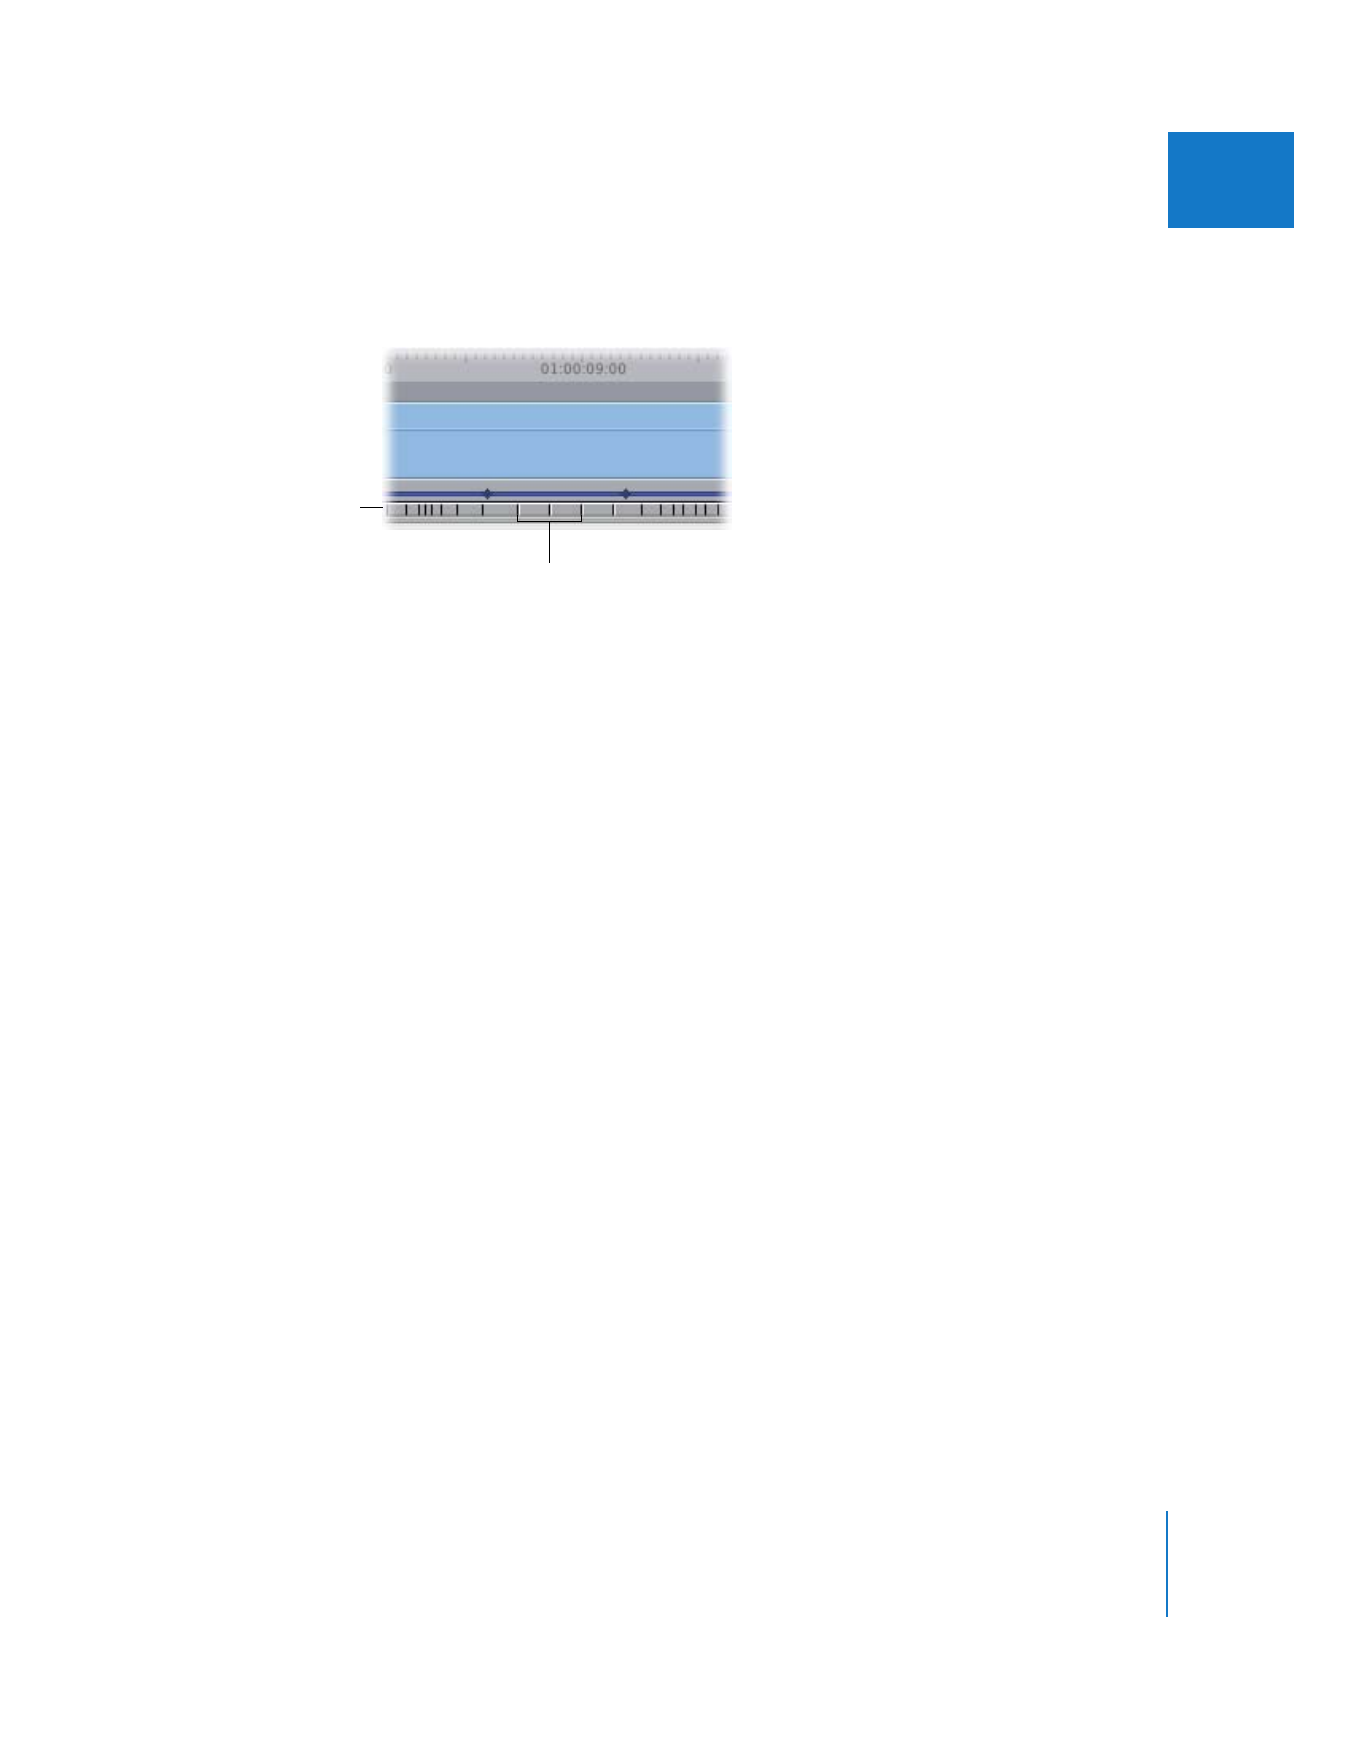
Tip: To make the most effective use of the Time Remap tool, it’s a good idea to make
the motion bar and speed indicators in the Timeline visible, so you can see how the
changes you’re making are affecting the selected clip. For more information on making
these visible, see “
Working with the Filters and Motion Bars
” on page 324 and “
Working
with the Timeline Keyframe Editor
” on page 325. You should also watch the frame in
the Canvas, the playhead position in the Timeline, and the tooltips that appear.
Mixed-speed indicators
Highlighted speed
indicators show
100 percent speed.
354
Part II
Effects