Example: Using Motion Parameters and Wireframe Handles
In this example, you’ll put a graphic on the side of a building as if it were a sign. You’ll
use the Scale, Center, and Distort parameters (in the Motion tab of the Viewer) to match
the perspective of the building with the perspective of the sign, and the Selection and
Distort tools to manipulate the graphic directly in the Canvas. This example assumes
you’ve already created a new sequence and opened it in the Timeline.
Note: This example uses a sequence created for DV clips, with a frame size of 720 x 480.
1
Edit a shot of a building into track V1 of your sequence.
2
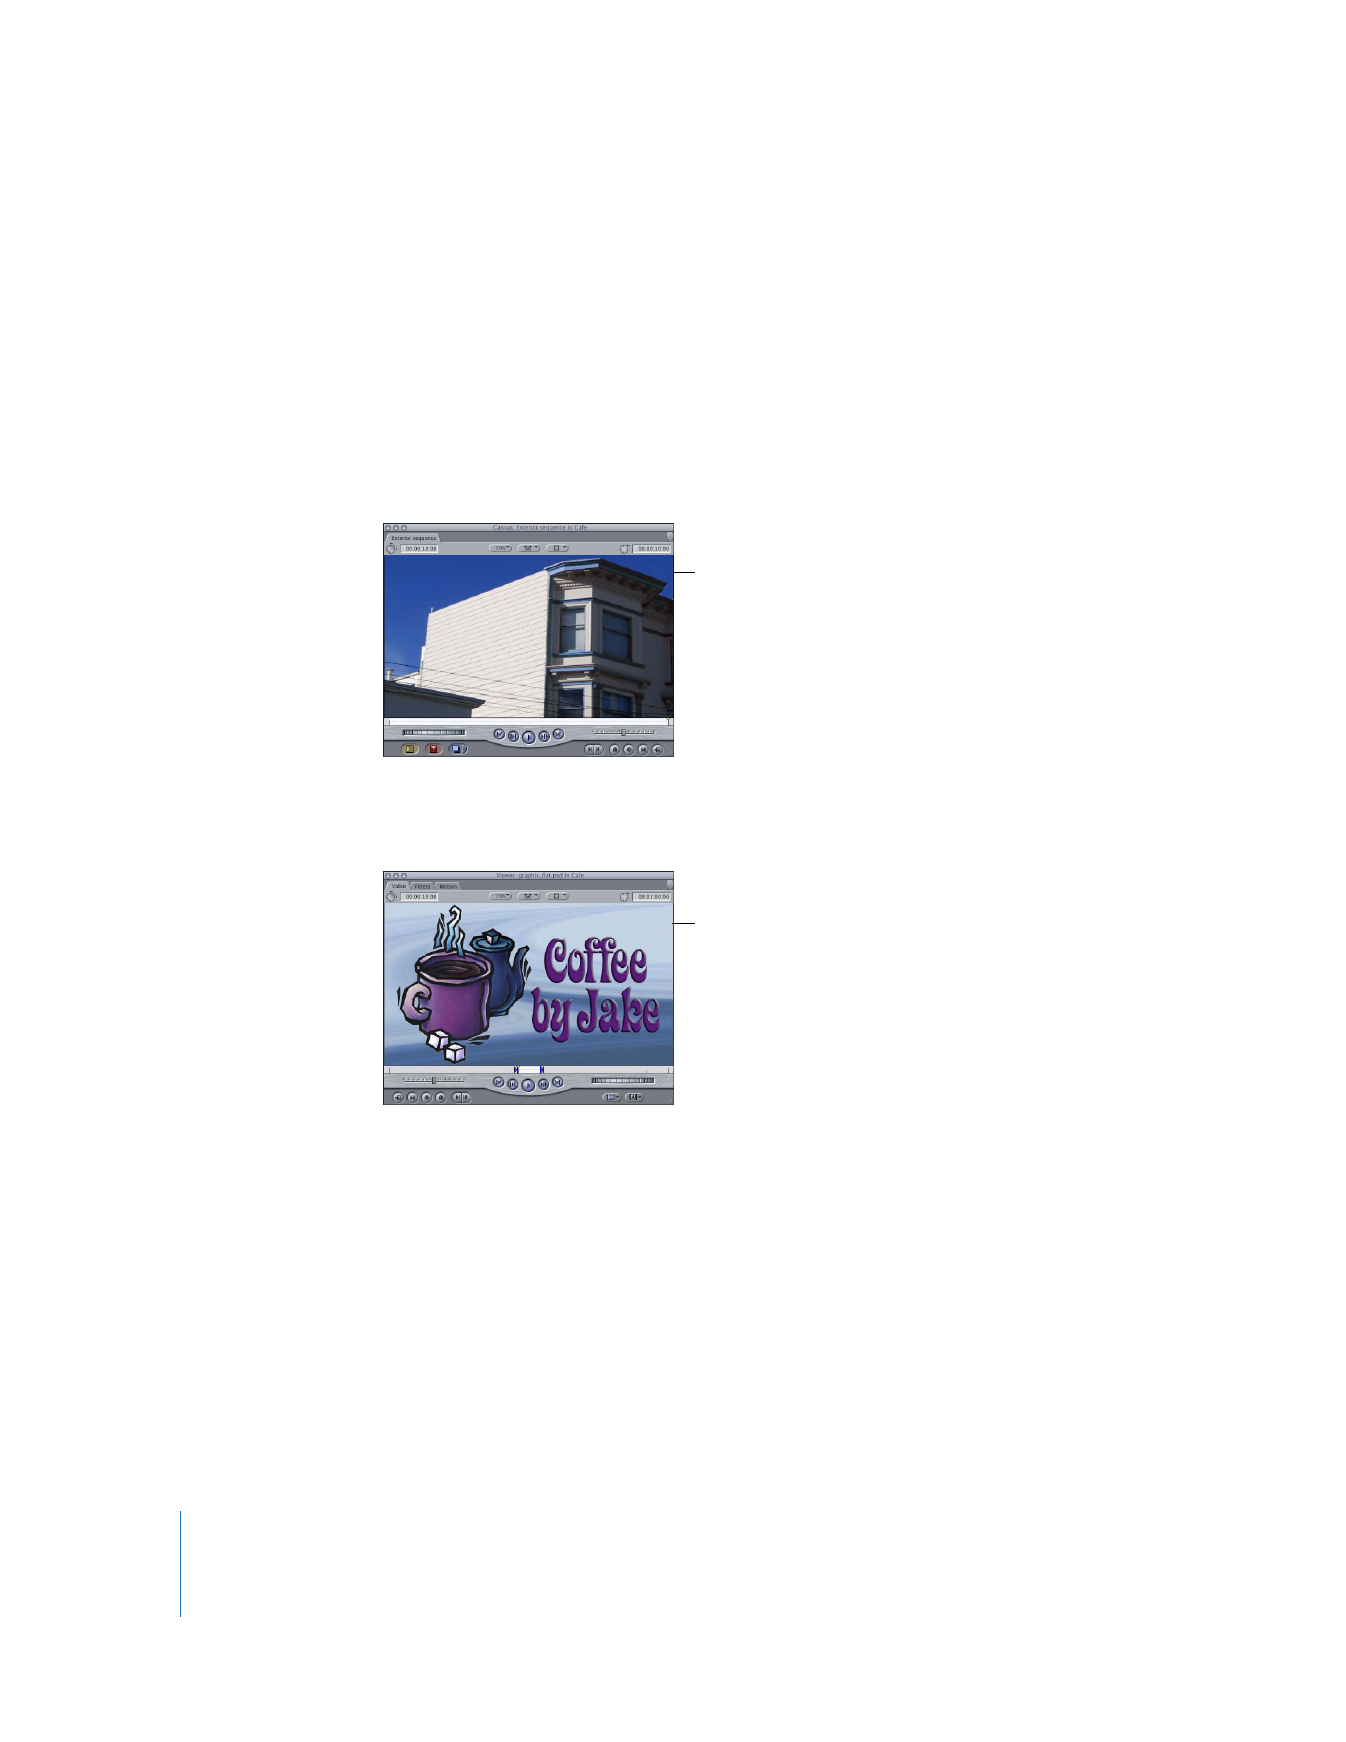
Import a graphics file (such as a PICT file) of a sign into your project, then open it in
the Viewer.
The clip shown here is a
locked-down shot of a building
from a three-quarter angle
(a locked-down shot is one
where the camera does
not move).
This shows the graphic you’ll
place on the side of the
building.

Chapter 14
Changing Motion Parameters
283
II
3
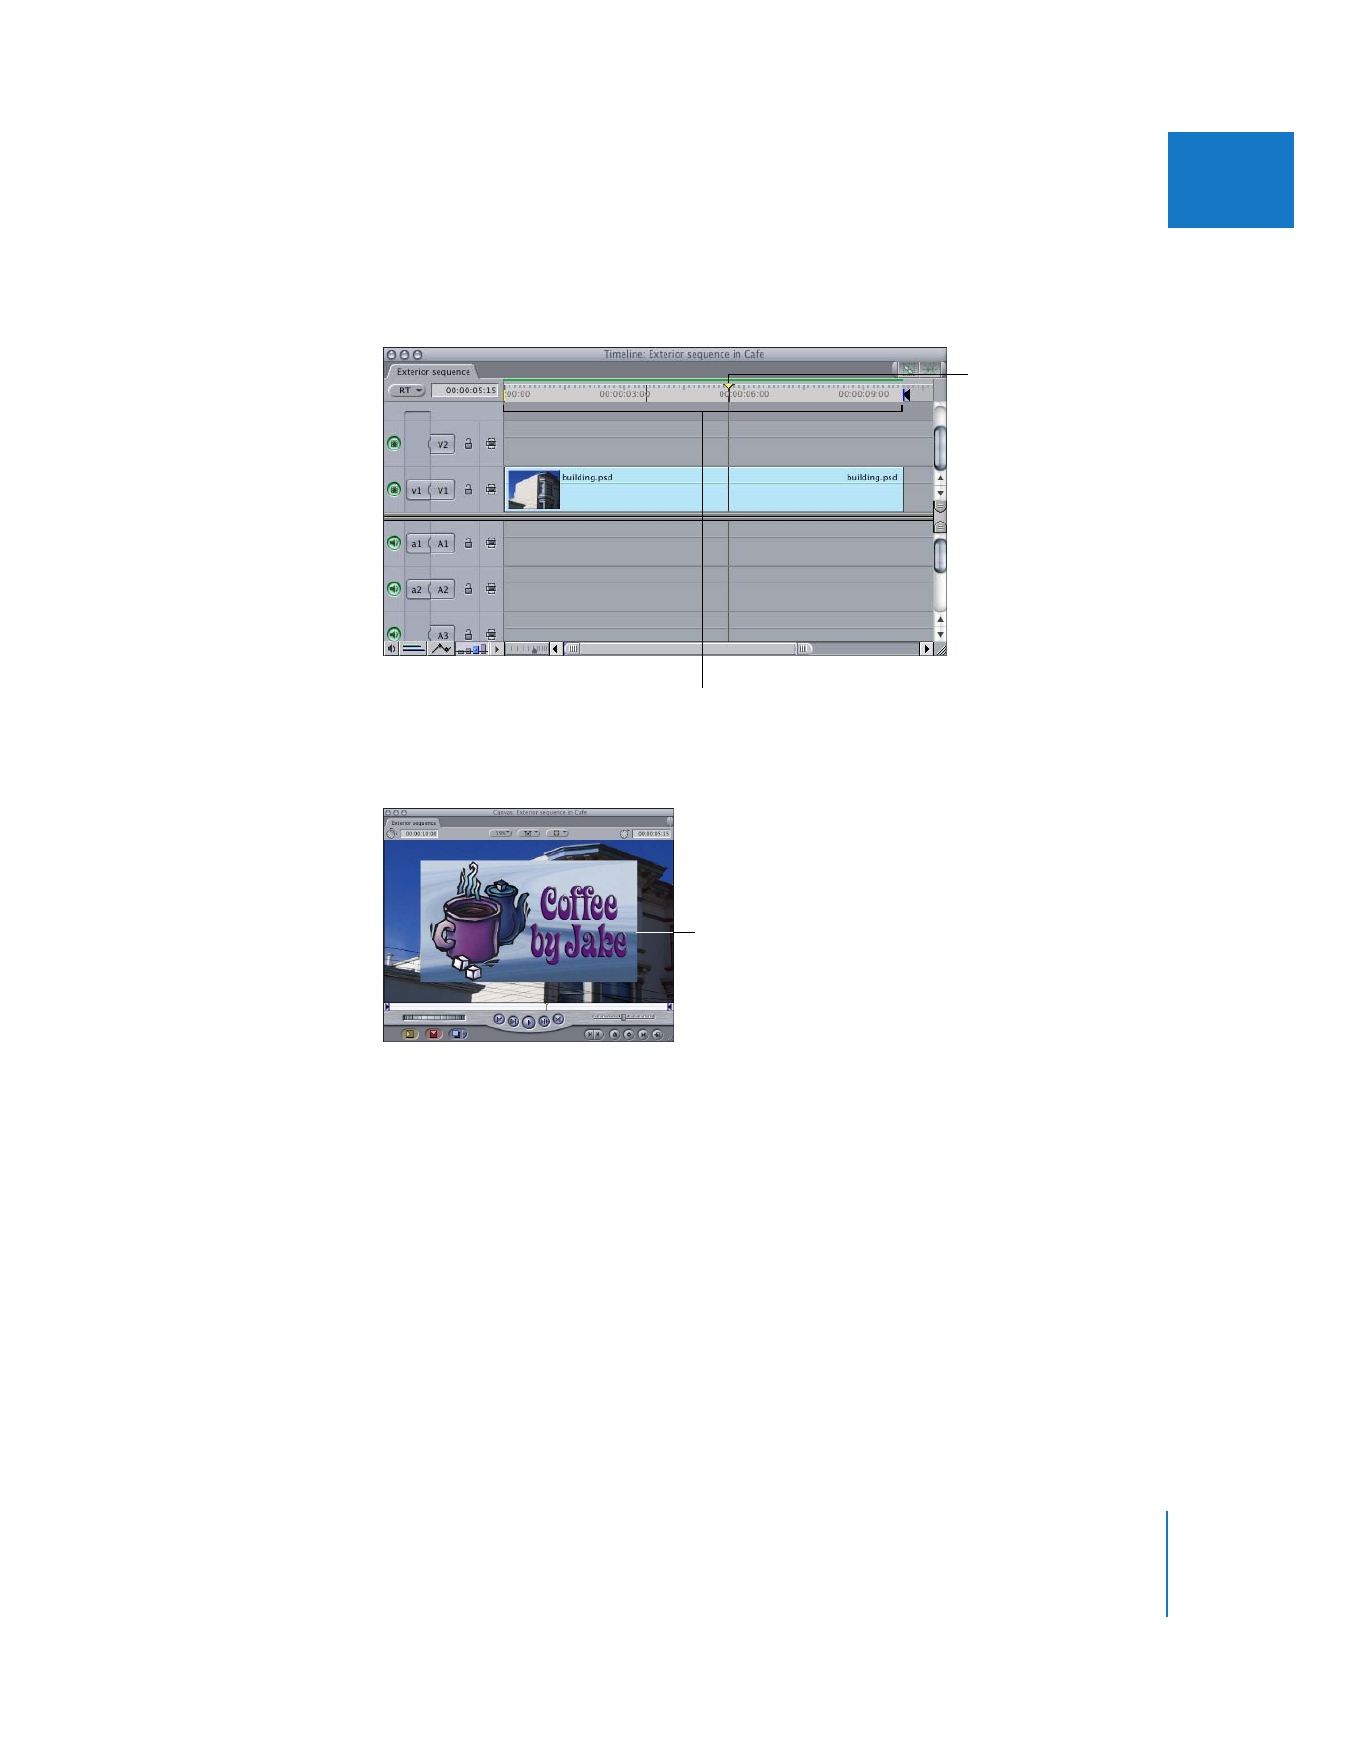
In the Canvas or Timeline, position the playhead over the clip you just edited into track
V1, then set the sequence In and Out points to be the duration of the building clip
(choose Mark > Mark Clip, or press X).
4
Perform a superimpose edit to place the sign in track V2 for the duration of the shot.
Instead of changing settings in the Motion tab, you’ll manipulate the images in
the Canvas.
Position the playhead
anywhere within the clip.
Set the In and Out points
for the duration of this clip.
The sign is now on top
of the building.

284
Part II
Effects
5
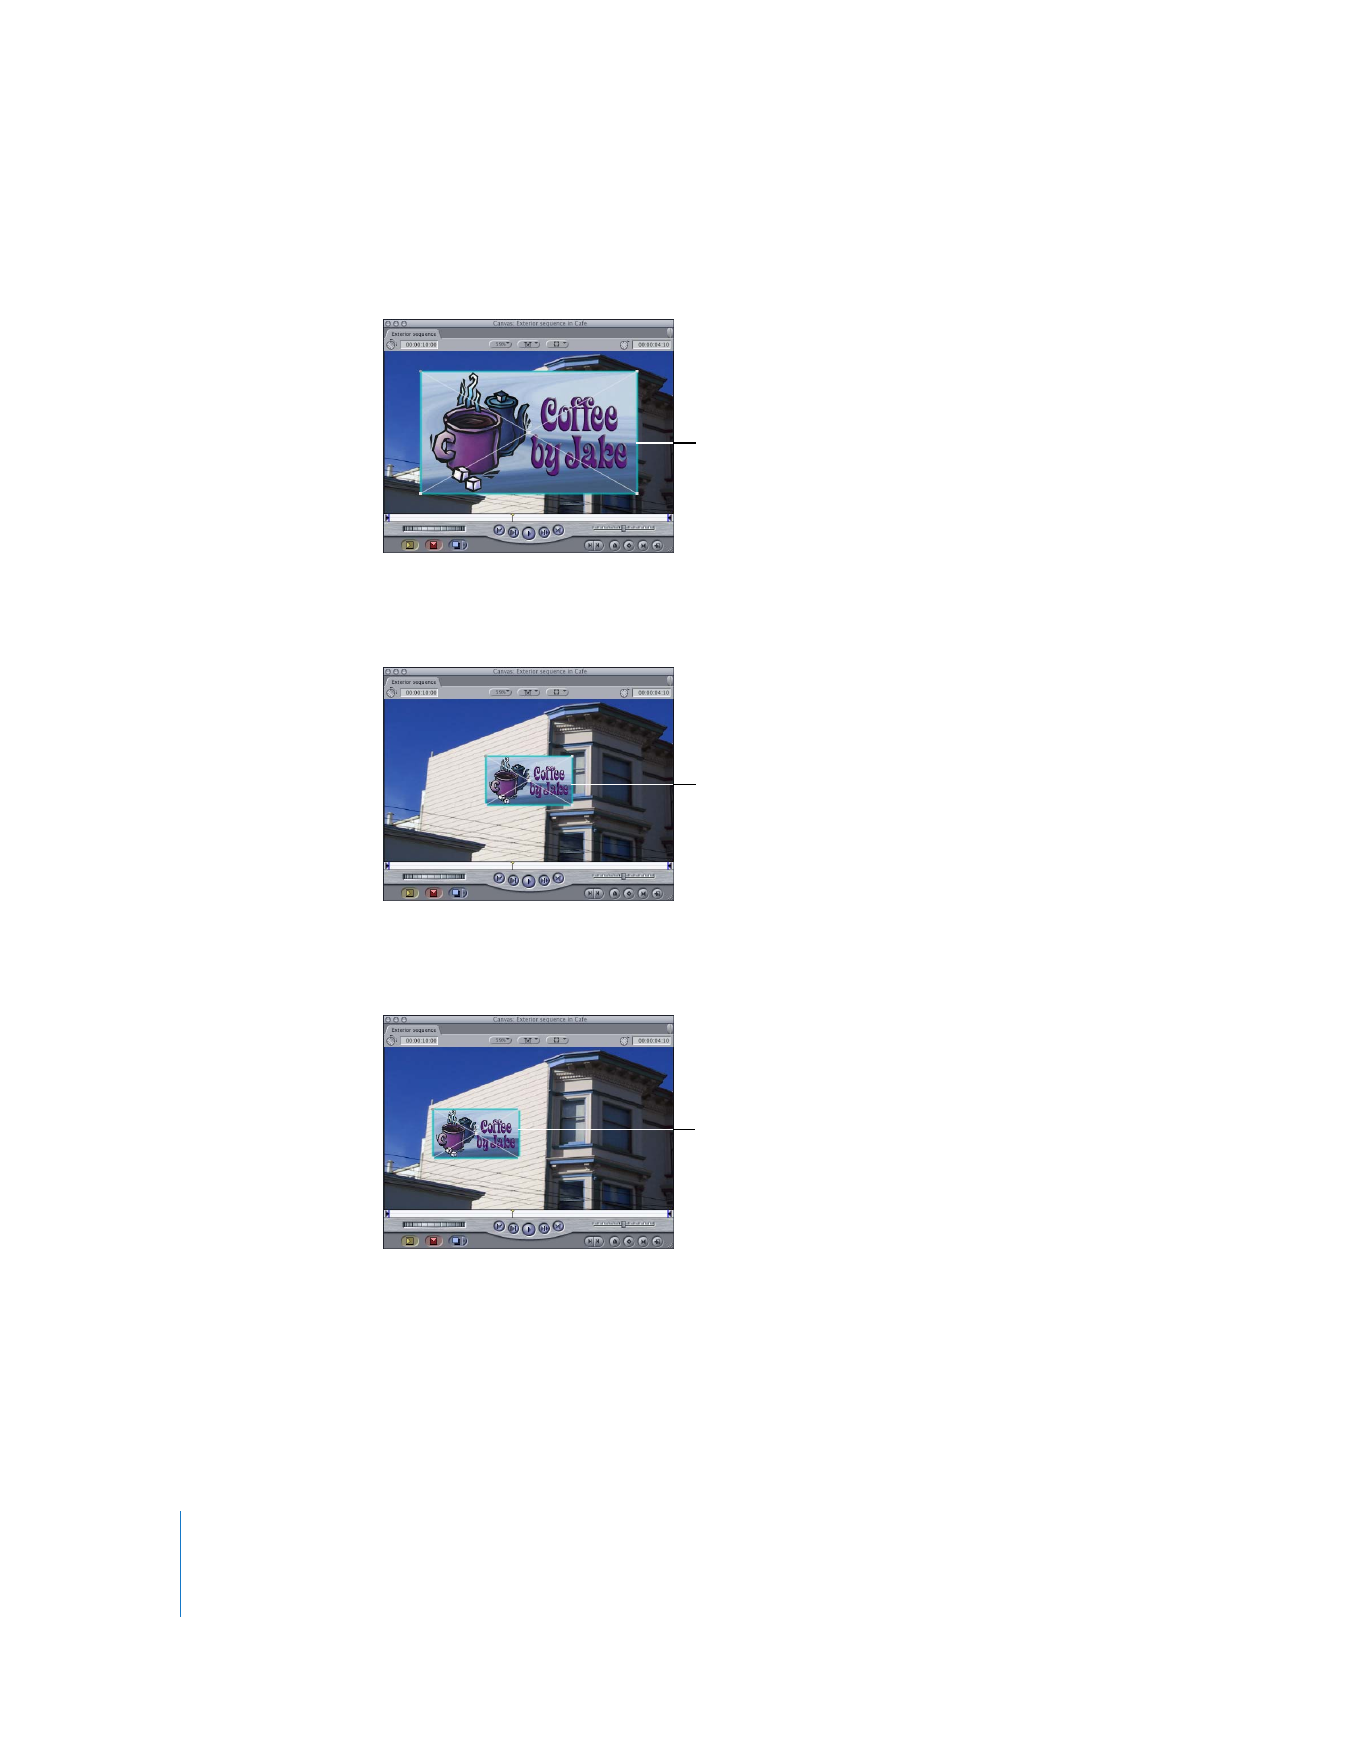
In the Timeline, select the image, then choose Image+Wireframe from the View pop-up
menu in the Canvas.
6
With the Selection tool selected, hold down the Shift key, then drag one of the corners
of the sign graphic to change its scale to match that of the building.
7
With the Selection tool, drag the center point of the sign graphic to move it so that its
position matches that of the wall.
The selected layer in
track V2 is outlined in
turquoise.
Scale down the size of
the sign graphic.
Move the graphic so it’s
positioned entirely on
the building’s side.

Chapter 14
Changing Motion Parameters
285
II
8
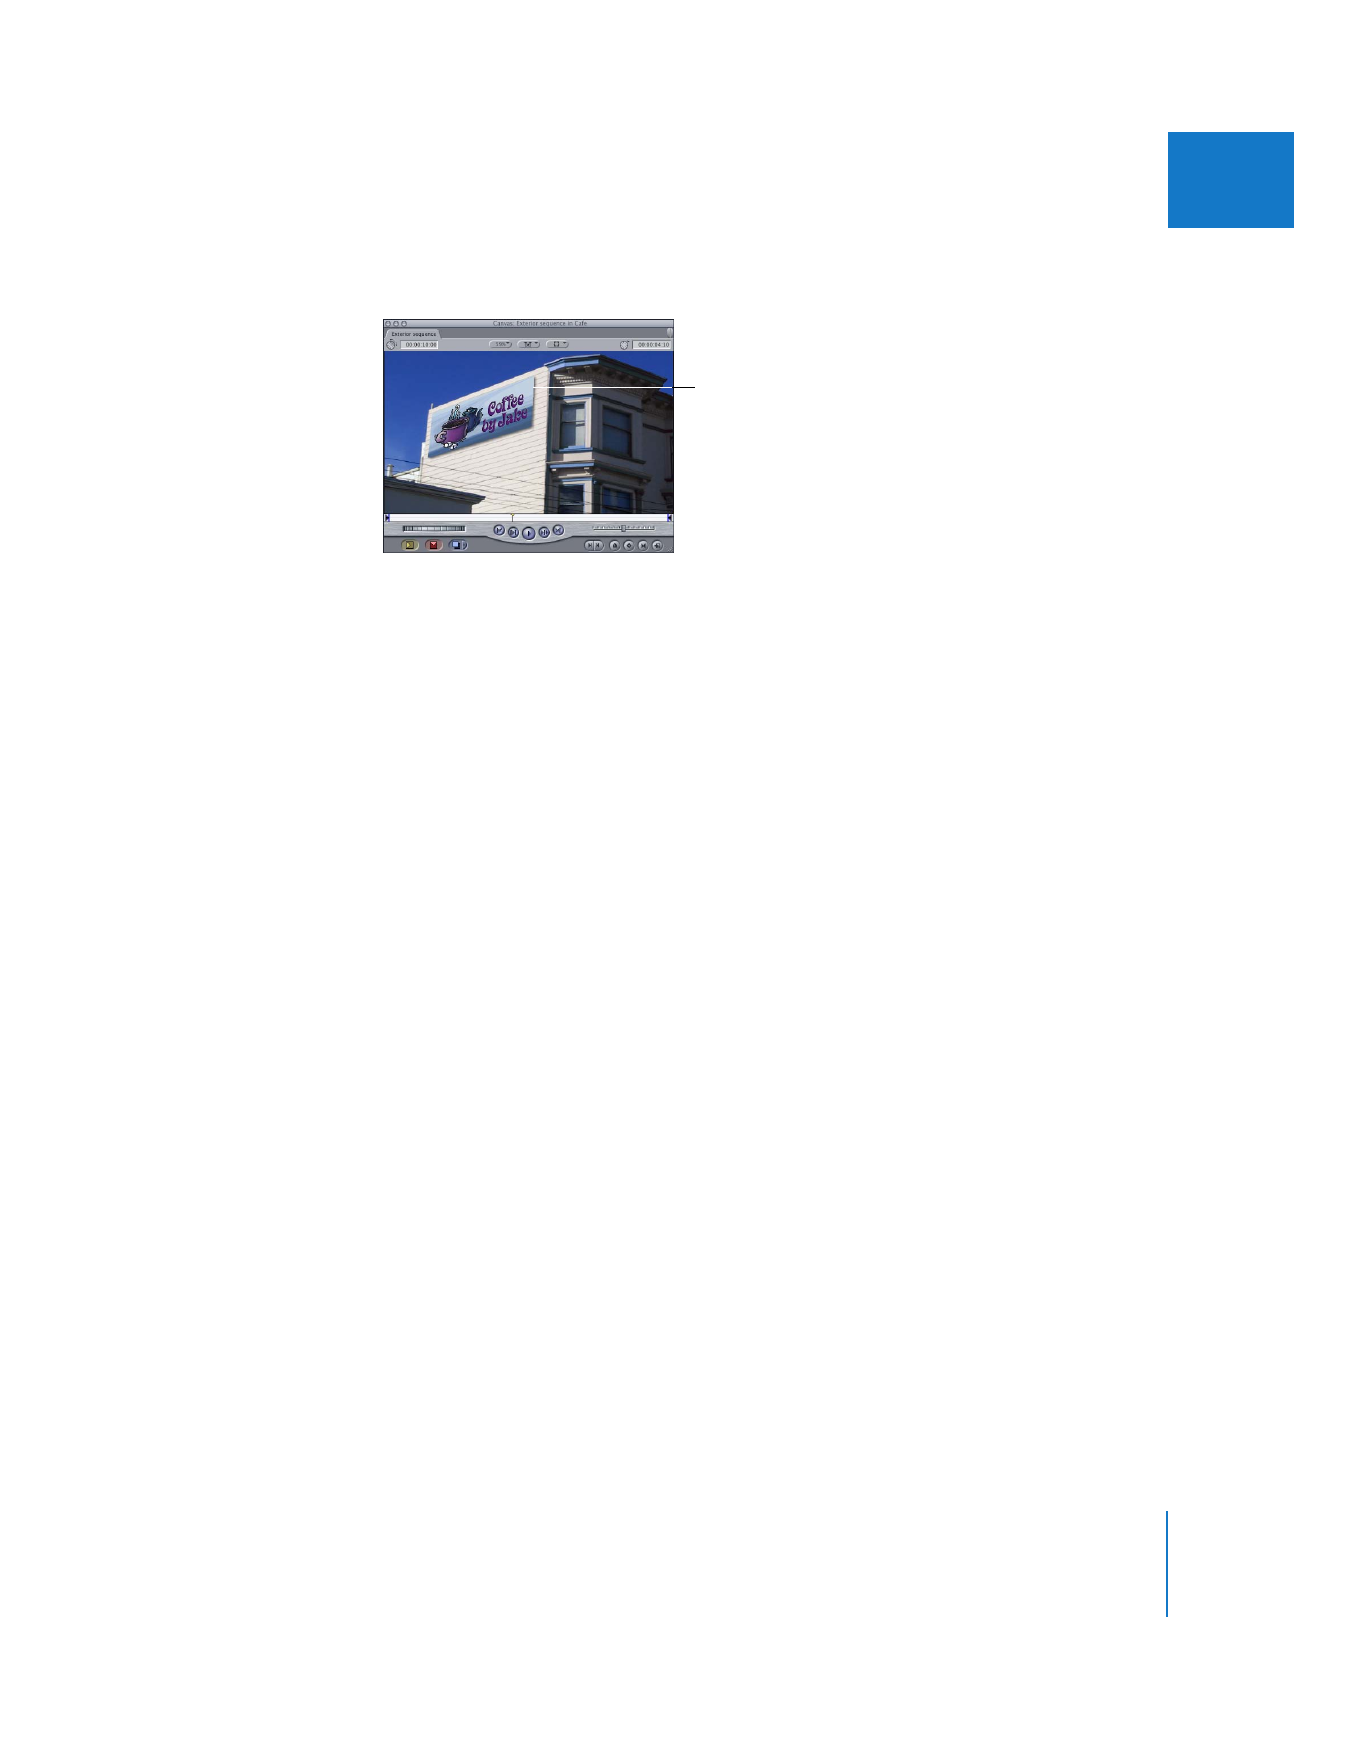
Select the Distort tool in the Tool palette, then drag each of the four corners of the sign
graphic until they match the perspective of the side of the building.
∏
Tip: To make the sign look more convincing, you can also add a subtle drop shadow by
enabling the Drop Shadow attribute in the Motion tab of the sign clip.
Use the Distort tool to
match the perspective
of the building.


15
287
15