Working with Motion Parameters
You can use the Motion tab to view and change motion parameters for a selected clip.
To view the motion parameters for a clip:
m
Open a clip in the Viewer, then click the Motion tab.
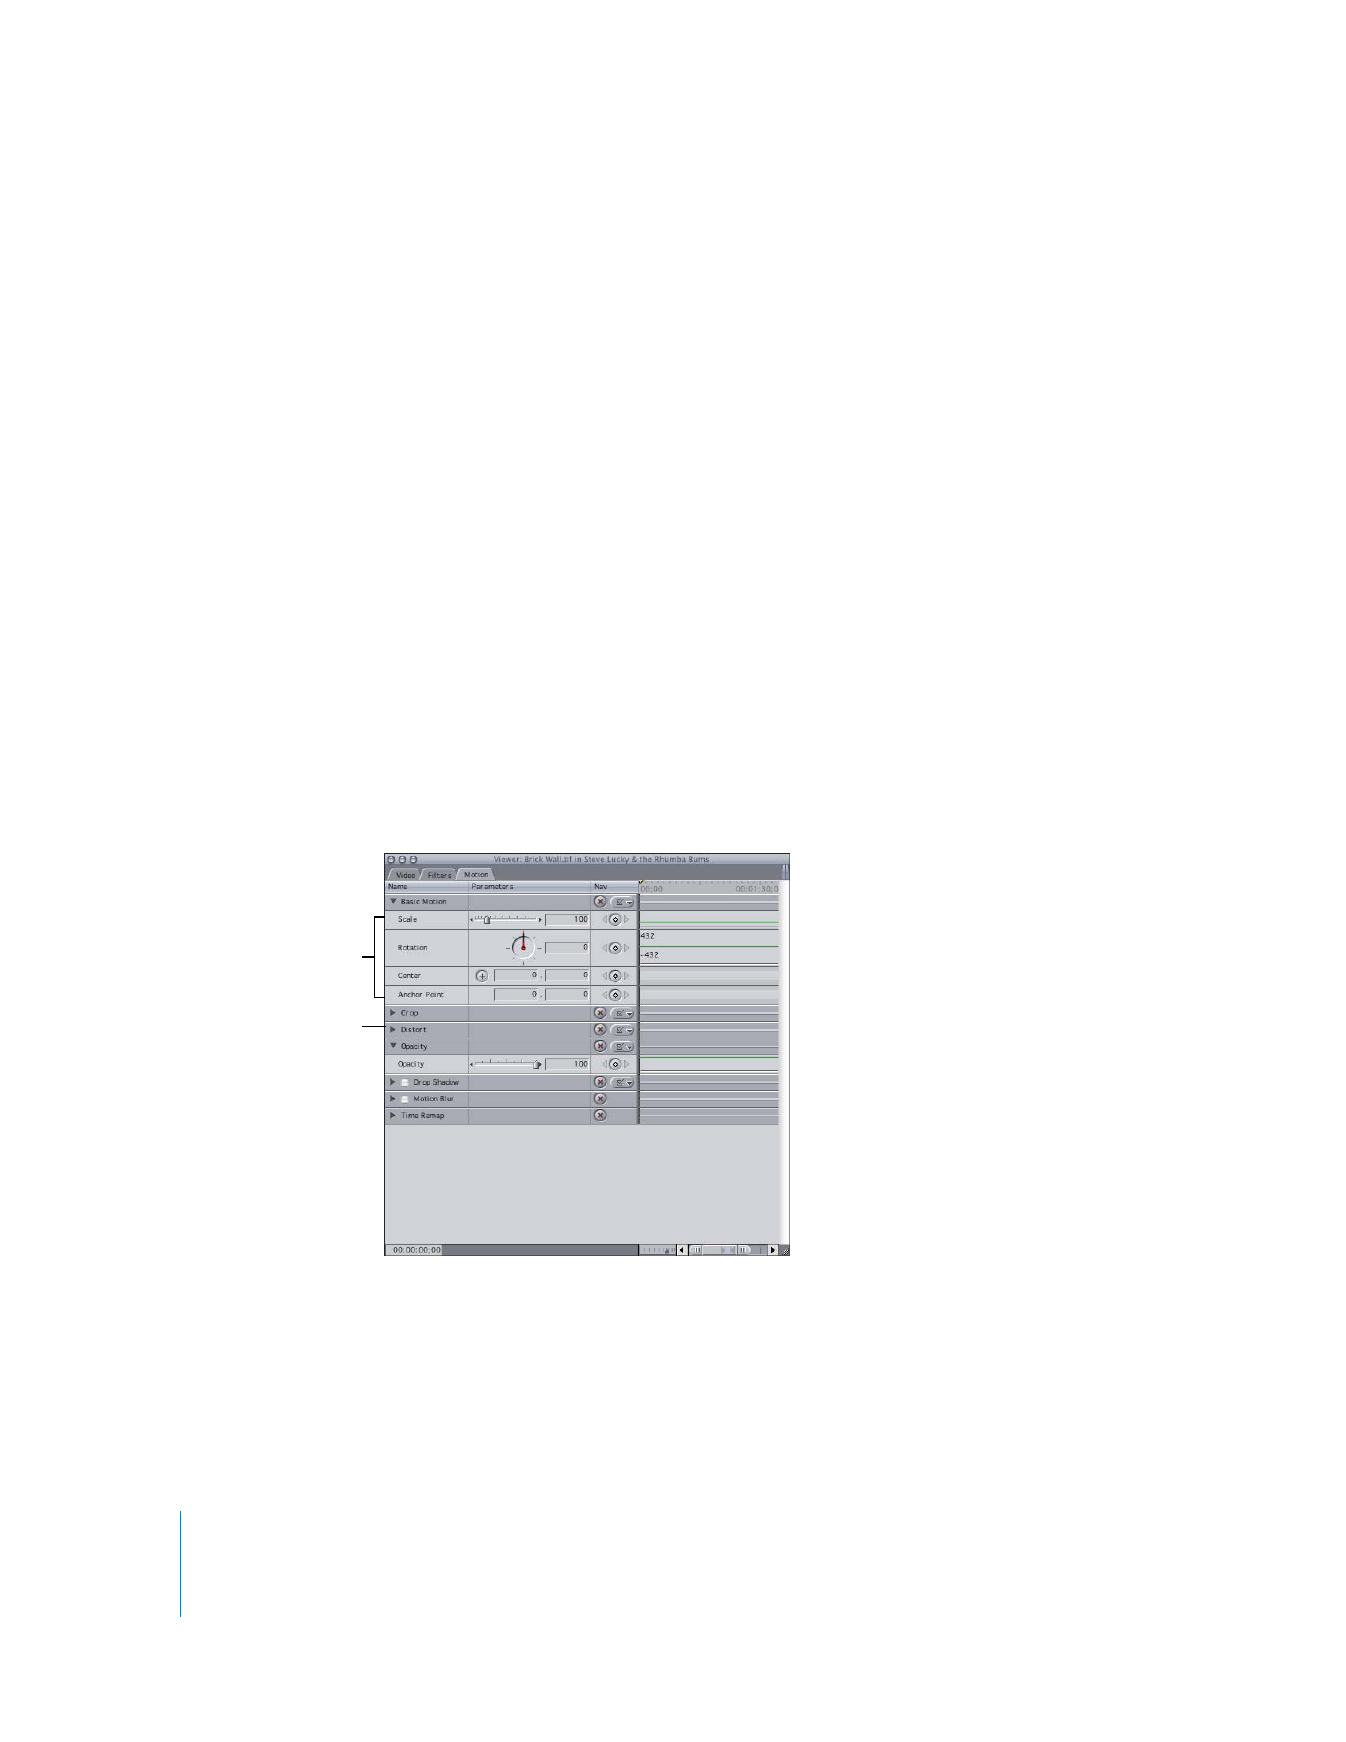
The parameters in the Motion tab are divided into seven attribute sets. Each attribute
has its own visual and numeric parameter controls.
To reveal parameter controls for a motion attribute:
m
In the Motion tab, click the disclosure triangle next to the attribute.
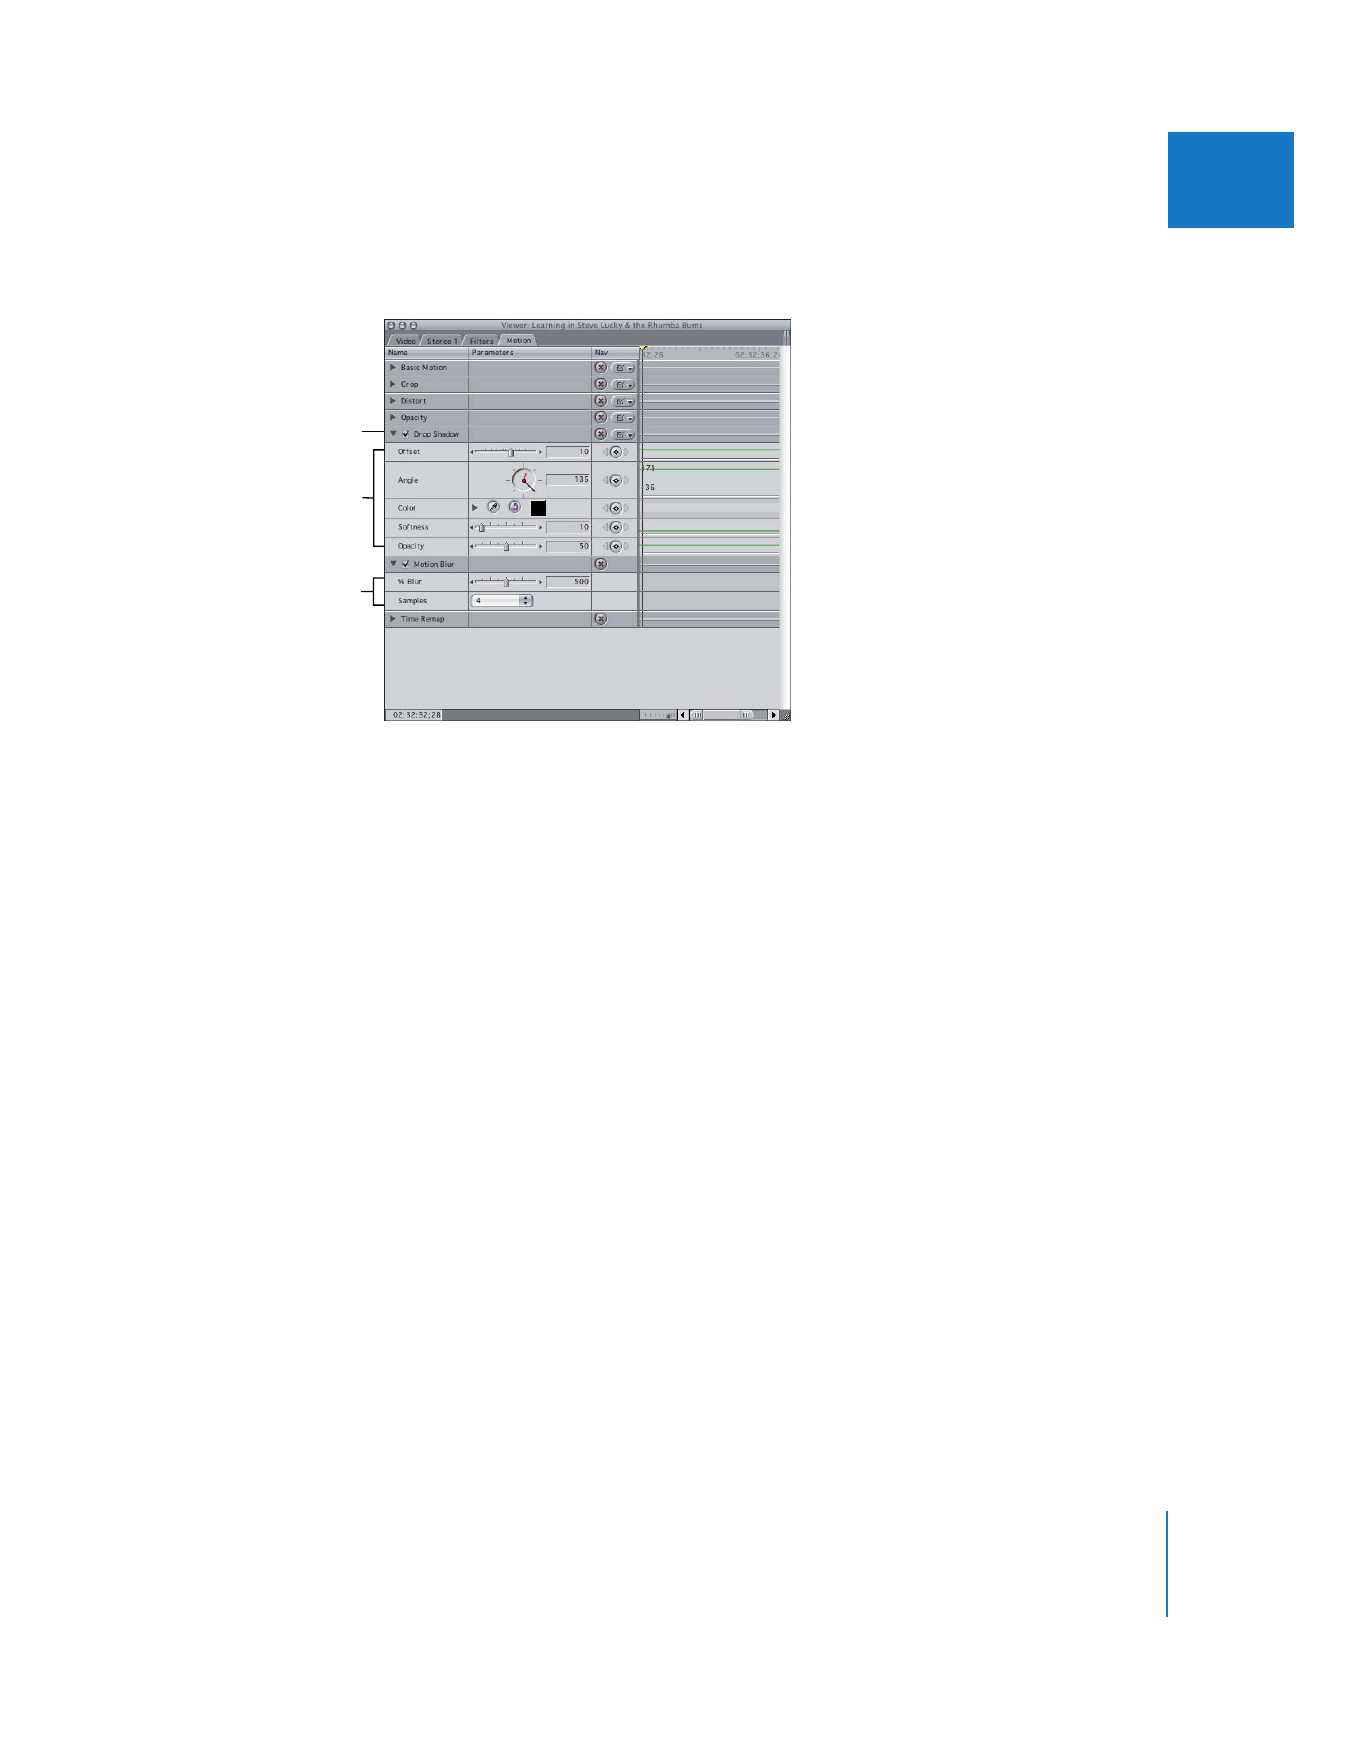
Drop Shadow and Motion Blur must be enabled before you can adjust their parameters.
Basic motion parameters
Distort attribute
Chapter 14
Changing Motion Parameters
257
II
To enable the Drop Shadow or Motion Blur attribute:
m
Select the checkbox next to Drop Shadow or Motion Blur.
To adjust motion parameters, do any of the following:
m
Drag the slider.
m
Enter a new value in the number field, then press Return.
m
Drag the corresponding overlay in the keyframe graph.
m
For settings with an Angle control: Drag the hand on the dial. The black hand indicates
the current angle of the clip; the small red hand indicates the total rotations forward or
backward.
m
For settings that use x and y coordinates: Enter new coordinates in the number fields to
the right, then press Return. Some coordinate settings also have a point control; select
the control, then position the crosshair pointer at the appropriate point in the Canvas
and click.
∏
Tip: Any motion, audio, or filter parameter can be adjusted in the keyframe graph area
of the Timeline. For more information, see “
Adjusting and Deleting Keyframes
” on
page 296.
For more information about adjusting keyframe graphs in the Timeline, see “
Working
with the Timeline Keyframe Editor
” on page 325.
Some parameters must
be enabled to use them.
Motion Blur parameters
Drop Shadow parameters
258
Part II
Effects
Controls in the Motion Tab
The following section describes the attributes and related parameters in the Motion tab
of the Viewer.
Basic Motion Parameters
The Basic Motion parameters allow you to add motion to a clip—changing the scale,
rotating a clip, moving the center point, and setting an anchor point.
 Scale: Changes the overall size of a clip without changing its proportions.
 Rotation: Rotates a clip around its center axis without changing its shape. Clips can
be rotated plus or minus 24 rotations.
 Center: Specifies the center point of the clip, allowing you to move a clip somewhere
else in the frame. The Center parameter actually refers to the location of the clip’s
anchor point in the Canvas.
 Anchor Point: Specifies the point that is used to center a clip’s position and rotation.
A clip’s anchor point does not have to be at its center.
Crop Parameters
Change a clip’s Crop parameters to crop a clip and feather or soften the edges so that
they blend into the background when compositing.
 Left, Right, Top, Bottom: Crops the clip from the specified side. You can crop the top, left,
right, and bottom of a clip independently. Values in the number fields represent pixels.
 Edge Feather: Applies a soft border with its outer edge at the crop line. The higher
you set the Edge Feather parameter value, the farther into your clip the feathering
effect goes.