Example: Using Additional Motion Settings to Refine the Layout
In this example, the Crop, Opacity, and Drop Shadow parameter settings are changed
to further customize the sequence you created in the previous example.
1
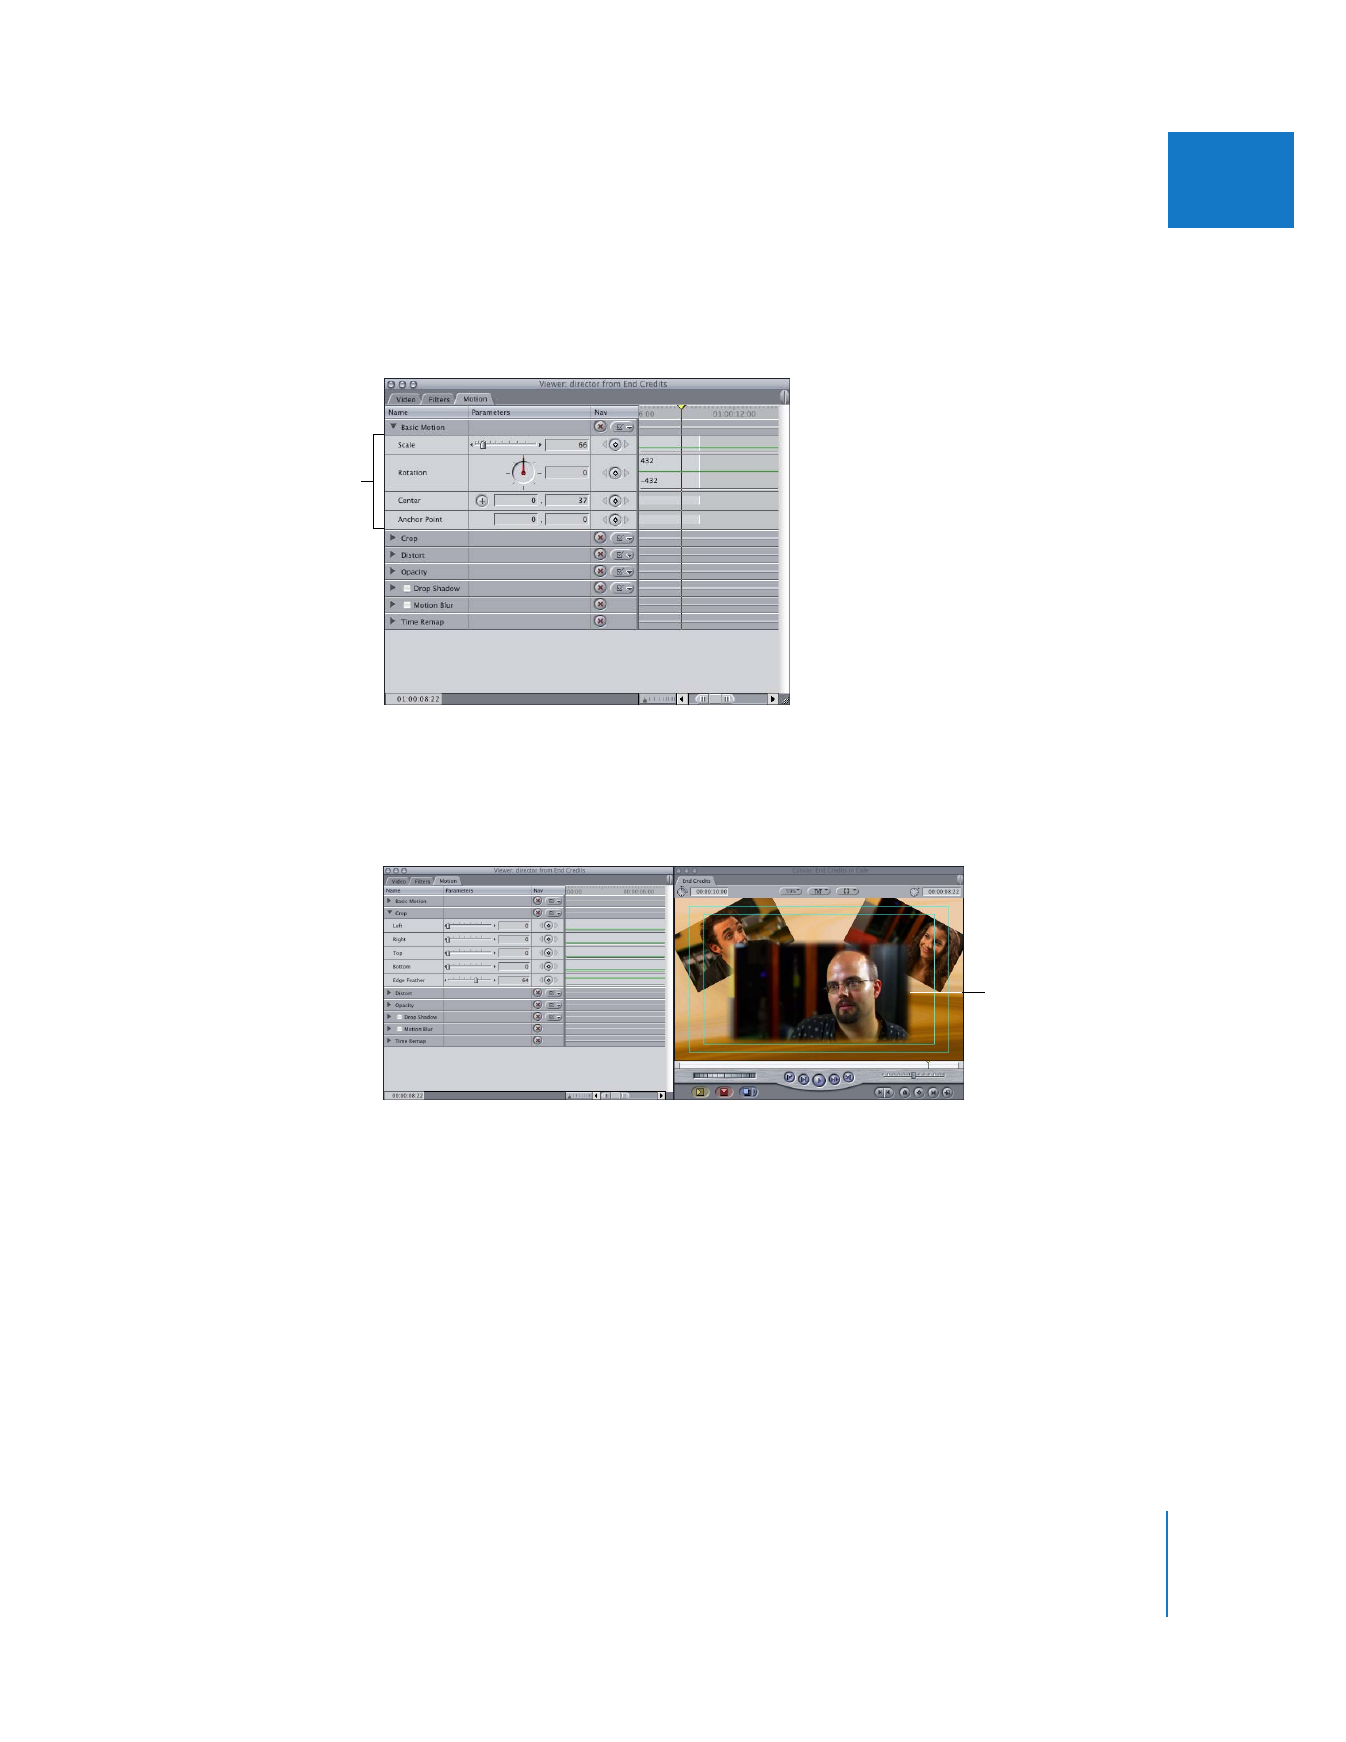
Open the clip on track V4 of your sequence in the Viewer, then click the Motion tab.
First, you’ll feather the edges of your foreground clip to give it a soft border.
2
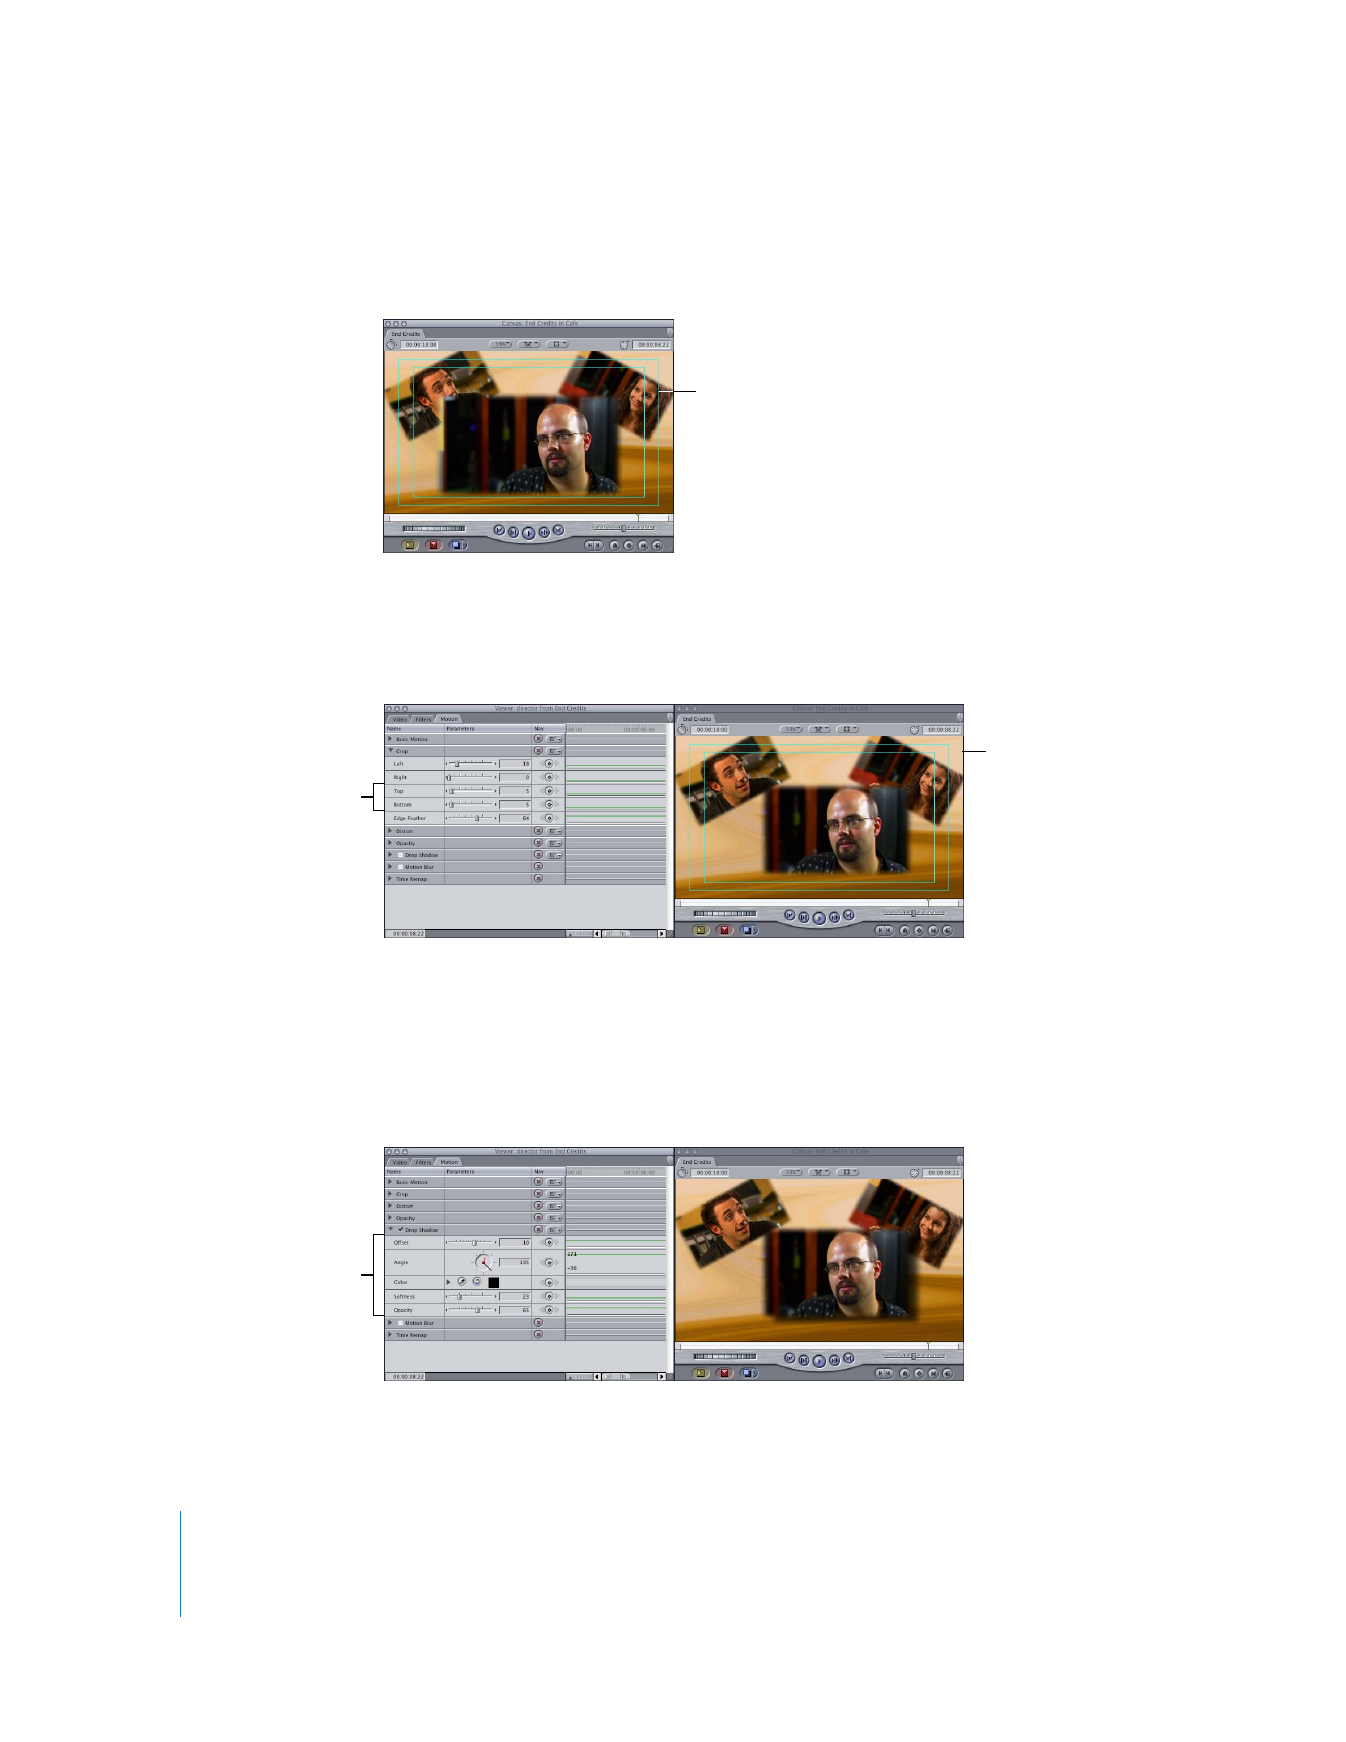
Click the Crop disclosure triangle to reveal the Crop parameters.
3
Drag the Edge Feather slider to the right until it’s set to 64.
Next, you’ll apply the same amount of feathering to the other two background clips
without opening the clips.
4
Select the foreground clip on track V4, then choose Edit > Copy.
5
Drag a box around the two background clips on tracks V3 and V2 to select both clips,
then choose Edit > Paste Attributes.
Motion settings for the
clip on track V4
A soft border appears
around the clip in the
Canvas.
272
Part II
Effects
6
In the Paste Attributes dialog, select the Scale Attribute Times and Crop checkboxes,
leaving all other options unselected, then click OK.
Now, you’ll make two further adjustments to the foreground clip, making it seem a bit
wider and allowing the clips in the background to be more visible.
7
Drag the Top and Bottom sliders in the Crop attribute to the right until they are set to 5.
Now, you’ll add a drop shadow to these three layers.
8
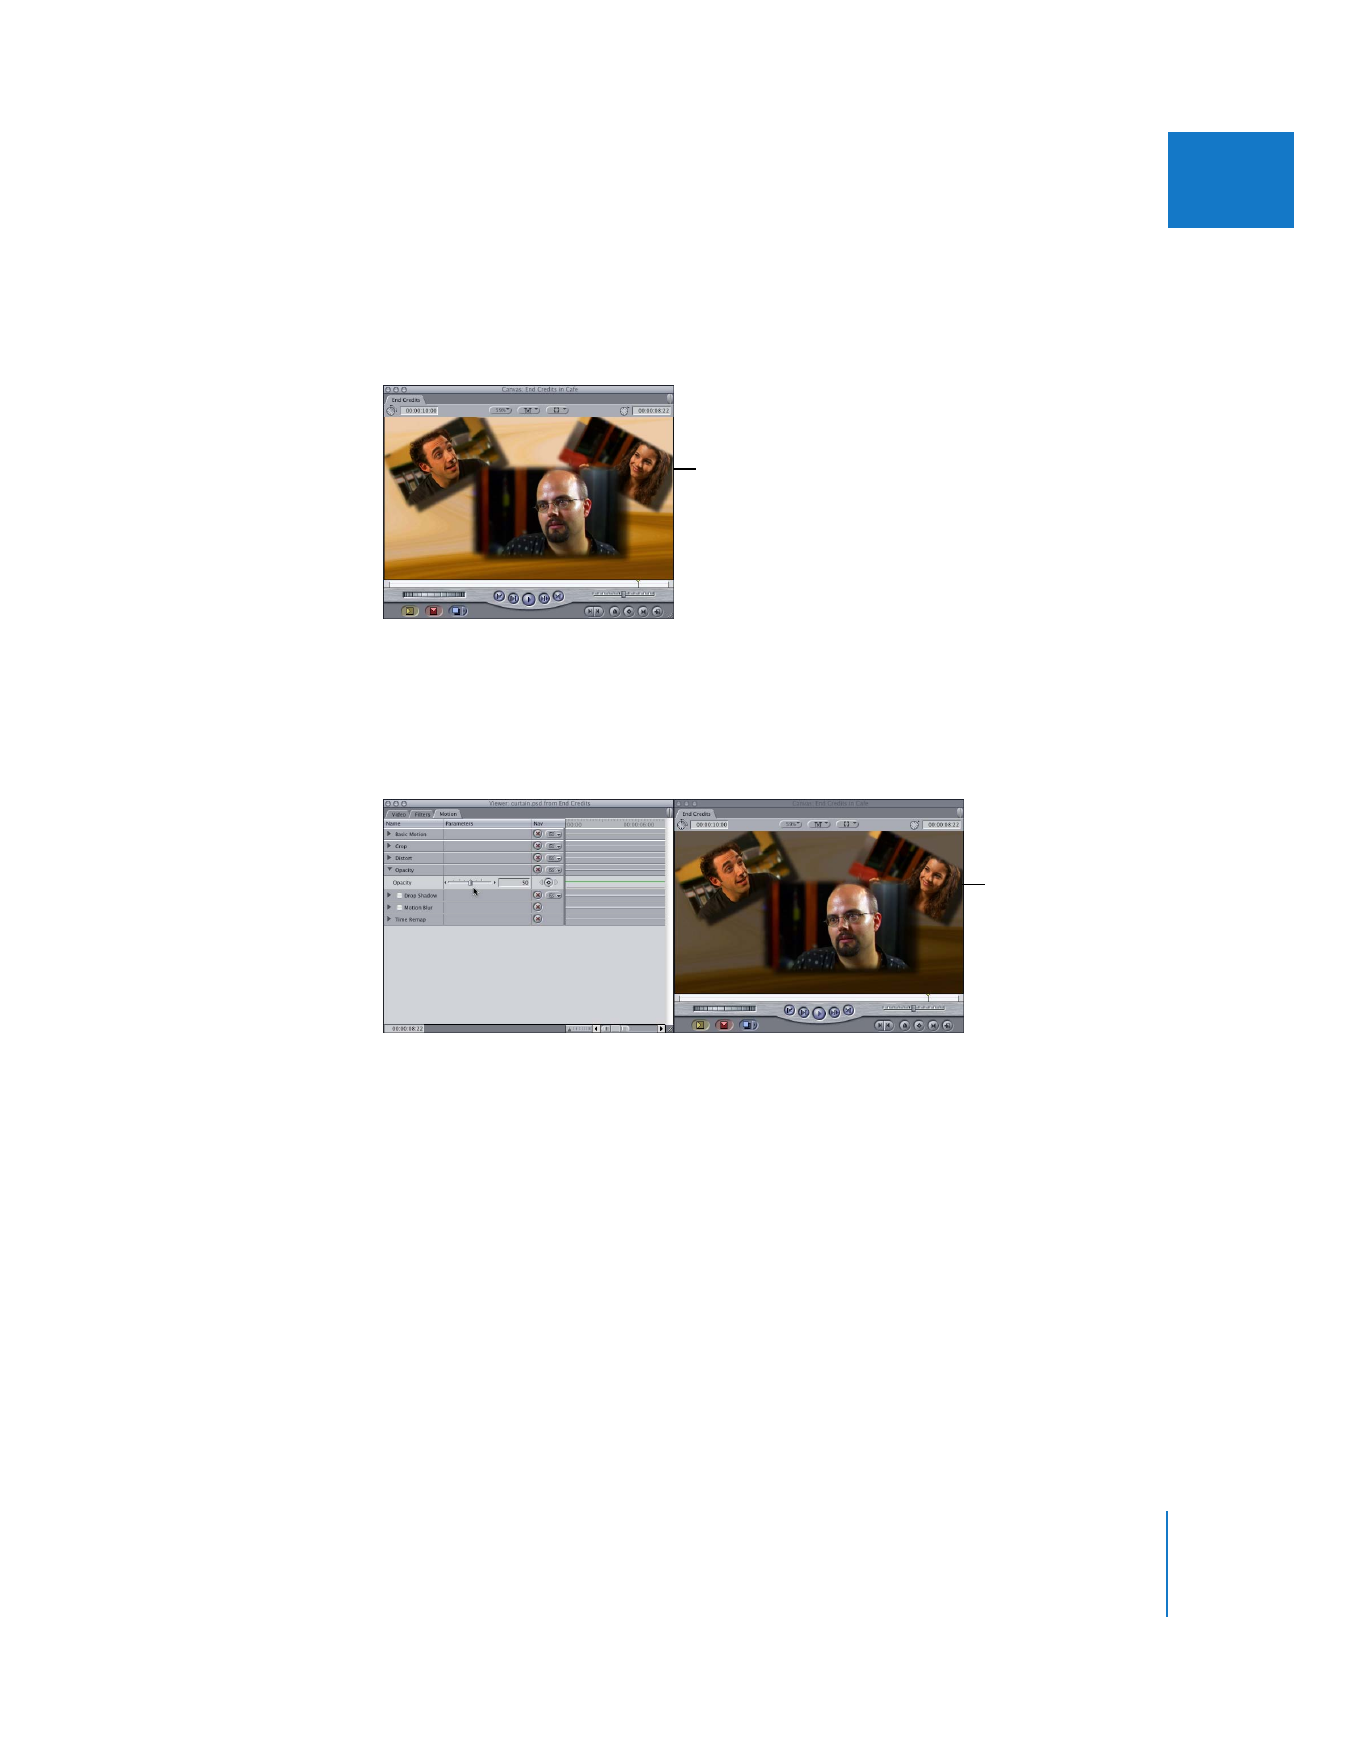
With the Motion tab of the foreground clip still open in the Viewer, select the checkbox
next to Drop Shadow to enable the attribute, then click the Drop Shadow disclosure
triangle. Using the appropriate controls, set the offset to 10, the angle to 135, the
softness to 23, and the opacity to 65.
The feathering you set in
the foreground clip is
now applied to the
background clips.
The resulting change
to the clip is displayed
in the Canvas.
Adjust these sliders so
the foreground clip is
slightly cropped.
Adjust the settings for
the Drop Shadow
attribute.
Chapter 14
Changing Motion Parameters
273
II
9
To apply these settings to the other two clips, select the clip on track V4 in the
Timeline, then choose Edit > Copy. Select the clips on tracks V2 and V3, then choose
Edit > Paste Attributes.
10
In the Paste Attributes dialog, select the Drop Shadow checkbox, then click OK.
Finally, you want to darken the background layer, since it’s competing with the
foreground layers.
11
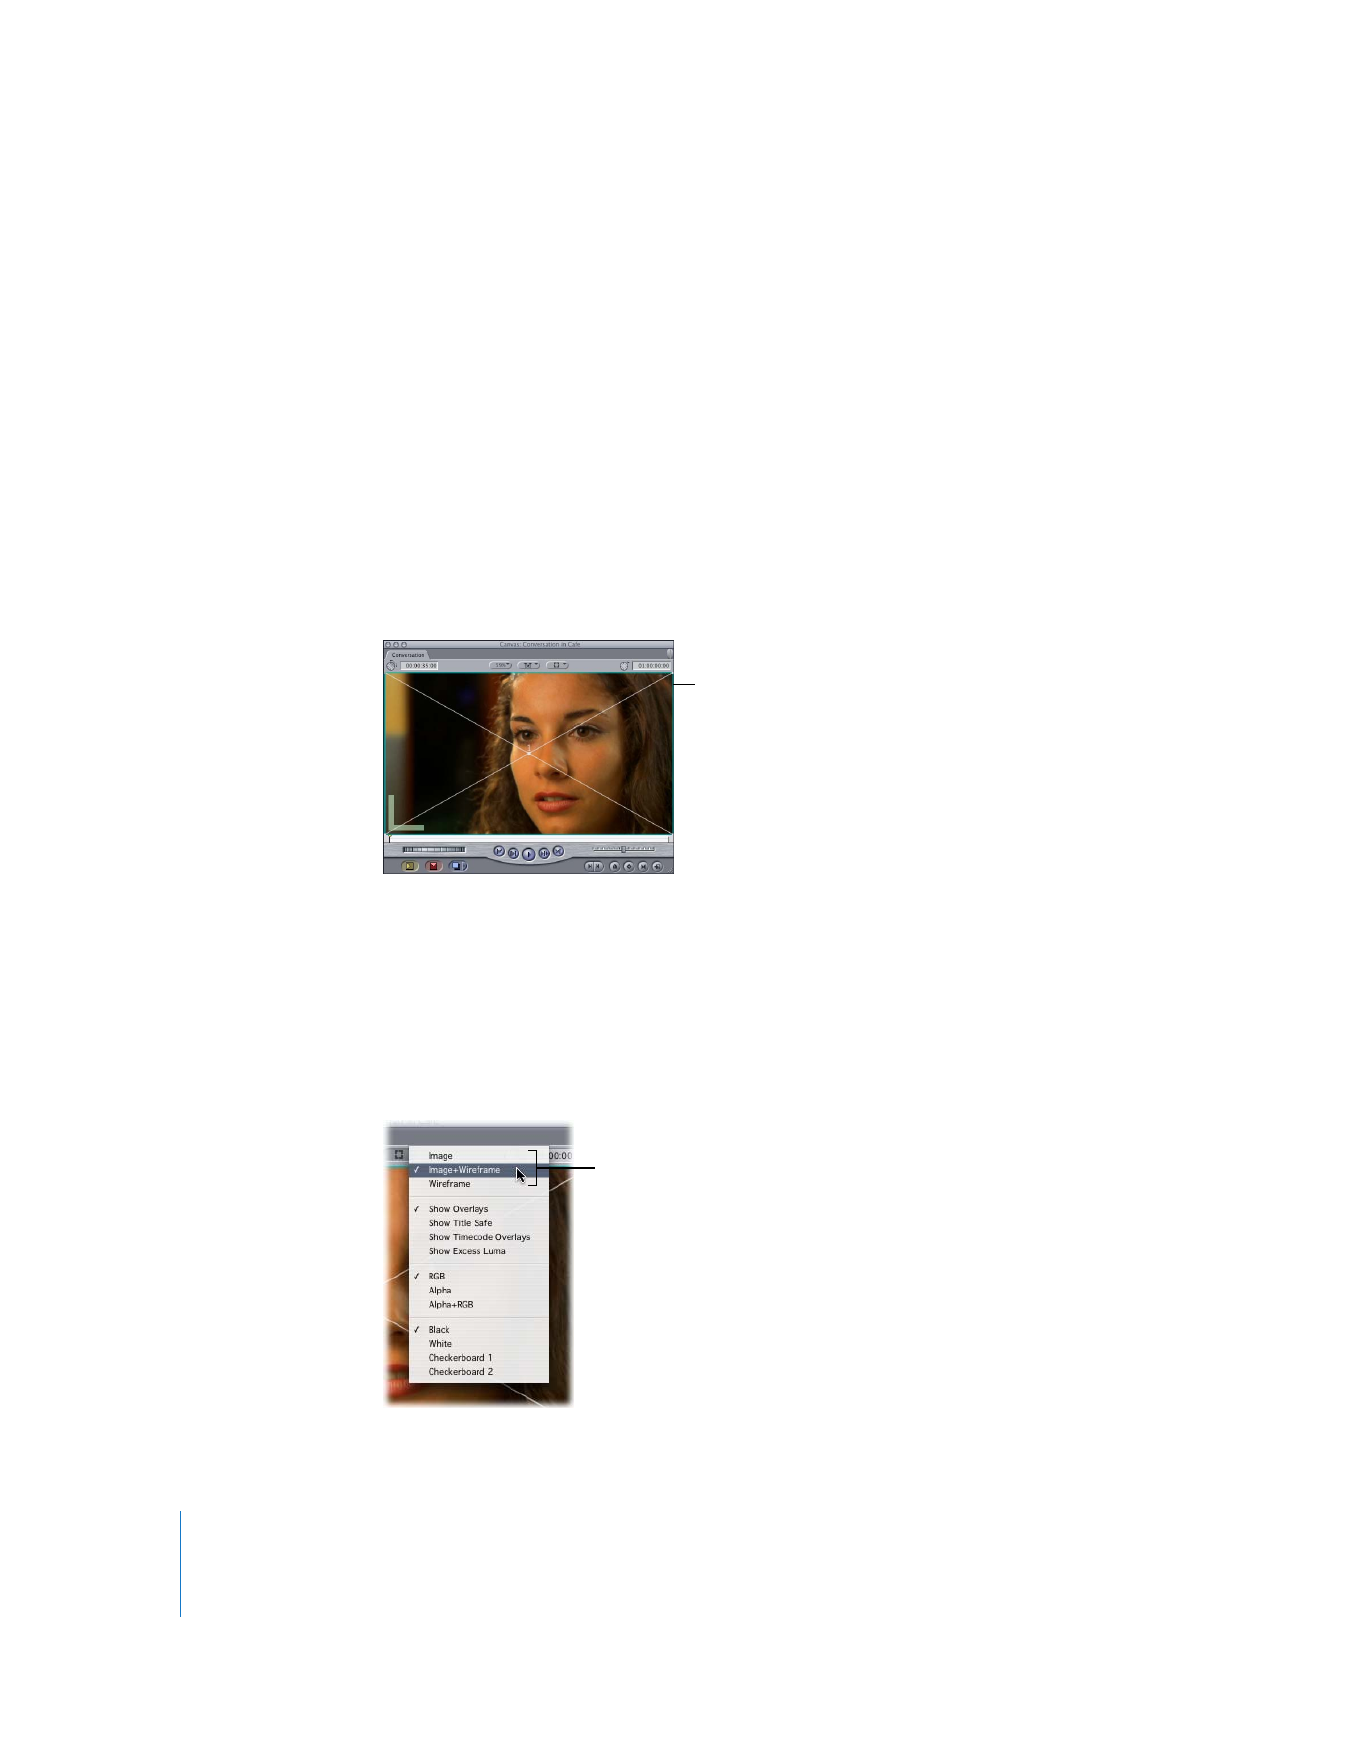
Open the background clip on track V1, then click its Motion tab. Click the Opacity
disclosure triangle, then set the opacity to 50 percent.
Now you have your completed composite: three clips layered, cropped, scaled, and
rotated, with edges feathered.
Both selected clips now
display a drop shadow.
The background clip now
appears darker in the
Canvas.
274
Part II
Effects