Adjusting Opacity Levels of Clips
Every video clip has an Opacity parameter that allows you to change the clip’s level of
transparency. When you adjust the opacity level of one or more clips, they blend to
create a single image. You can then use the resulting image as the background for
another layer, such as a text or graphics layer.
There are two ways you can adjust a clip’s opacity:
 Drag the opacity overlay of a clip in the Timeline.
 Open the clip in the Viewer and specify the Opacity parameter’s value in the Motion tab.
The Opacity parameter in the Motion tab and the opacity overlay displayed in the
Timeline have identical settings. A change made to one is mirrored in the other.
When you blend multiple clips together using the Opacity parameter, it’s important to
be aware of the color range, the amount of movement, and the overall amount of
contrast and texture in the images with which you’re working. Balancing all of these
qualities is what separates a good-looking composite from a confused jumble of
images and motion.
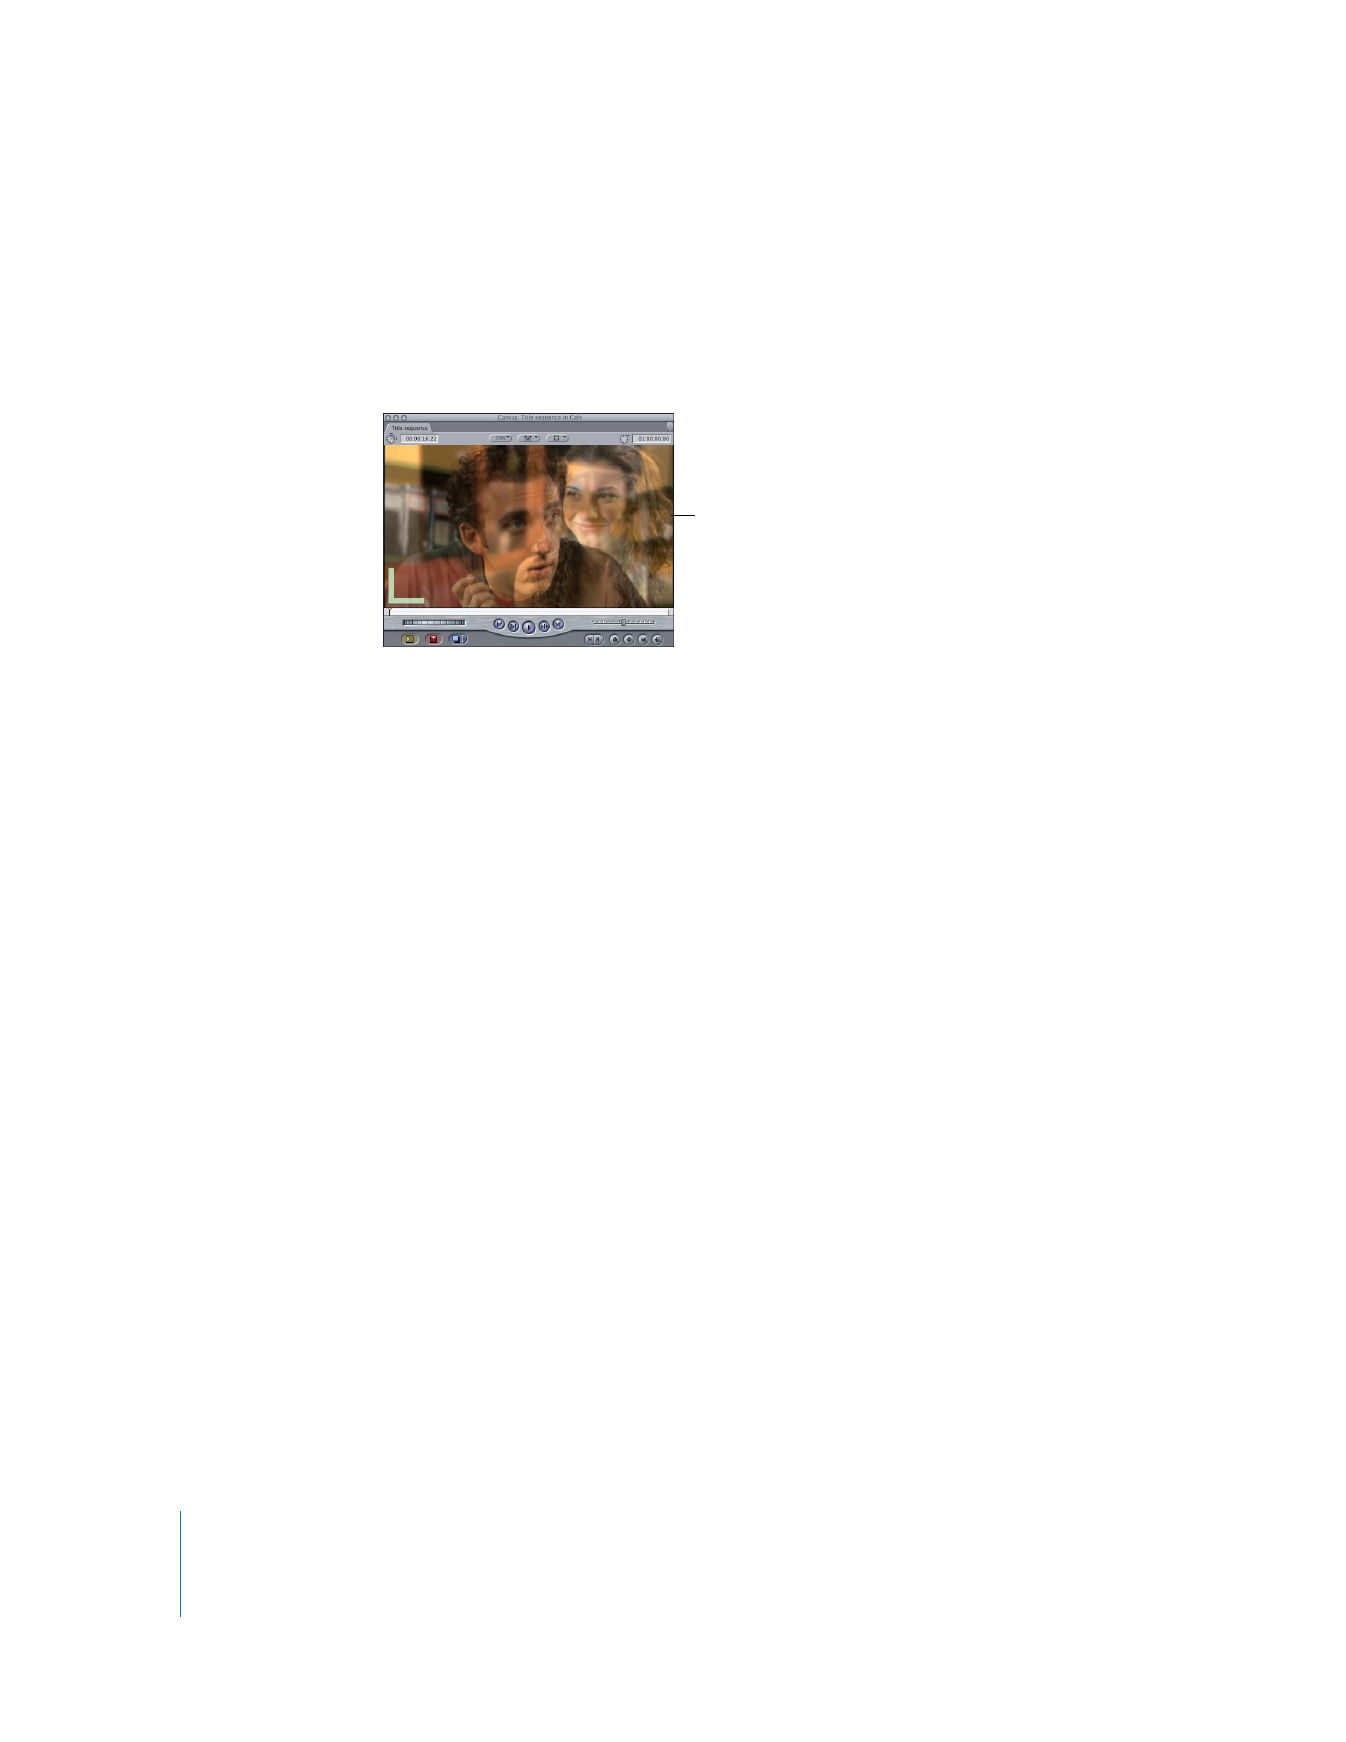
Opacity is used to blend
two clips.
Chapter 19
Compositing and Layering
391
II
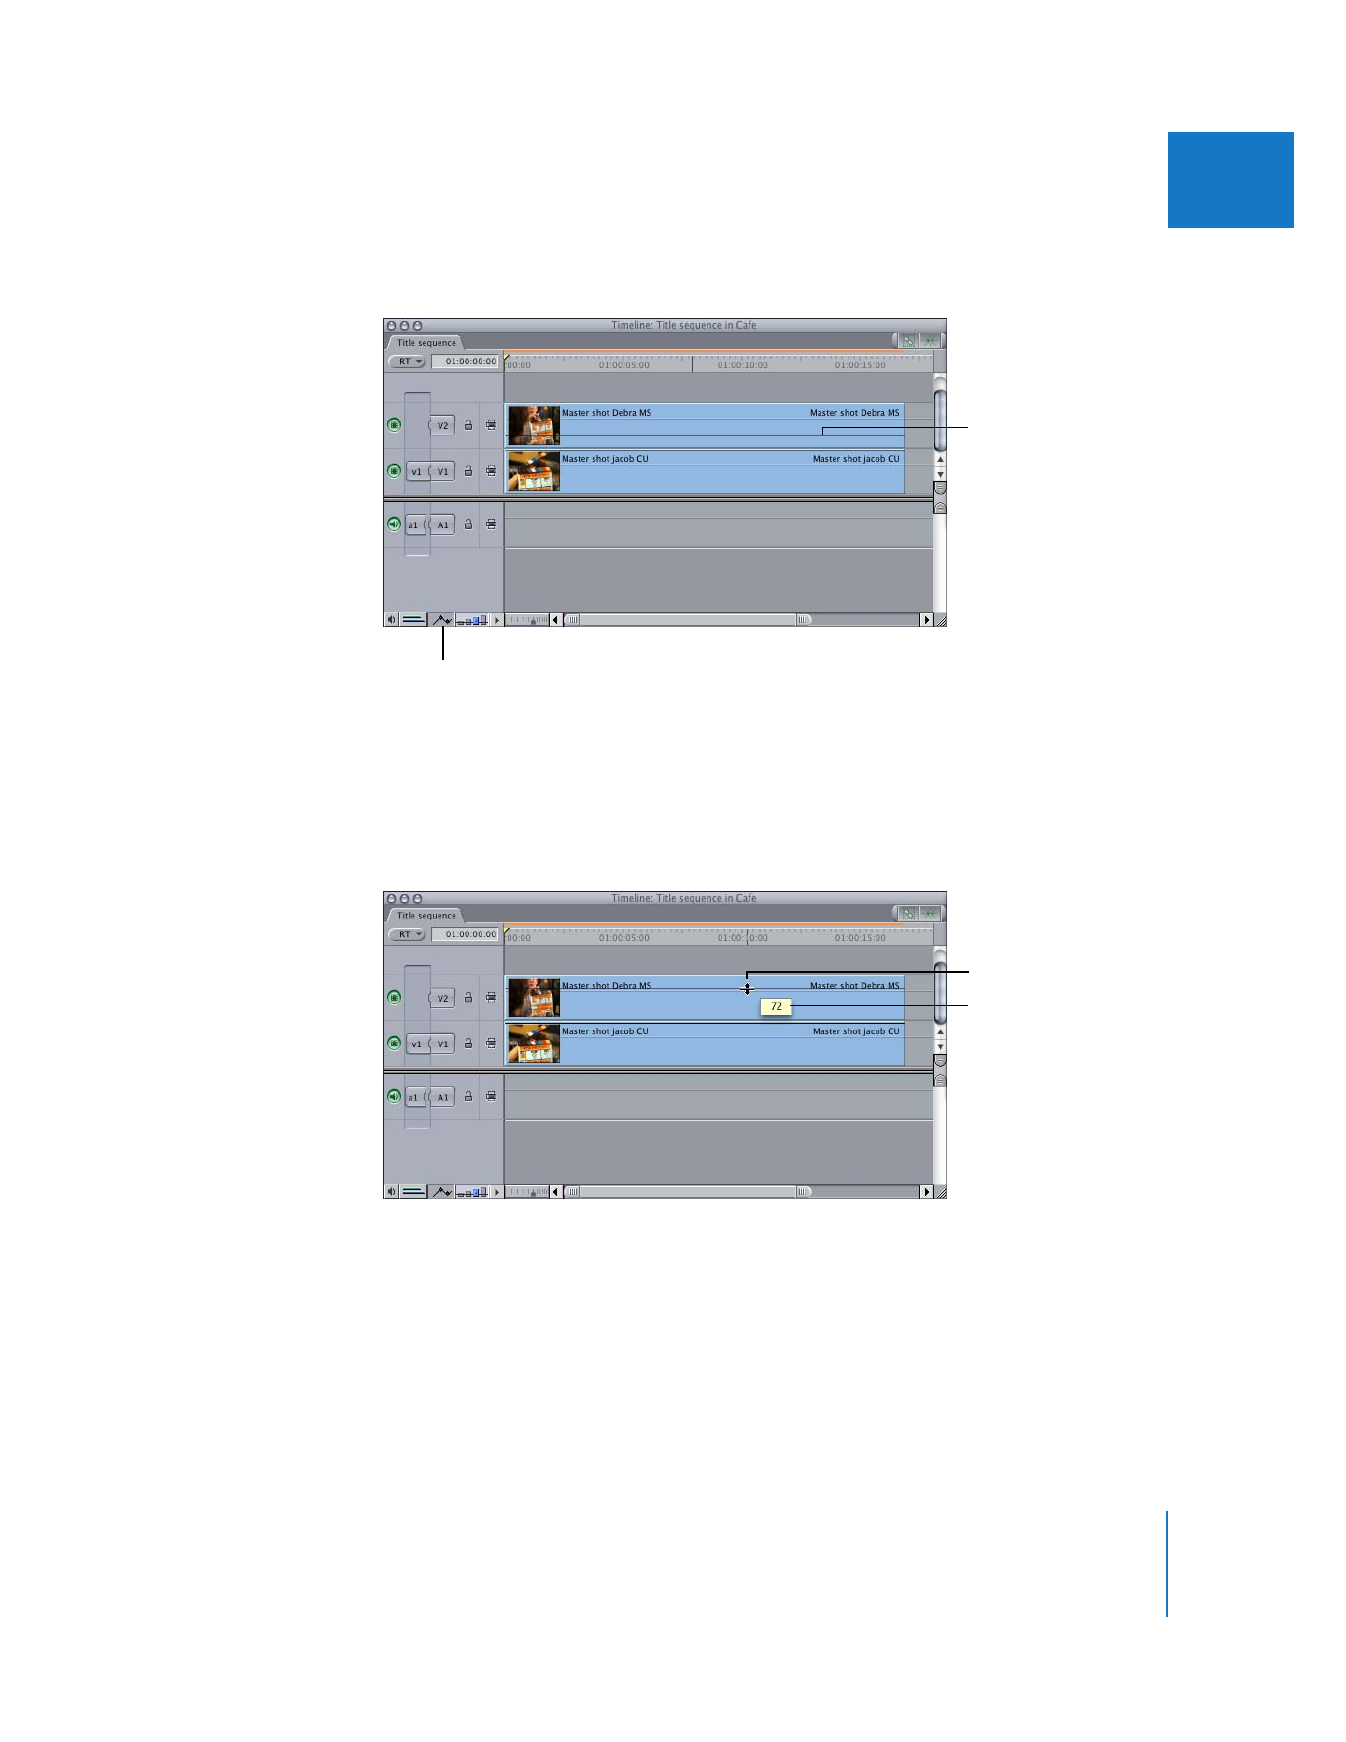
To adjust the opacity of a clip (with no keyframes) in the Timeline:
1
In the Timeline, click the Clip Overlays control.
2
Drag the opacity overlay up or down to adjust the setting.
To adjust the opacity of a clip with greater accuracy, hold down the Command key
while you drag the opacity overlay.
Note: The overlay appears as a black line if the clip is not selected and as a white line if
the clip is selected.
Clip Overlays control
The opacity overlay can
be dragged up or down
to adjust it.
The pointer changes to
the Adjust Line Segment
pointer when it’s directly
over the overlay.
The actual percentage
of opacity appears in
this box.
392
Part II
Effects
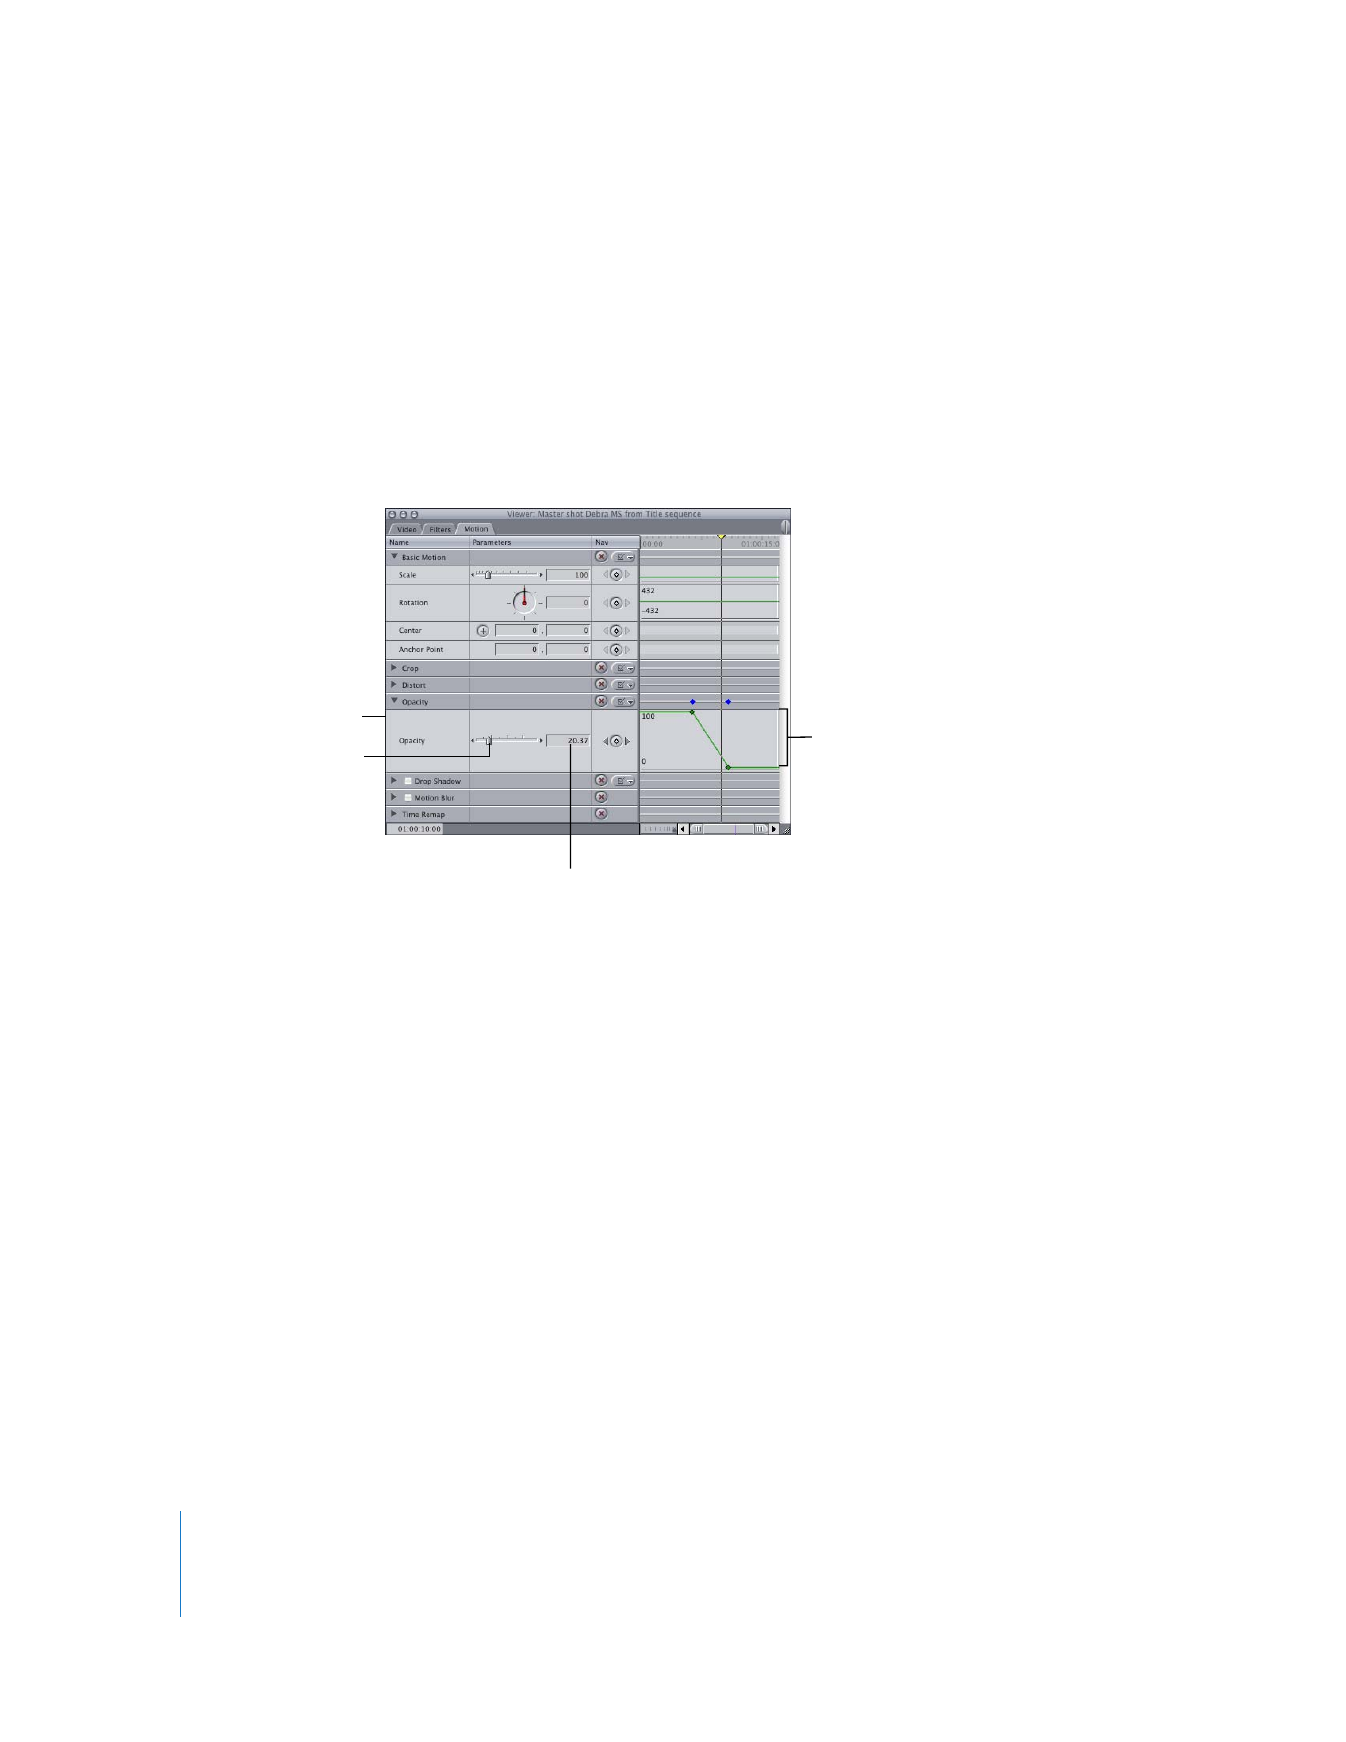
To adjust the opacity of a clip (with no keyframes) in the Motion tab:
1
Double-click the sequence clip you want to adjust to open it in the Viewer, then click
the Motion tab.
Note: When compositing clips in a sequence, make sure that you are always working
on sequence clips and not Browser clips. For example, if you do a match frame edit or
inadvertently open a clip from the Browser, you won’t be modifying a clip in the
sequence and so you won’t see changes in the Canvas.
2
Click the disclosure triangle next to the Opacity parameter.
3
Adjust the opacity by doing one of the following:
 Drag the Opacity slider to the right or left.
 Click the arrows at the right and left of the Opacity slider.
 Type a percentage in the number field.
 Adjust the Opacity parameter’s keyframe graph line.
The pointer changes to the Adjust Line Segment pointer; a box shows the
percentage of opacity as you drag the keyframe graph line.
The opacity overlay in the Timeline can also be keyframed, enabling you to dynamically
change the opacity level over time. For information on keyframing, see “
Animating
Motion Effects Using Keyframes
” on page 287.
Opacity slider, with
arrows on either end
Opacity parameter’s
keyframe graph
Opacity parameter
Number field for the
opacity percentage

Chapter 19
Compositing and Layering
393
II