Viewing RGB and Alpha Channels in the Viewer
When you’re working in the Viewer, it can sometimes be helpful to have a quick look at
the alpha channel of your clip. The alpha channel defines areas of transparency and can
change if various filters are applied. For example, if a blue-screen clip is added to the
Viewer, and a blue-screen filter is applied to the clip, you can check to see what the
alpha channel looks like by itself by choosing View > Channels > Alpha.
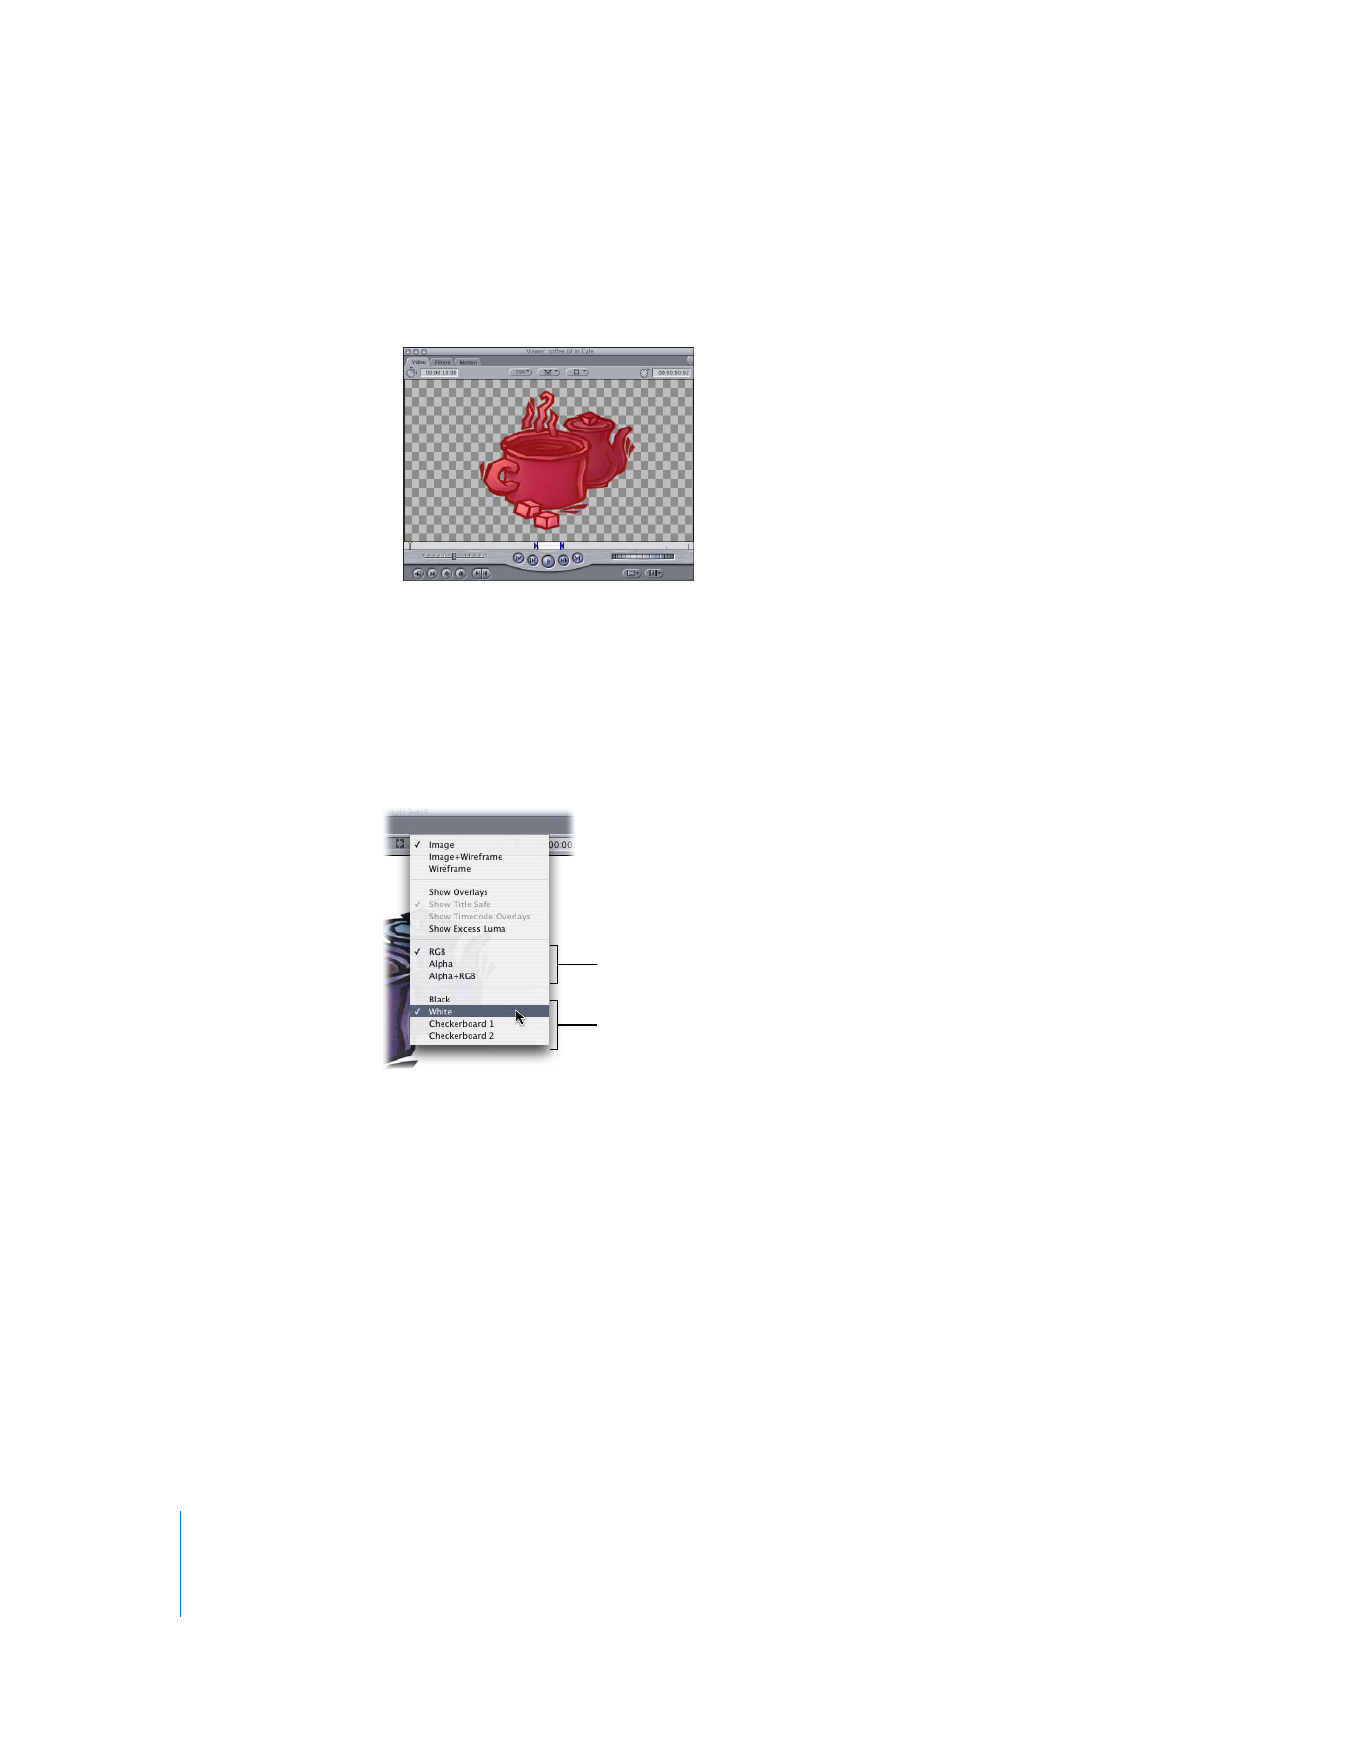
There are several channel viewing options in the View menu and the View pop-up
menu in the Viewer.
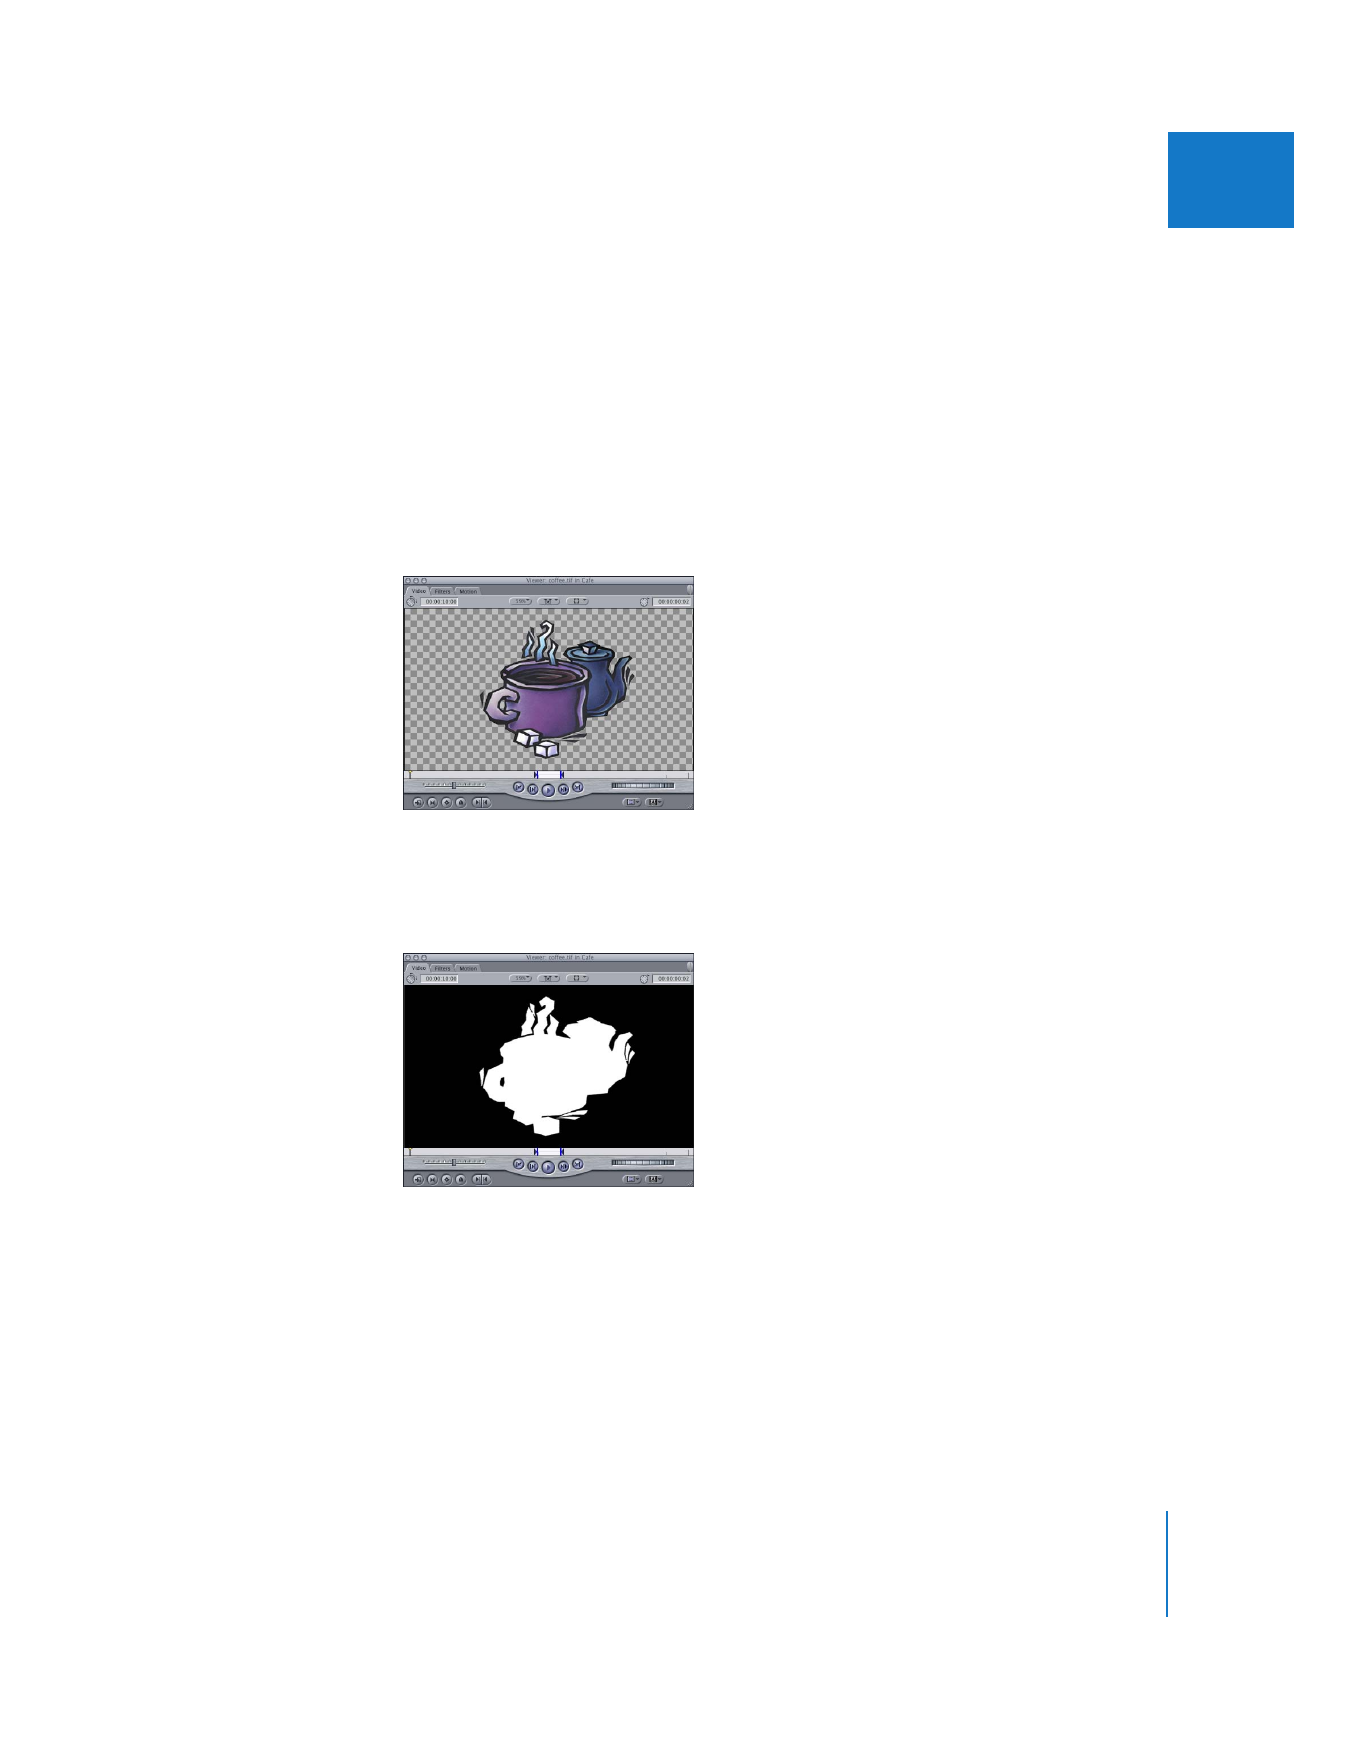
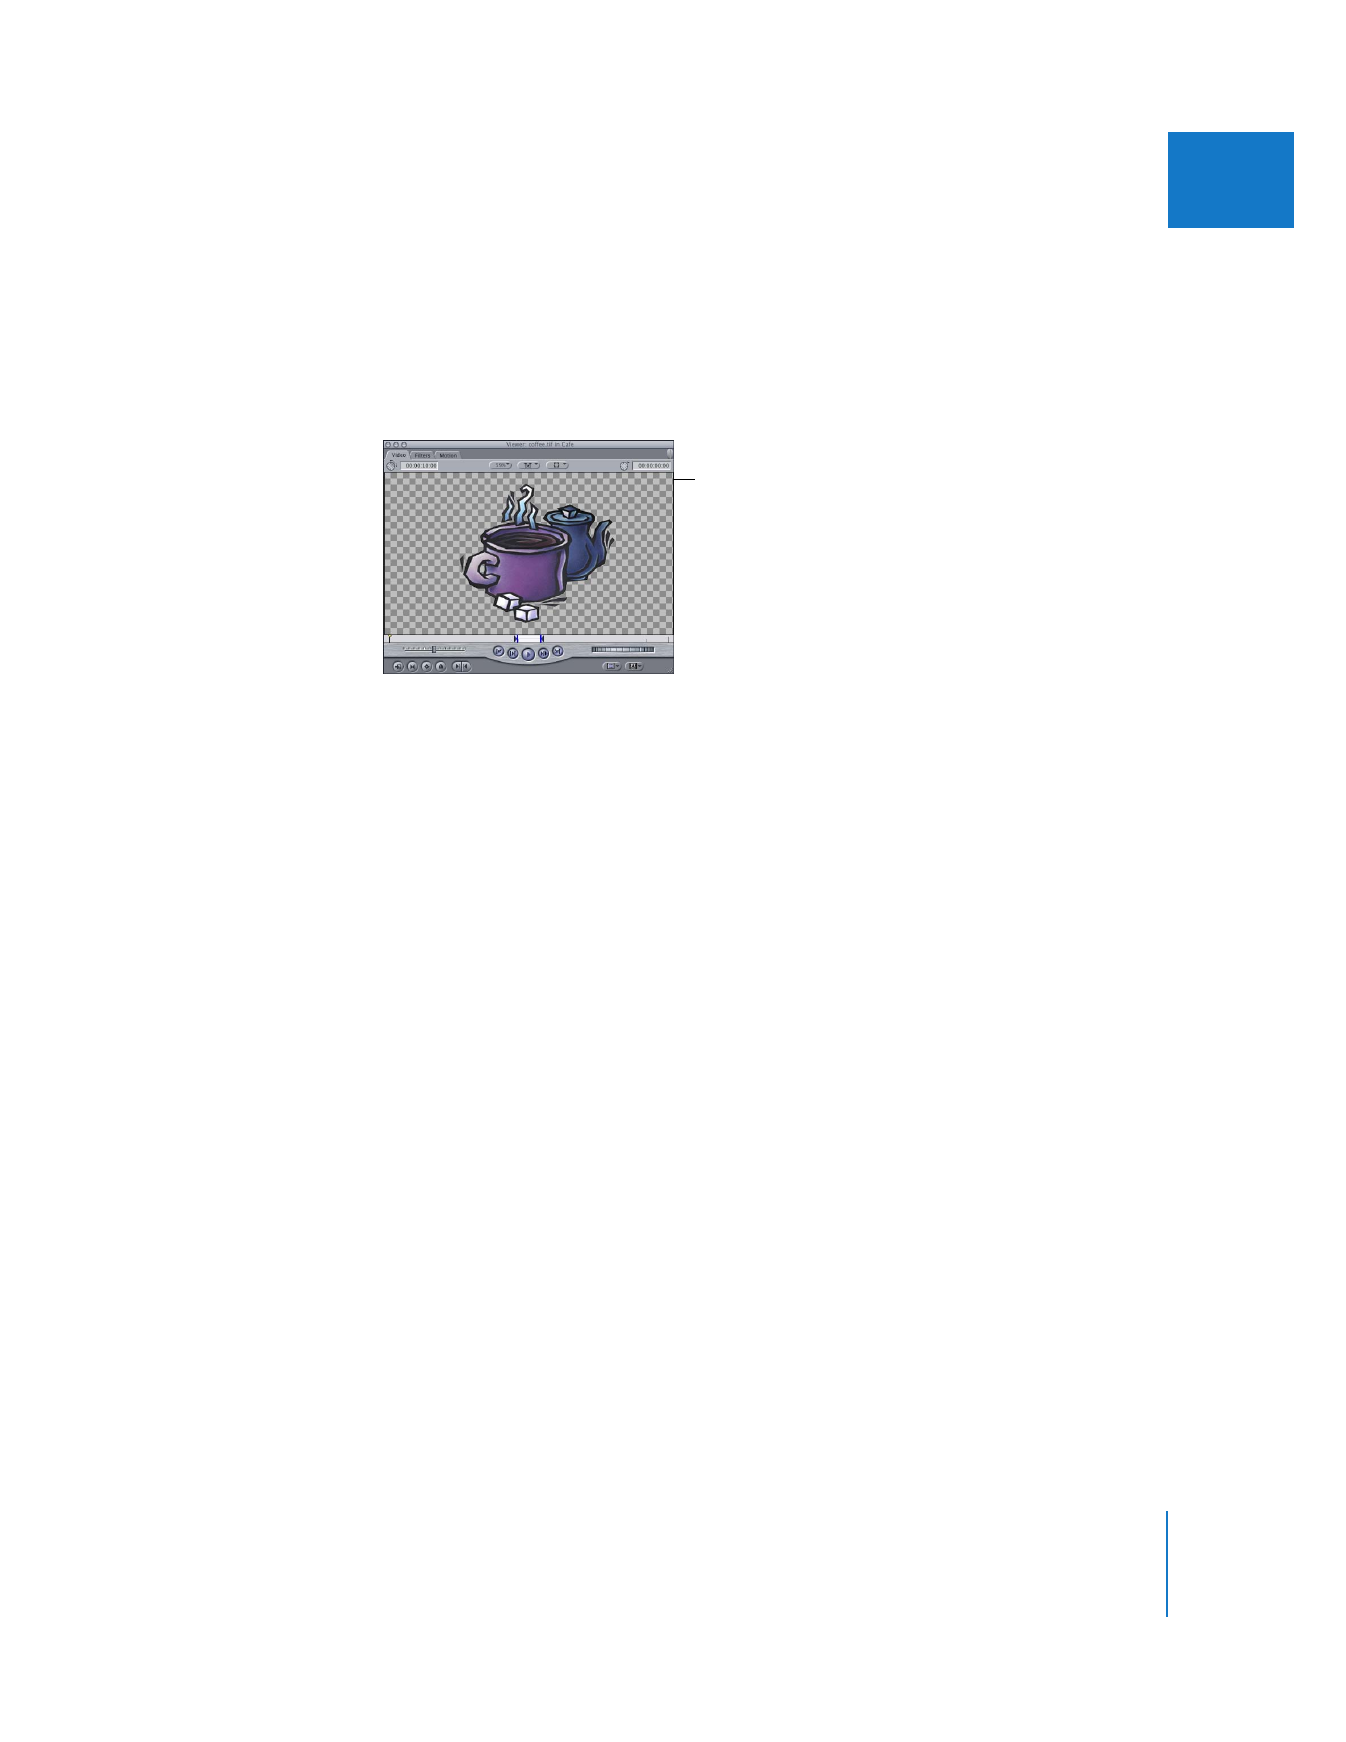
 RGB: This is the default color option; it shows the three color channels that make up
the actual video image.
 Alpha: This option represents the alpha channel as black against white, where absolute
black represents 100 percent transparency, levels of gray represent varying degrees of
transparency, and absolute white represents nontransparent areas of the picture.

416
Part II
Effects
 Alpha+RGB: This option lets you see a representation of the alpha channel overlaid
on top of the RGB channels that constitute the actual image of the video clip. The
alpha channel is overlaid in red, with solid red representing nontransparent areas.
The RGB and Alpha options in the View menu are most effective when used with
different backgrounds (described in the next section).
To choose an alpha channel display option, do one of the following:
m
Choose View > Channels, then choose an option from the submenu.
m
Choose an alpha channel display option from the View pop-up menu in the Viewer.
Alpha channel display
options
Background display
options

Chapter 19
Compositing and Layering
417
II