Applying Composite Modes to Clips
Applying different composite modes to layered clips in a sequence is easy. The main
thing to remember is that composite modes affect the interaction between one layered
clip and whichever clip is underneath it in the sequence. Clips that are above a layered
clip using a composite mode are unaffected.
To apply a composite mode to a clip in your sequence:
1
With two layered clips edited into your sequence, select the topmost clip in the Timeline.
2
Choose Modify > Composite Mode, then choose a composite mode.
See “
Composite Modes in Final Cut Pro
” on page 396 for information on the
different modes.
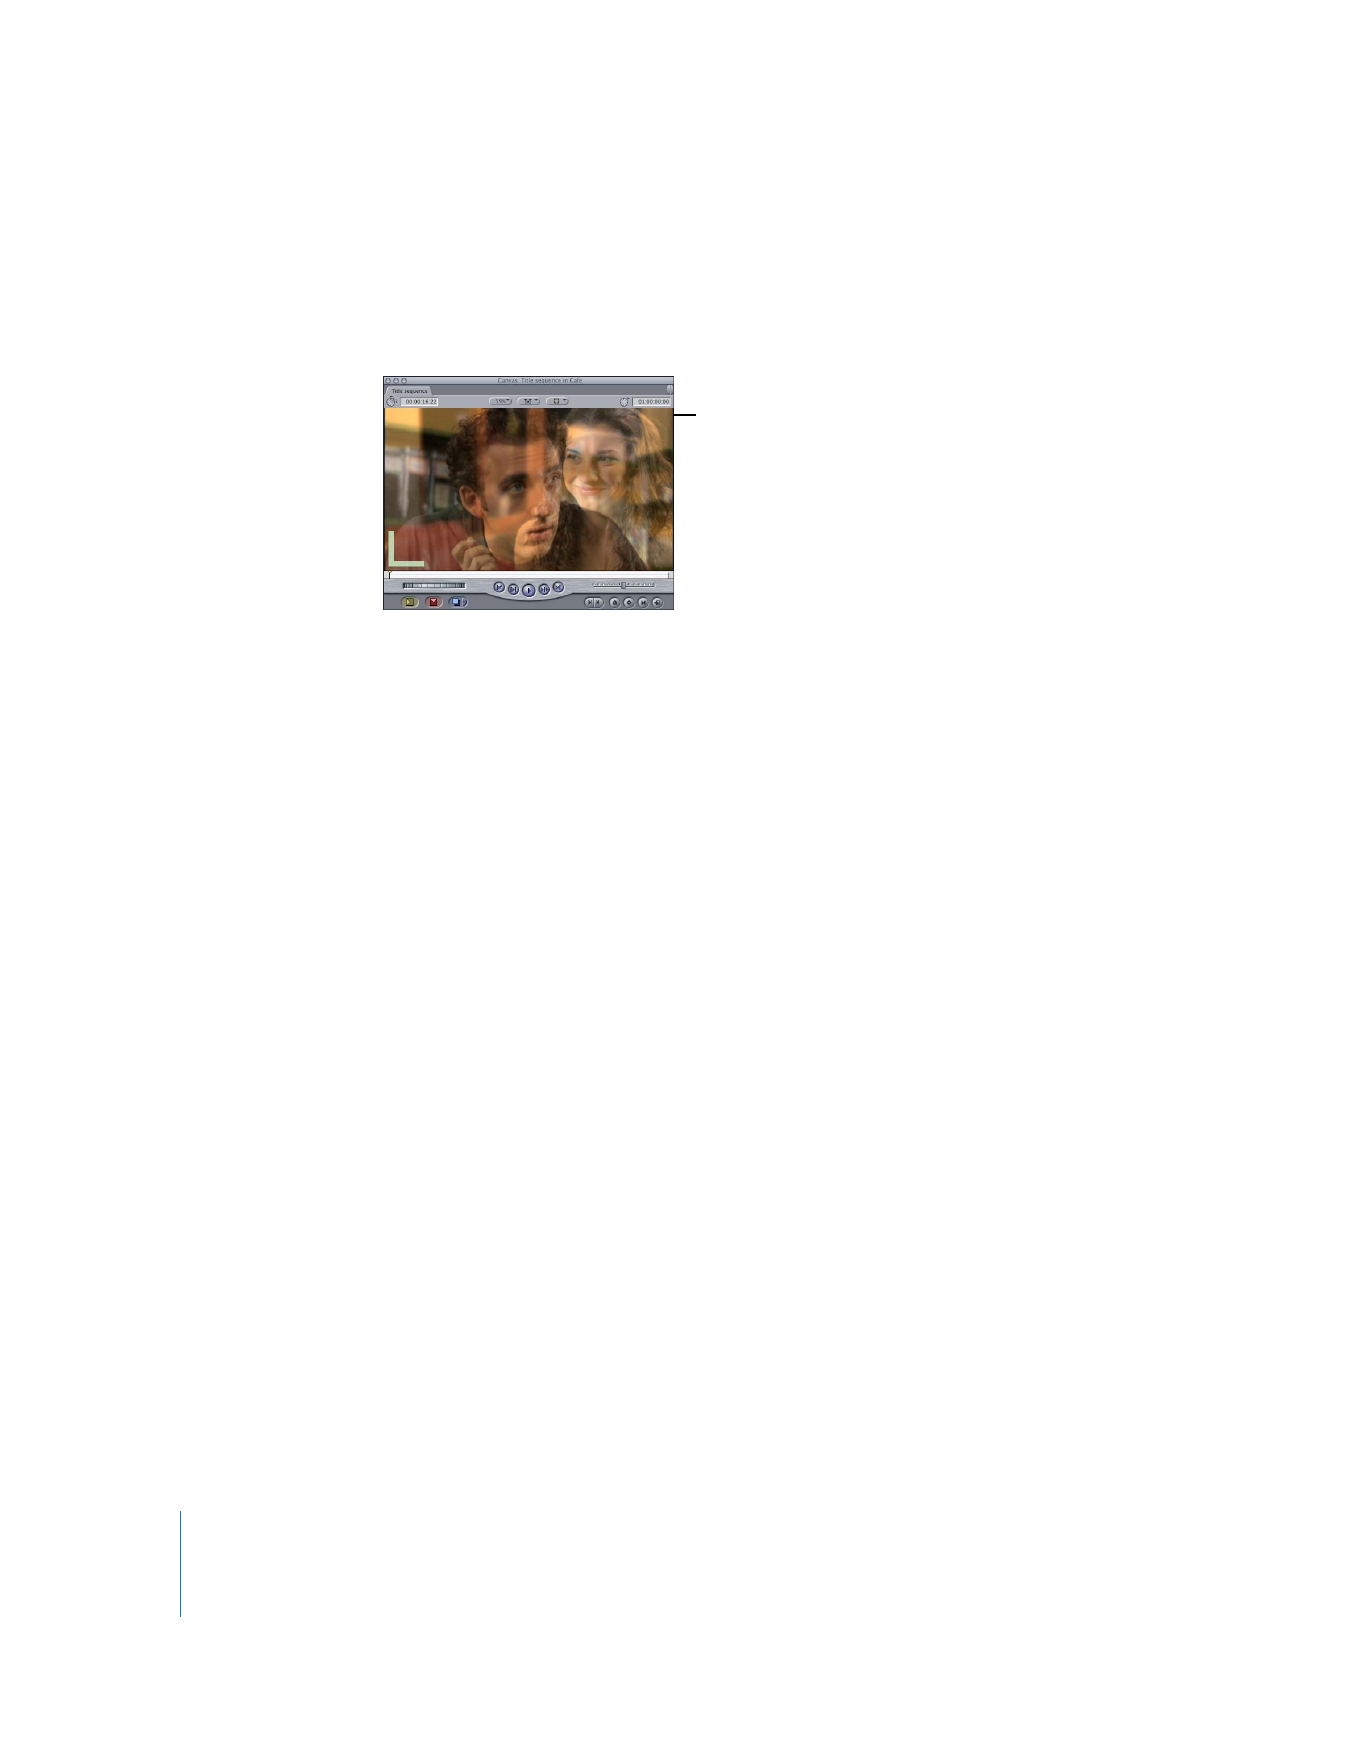
Normal composite mode,
with the opacity of the
top clip at 50 percent
Chapter 19
Compositing and Layering
395
II
3
Move the playhead over these two clips to see the interaction between the two clips in
the Canvas.
You can quickly view or change a clip’s composite mode while working in the Timeline.
This provides a fast alternative to choosing a different composite mode from the
Modify menu.
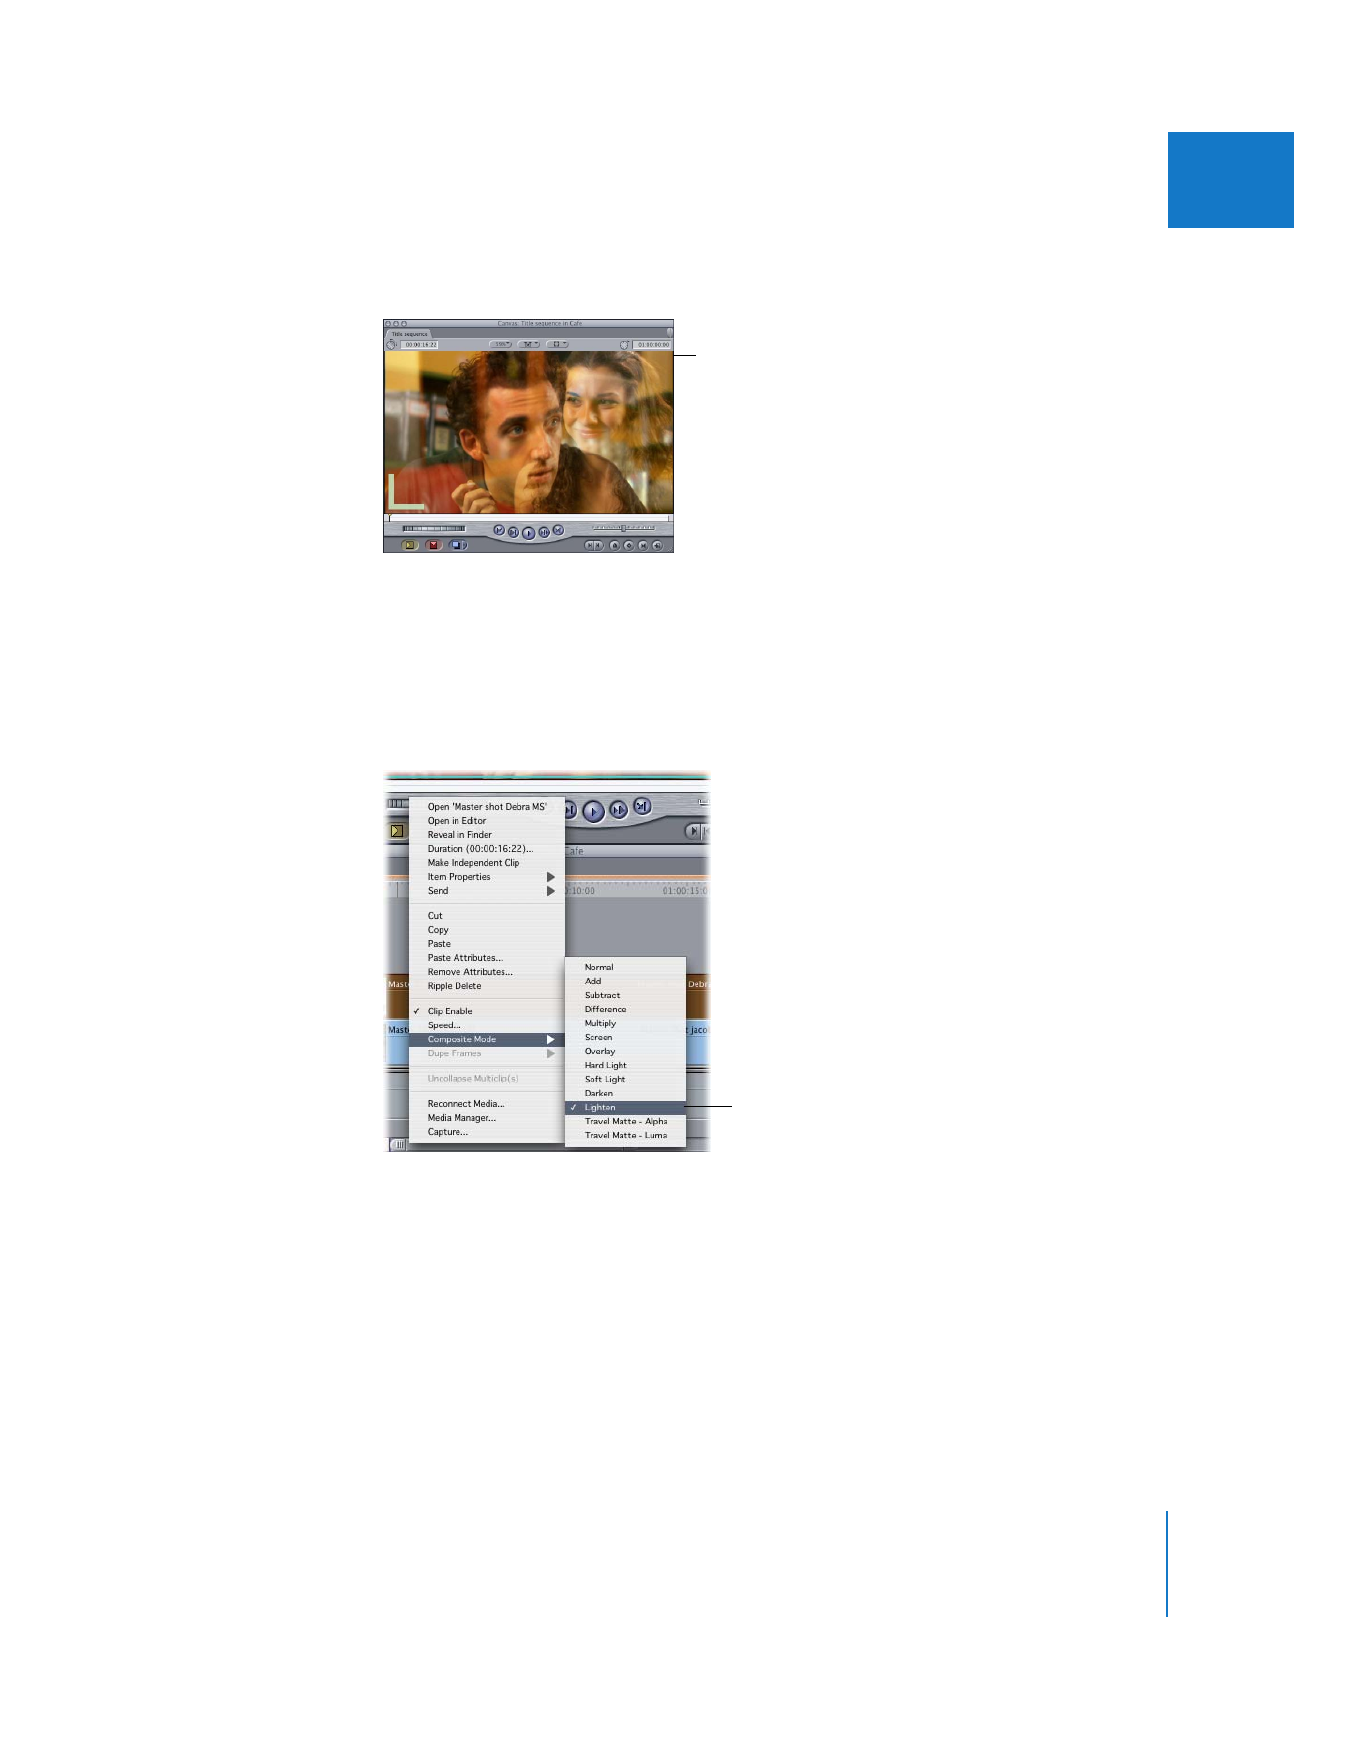
To view or change a clip’s composite mode:
1
Control-click a clip in the Timeline, then choose Composite Mode from the shortcut menu.
2
If you want to change the clip’s composite mode, choose a new mode from the submenu.
In this example, the
Screen composite mode
is on the upper of two
clips; the opacity of both
clips is 100 percent.
All composite modes
applied to a clip have a
checkmark next to them.

396
Part II
Effects