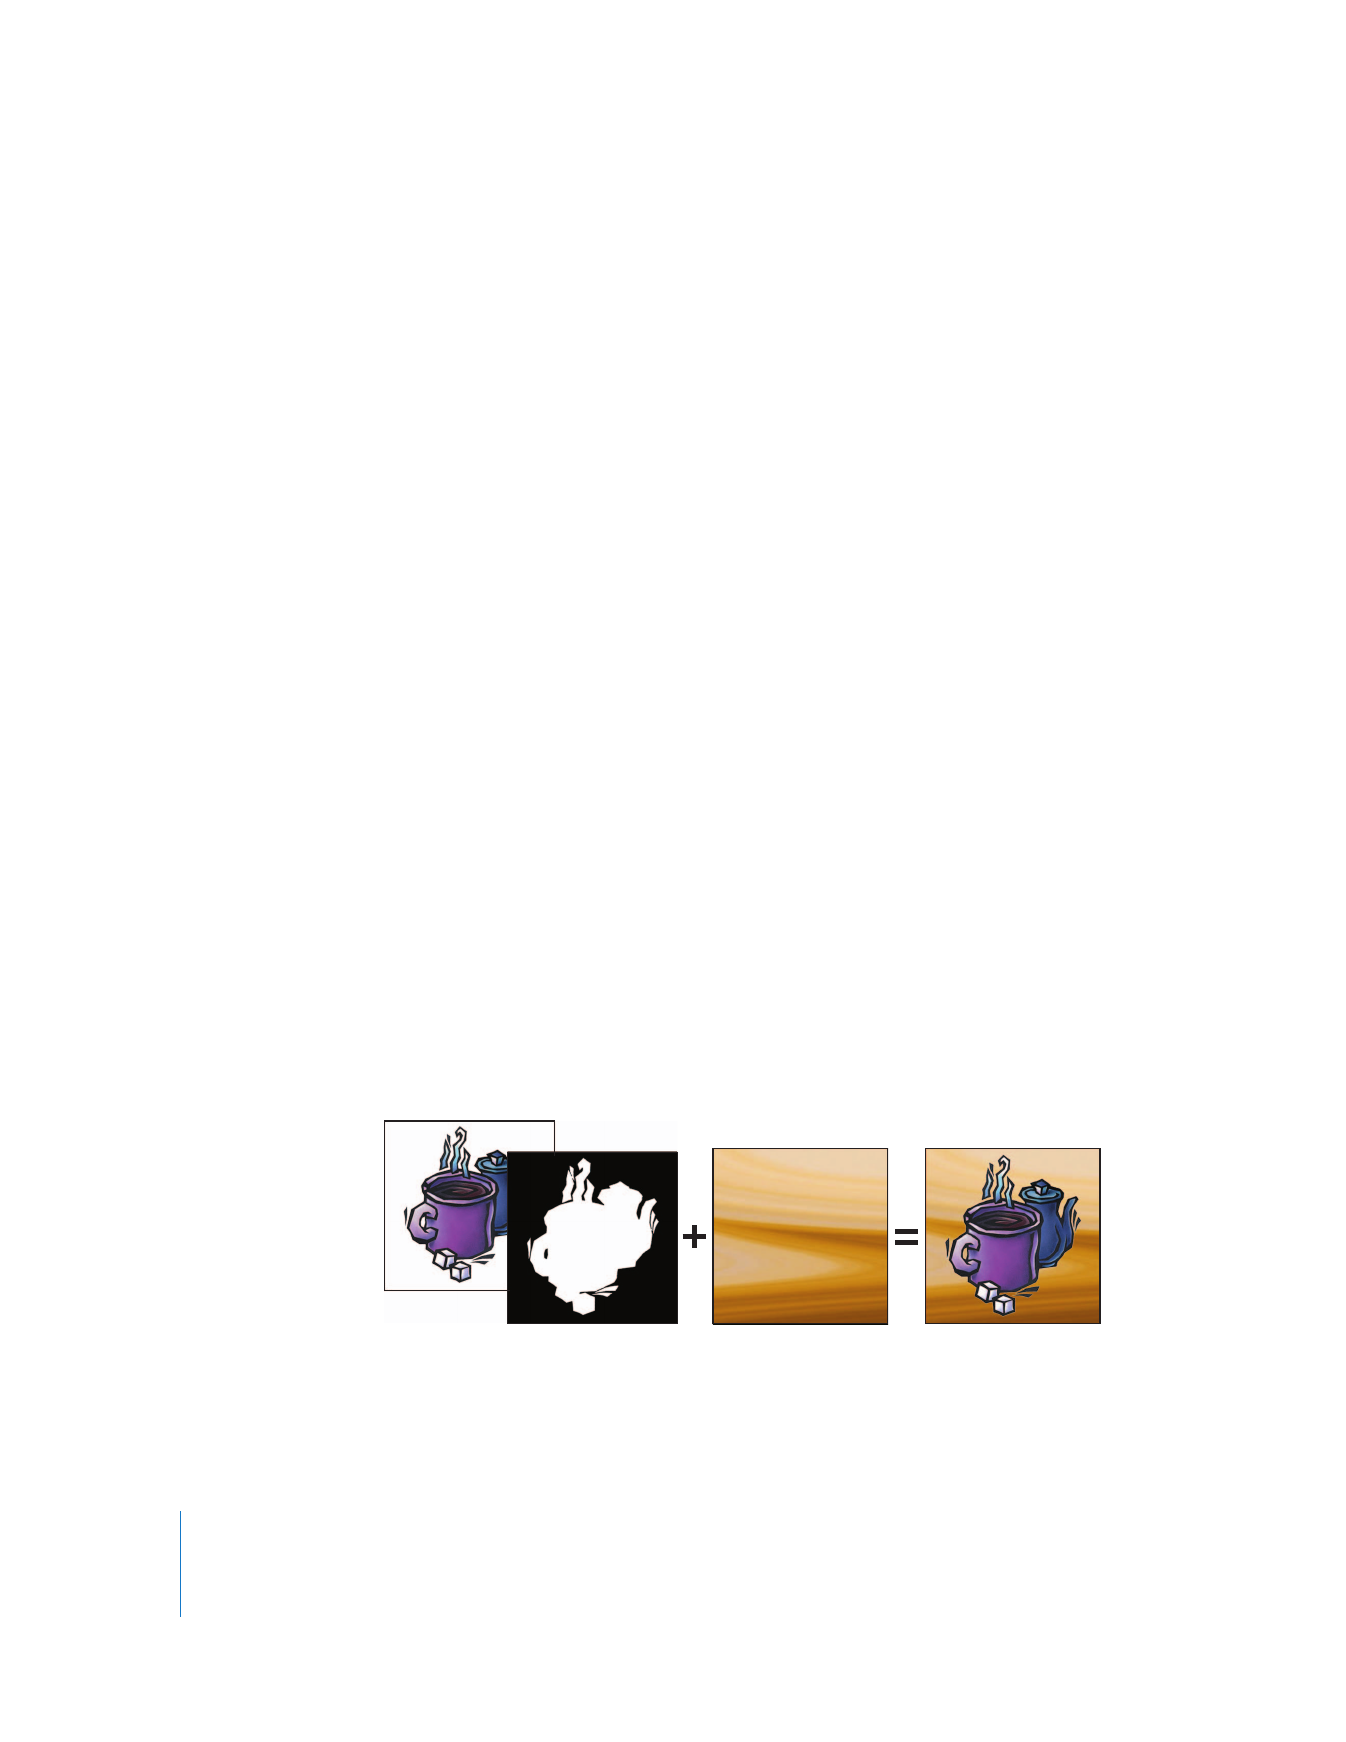
Don’t Add or Delete Layers from an Imported Photoshop File
Final Cut Pro keeps track of each imported Photoshop layer according to its position
relative to the bottom layer. While editing a layered Photoshop file that’s already been
imported into Final Cut Pro, it’s not a good idea, under any circumstances, to:
 Add additional layers: If you add a layer, any layer pushed above the topmost layer
that was imported into your Final Cut Pro project is ignored when you go back to
Final Cut Pro.
 Delete layers: Deleting previously imported layers can have even more unexpected
results. If you must add or remove a layer from a previously imported Photoshop
file, do this in Photoshop and then reimport the file into Final Cut Pro. For
additional information about importing layered Photoshop files, see Volume I,
Chapter 20, “Importing Media Files into Your Project.”

410
Part II
Effects
To manually change the frame rate of a layered Photoshop sequence:
1
Select the layered Photoshop sequence in the Browser, then choose Sequence > Settings.
2
Choose a frame rate from the Editing Timebase pop-up menu, then click OK.
If affiliate copies of this layered Photoshop sequence have already been edited into
other sequences, Final Cut Pro does not allow you to change the sequence frame rate.
In this case, you can manually create a duplicate master clip of this sequence.
To create a duplicate master clip of a layered Photoshop sequence:
1
Select a layered Photoshop sequence in the Browser.
2
Choose Modify > Duplicate as New Master Clip.
A new master clip is created whose frame rate you can modify for nesting into
other sequences.