Example: Keyframing Garbage Mattes
In the following example, two sets of keyframes are created to compensate for a simple
pan in the clip being keyed.
1
With the playhead on the first frame of a clip, apply and adjust the Four-Point Garbage
Matte filter.
For more details about using this filter, see “
Example: Using the Four-Point Garbage
Matte Filter
” on page 440.
2
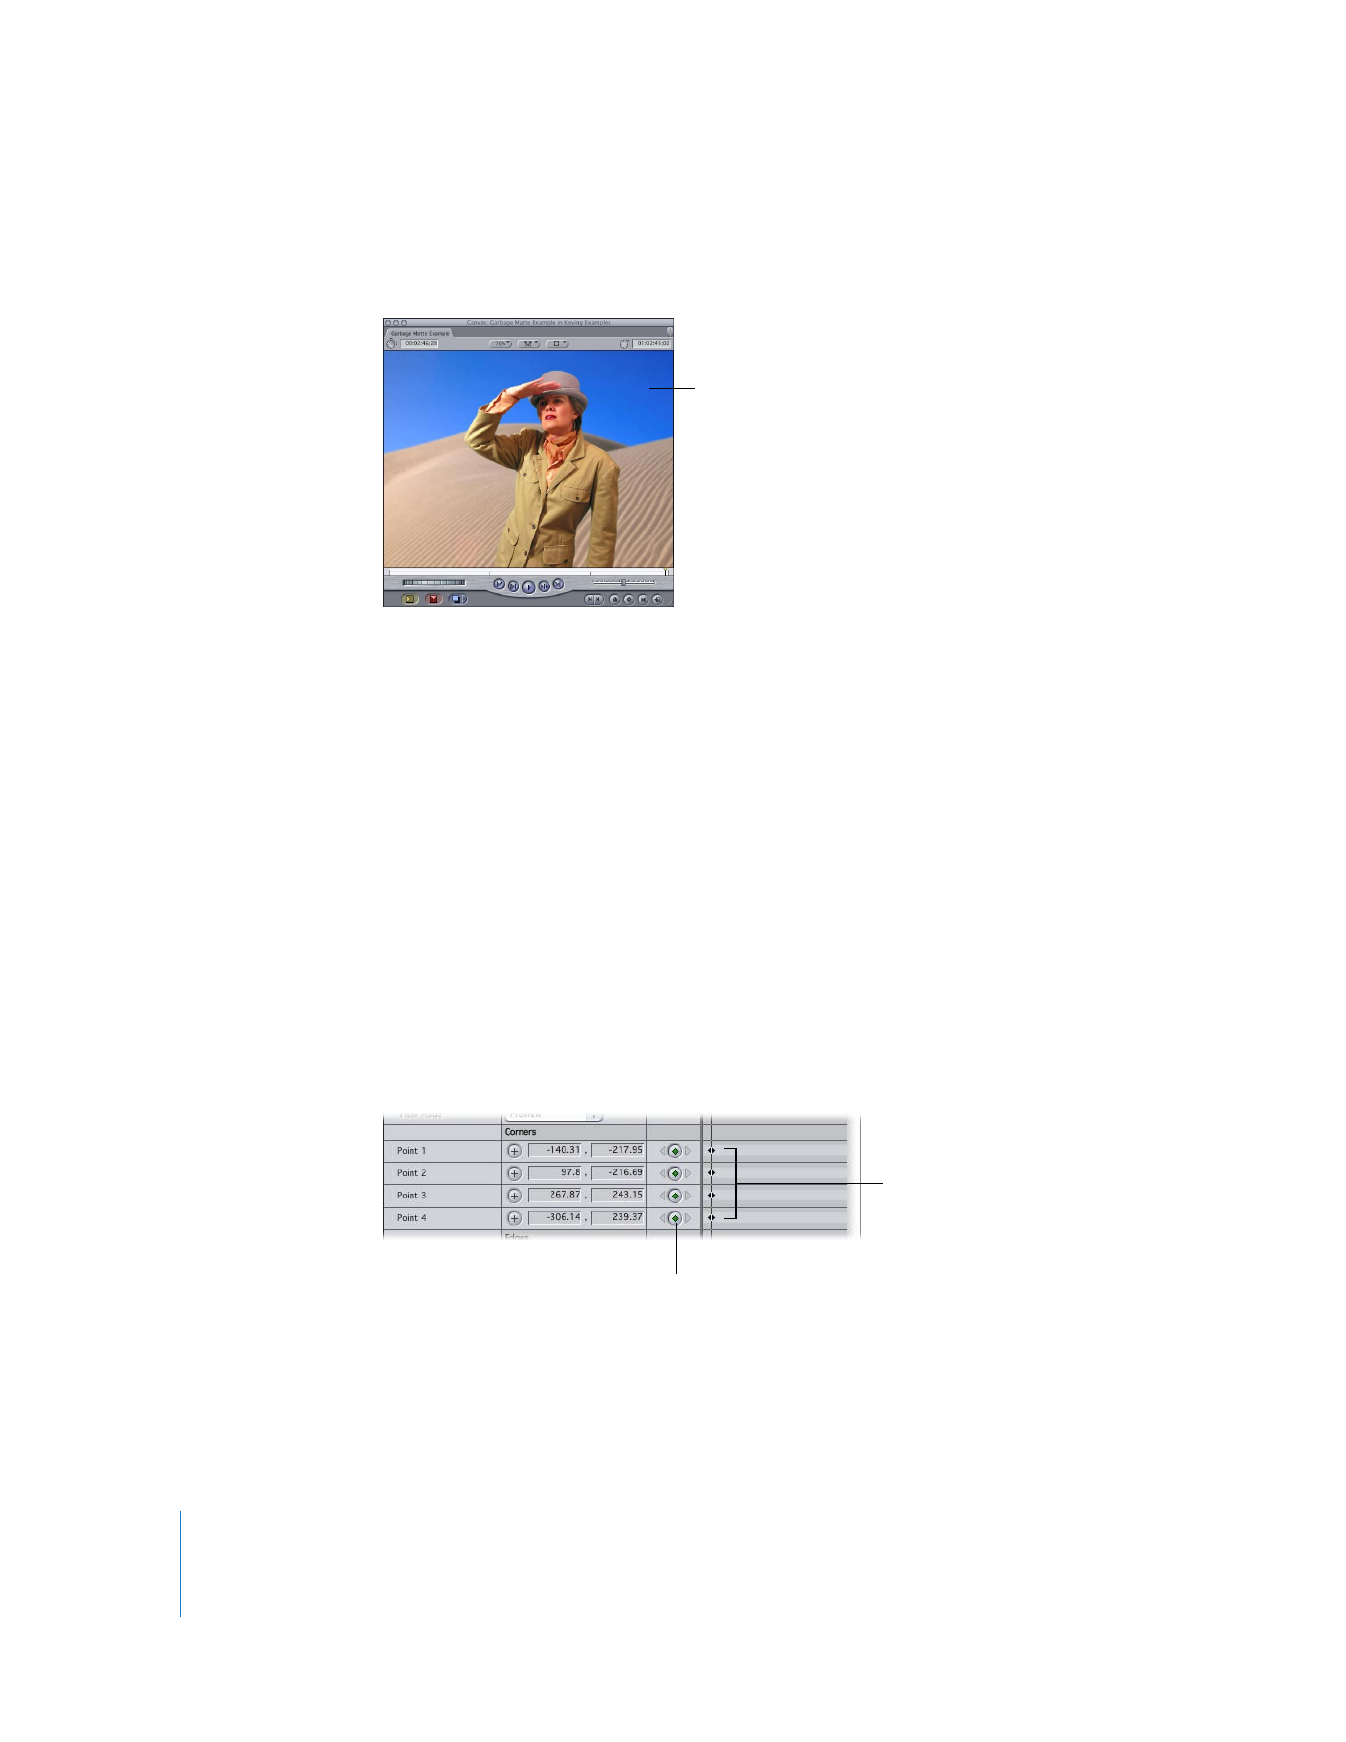
Once you’ve created the proper shape for the first frame of the clip, click the keyframe
buttons for the Point 1, Point 2, Point 3, and Point 4 parameters.
The finished matte image
Create keyframes for
all four points.
Click keyframe buttons
to create keyframes.

Chapter 20
Keying, Mattes, and Masks
443
II
3
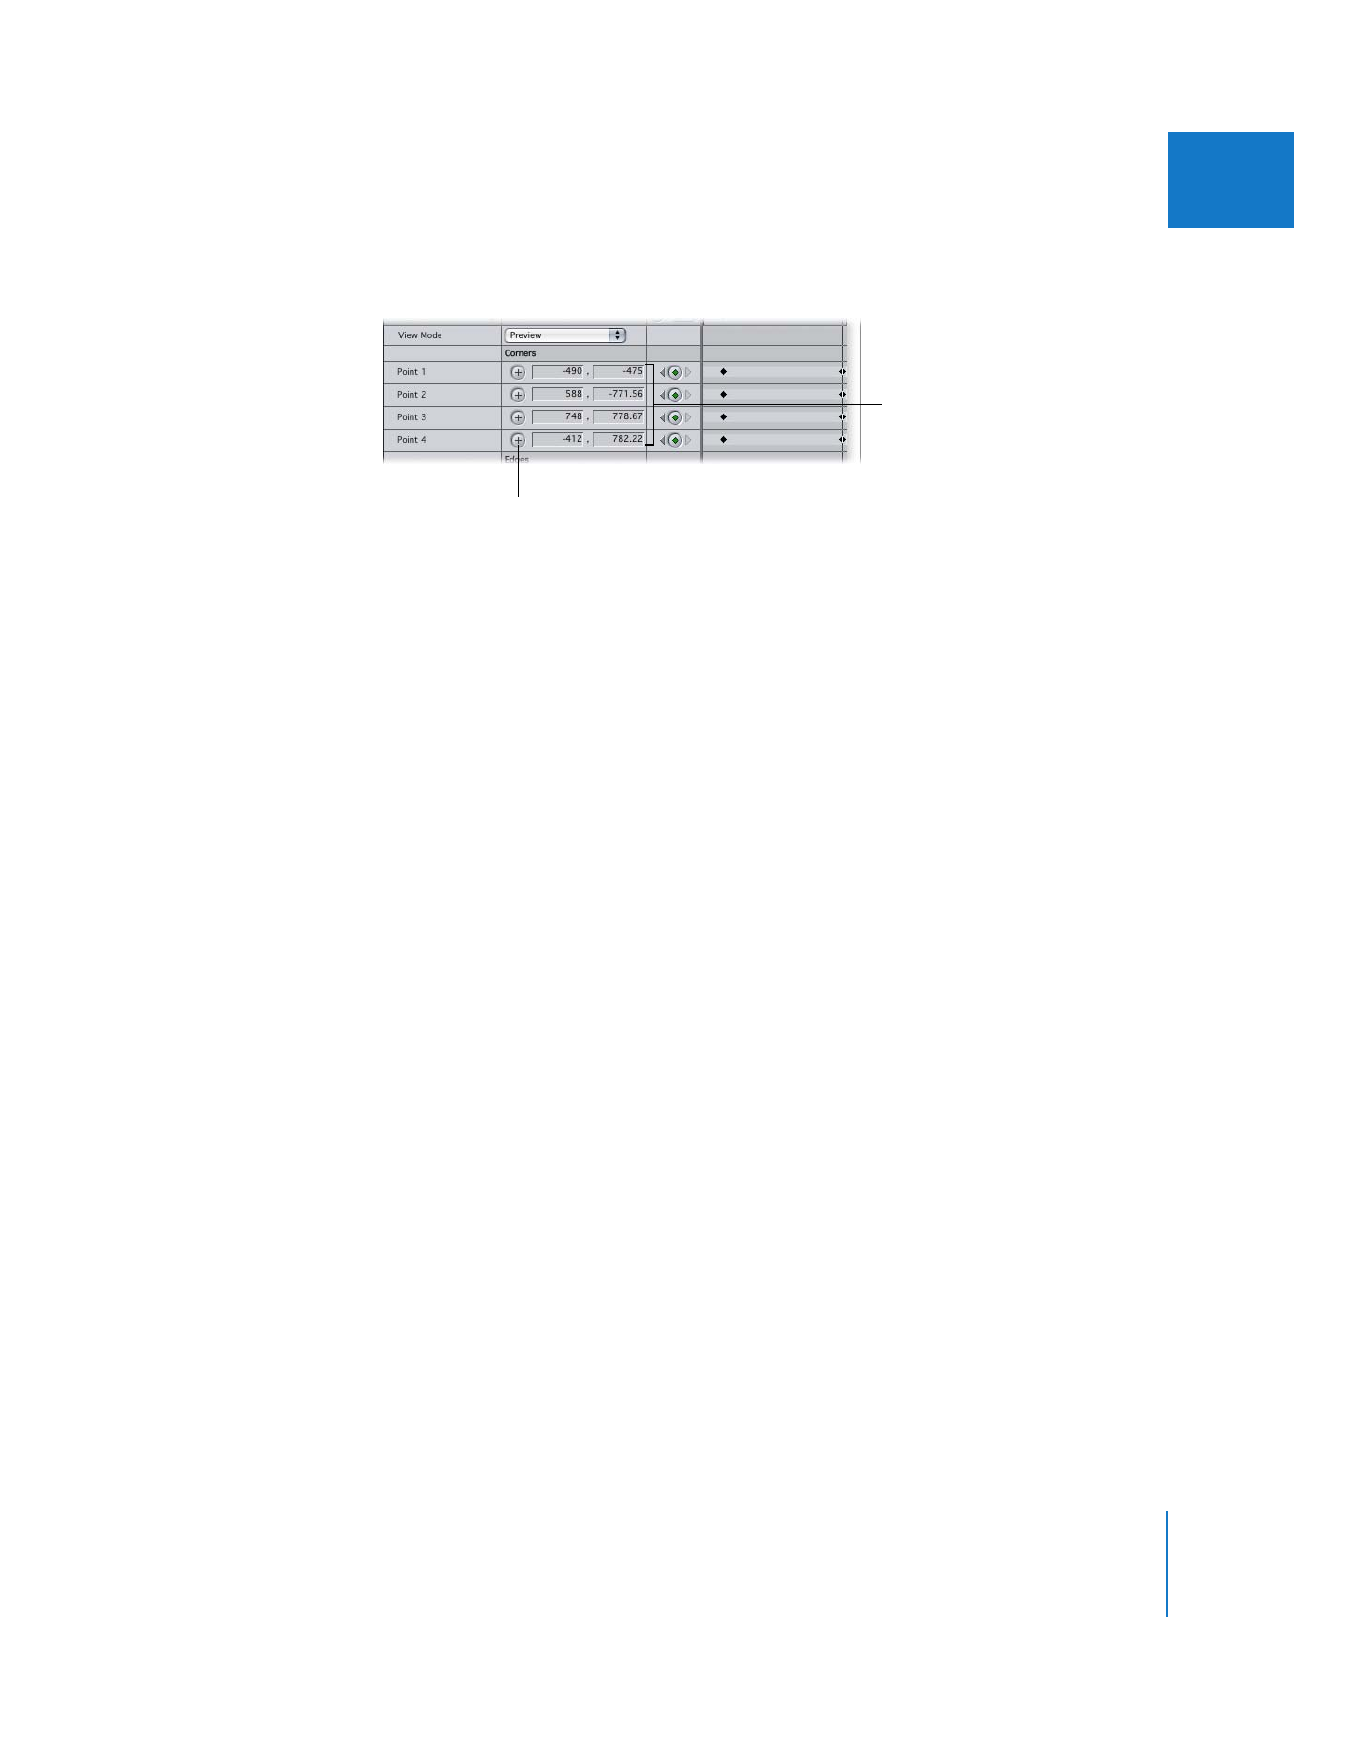
Move the playhead to the last frame of the clip, then readjust the Point 1, Point 2,
Point 3, and Point 4 point controls to fit the new position of the green screen.
Keyframes are created automatically when you make these adjustments. The change of
the matte’s shape and position is calculated for each frame in between the two sets of
keyframes you’ve created. If the motion of the camera is consistent, the position of the
matte should follow the position of the background screen. If the motion of the camera
is inconsistent, you can create more keyframes to adjust the shape and position of the
four matte points as necessary.