Creating and Applying Favorite Filters and Transitions
Often you may find yourself using the same filter or transition several times in a
sequence. Rather than manually reapplying the same filter or keyframed parameters
over and over again to multiple clips, you can save a filter or effect as a favorite and
then apply it to multiple clips instantly.
You can also save animated motion parameters, called motion favorites, and apply them
to clips whenever you need to do so. For more information about saving and using
motion favorites, see “
Creating and Applying Motion Favorites
” on page 320.
Favorites can be used in different ways, such as:
 Using the same animated filter parameters again and again without re-creating
parameter keyframes
 Reusing transitions with different parameter settings or lengths
Many editors use particular durations for the transitions they add. You can create a
series of favorites that are the same transition but with different durations. To keep
track of these modified favorite transitions, you can rename each favorite to reflect
its duration. For more information about transitions, see Volume II, Chapter 21,
“Adding Transitions.”
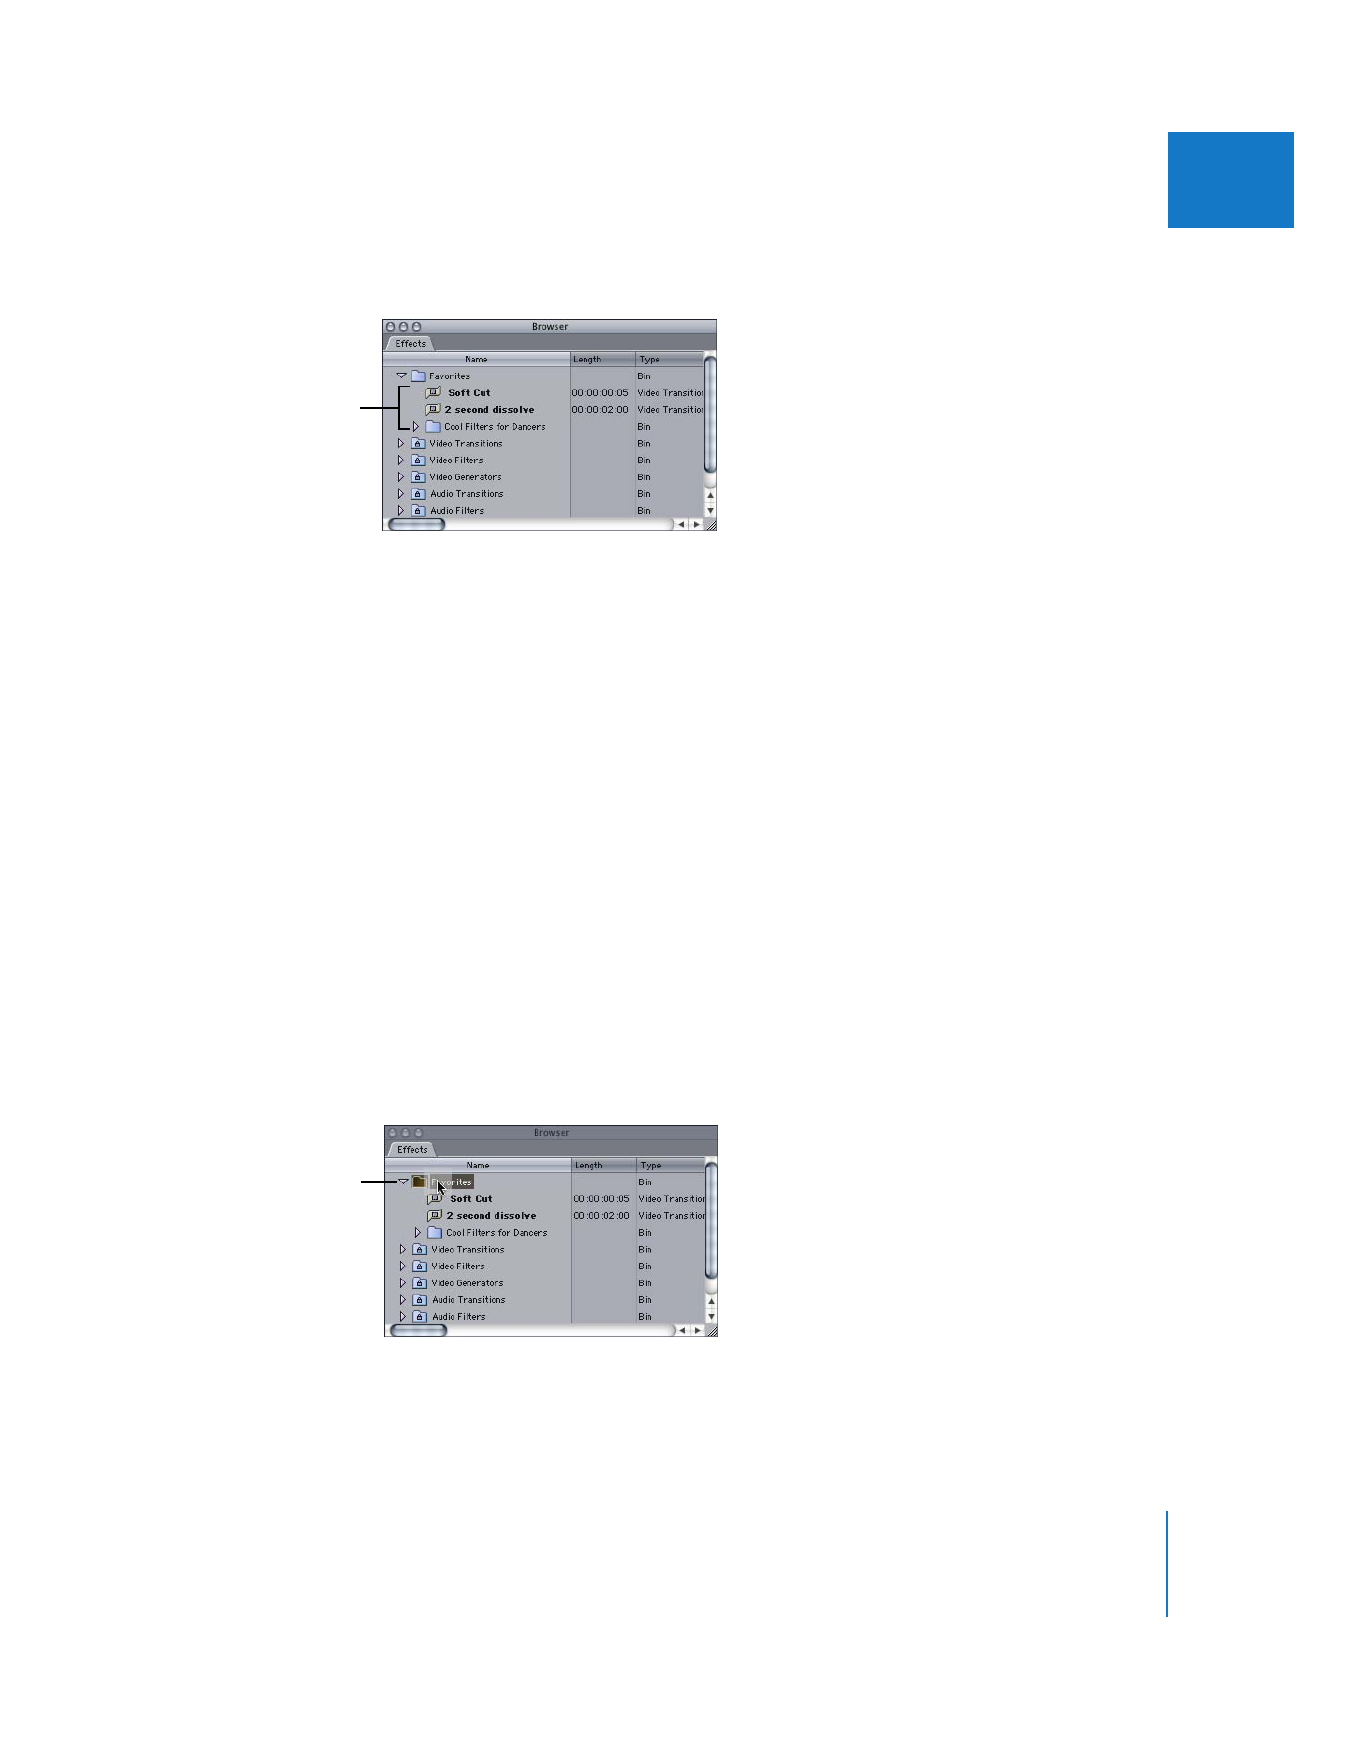
Favorite filters, transitions, and motion parameters are stored in the Favorites bin in the
Effects tab of the Browser. You can also access these favorites by choosing the relevant
Favorites submenu from the Effects menu. There are five Favorites submenus in the
Effects menu, one for each effect category: video transitions, video filters, audio
transitions, audio filters, and motion.

Chapter 16
Reusing Effect and Motion Parameters
333
II
Within the Favorites bin in the Effects tab, you can organize your favorites into separate
bins. These bins appear as submenu items in each Favorites submenu in the Effects menu.
Note: For more information about saving and using motion favorites, see “
Creating and
Applying Motion Favorites
” on page 320.