
Video Is Not 72 Dots per Inch
There is a myth in video graphic design: Because some older computer displays used
72 pixels per inch, all video created on a computer must be at this resolution. This is
not true or necessary. The dimensions of a video image are dependent only on the
number of horizontal and vertical pixels used in the image. Pixel dimensions alone
determine the resolution of a video image. You can easily test this yourself by
creating two 720 x 480 images in a still graphics program, setting one image to a
resolution of 300 dots per inch (dpi) and the other to 72 dpi. Import both images into
Final Cut Pro and compare the two. They are absolutely identical. This is because
video editing software does not use the dpi setting of a graphic image.
Even though the dpi setting for your graphics is irrelevant for working with video, keep
in mind that many people may still adhere to a policy that graphics for video must be
72 dpi. To avoid confusion with other graphic designers, you can just as well leave your
video graphics at 72 dpi. Just know that there is nothing special about this setting.
Chapter 18
Working with Freeze Frames and Still Images
371
II
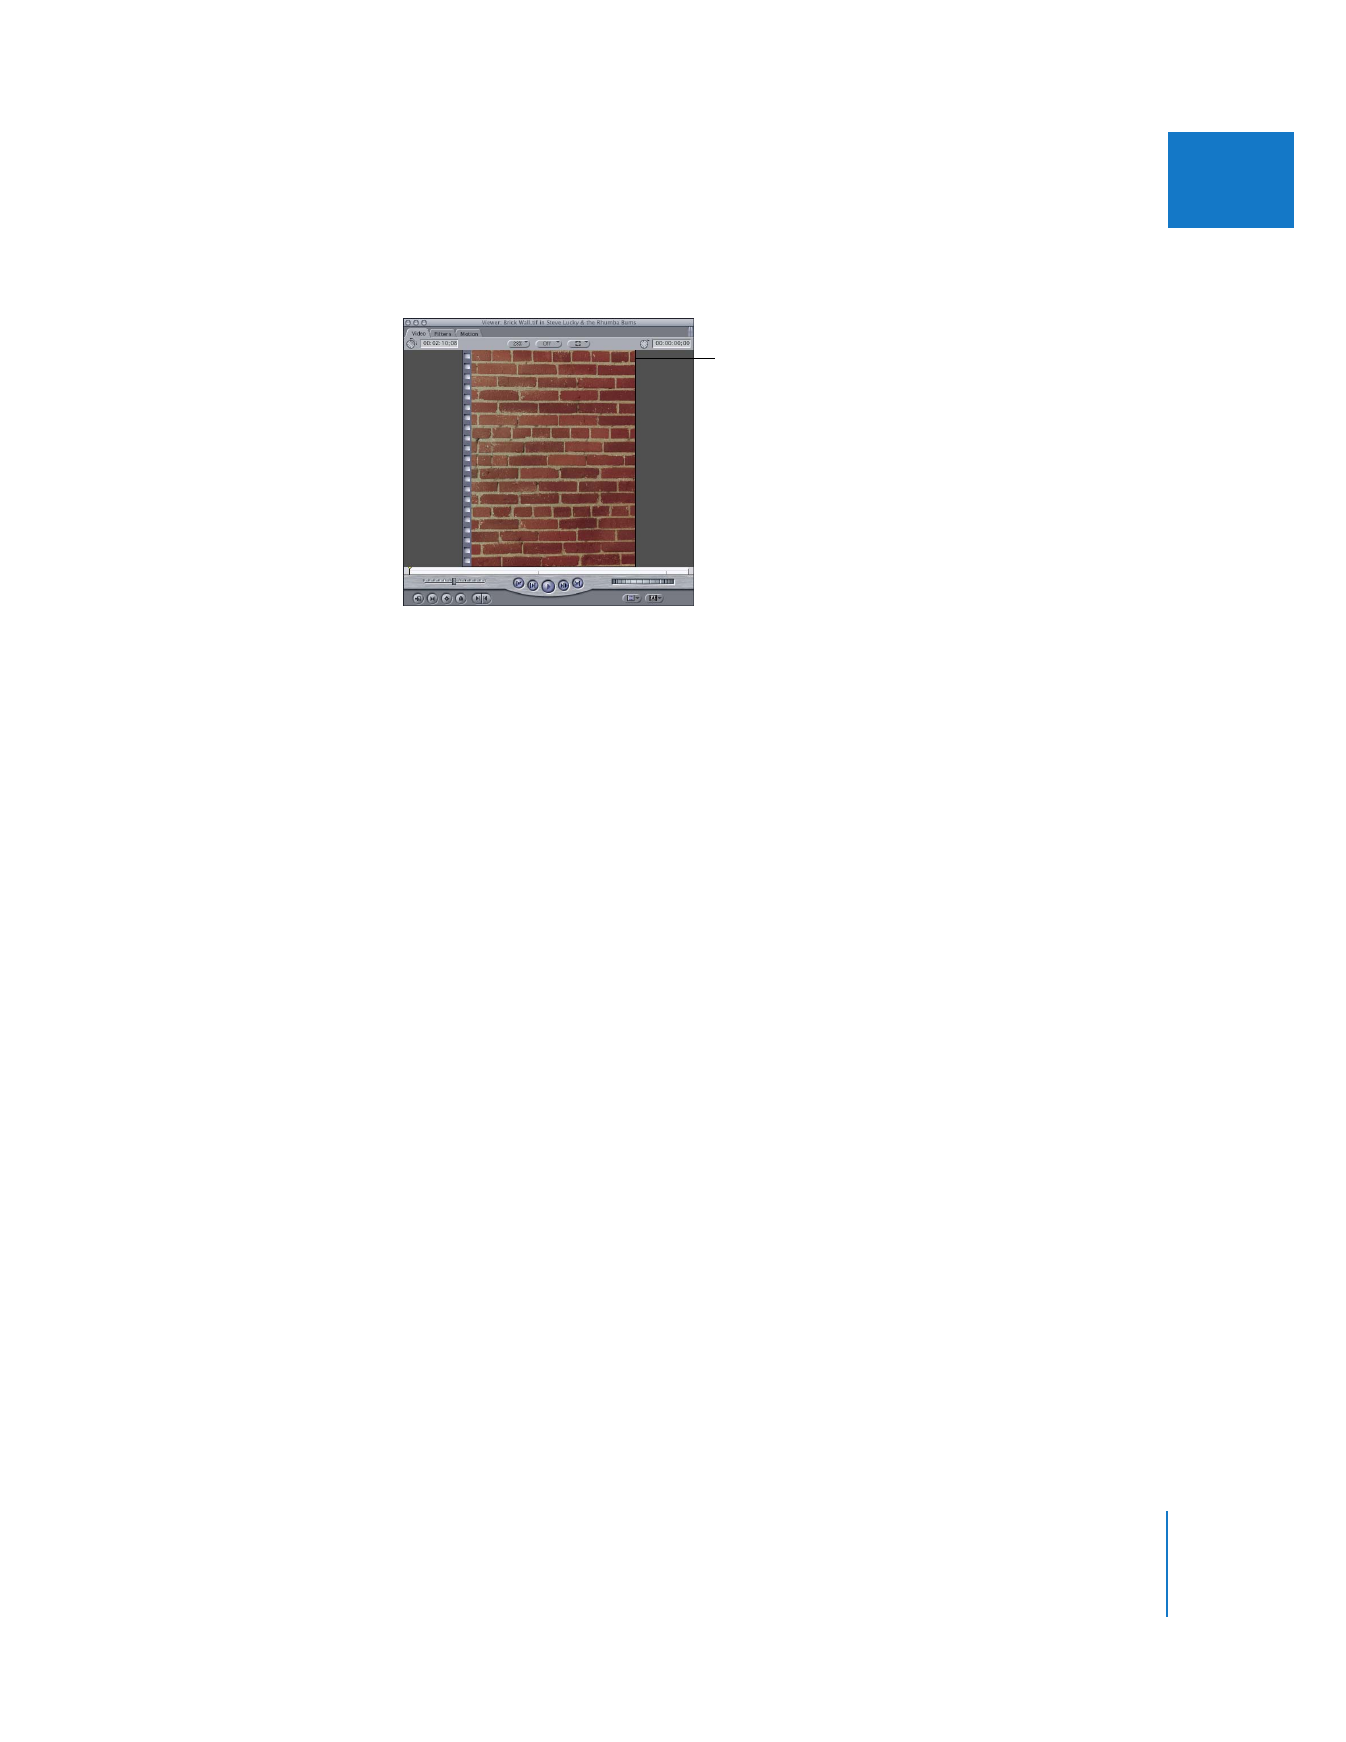
 If your graphic is taller than it is wide: There are gray borders to the right and left of
the image in the Viewer and Canvas. The borders are not part of the image.
 If your graphic is wider than it is tall: There are gray borders at the top and bottom of
the image in the Viewer and Canvas. The borders are not part of the image.
Understanding Digital SD Video Non-Square Pixels
When creating graphics for SD video, you need to consider the fact that the digital
video pixels are considered to be non-square (taller than wide for NTSC video, or wider
than tall for PAL video) compared to your computer graphics program that uses square
pixels. Non-square pixels are also referred to as rectangular pixels.
Note: Some computer graphics programs support non-square pixels, making it simpler
to create graphics for SD video formats like NTSC and PAL. For high definition (HD)
video formats, you can simply create square pixel graphics, which means designing
graphics with exactly the same image dimensions as your HD format.
Reconciling the difference between non-square pixels and square pixels can cause a lot
of confusion for beginning video graphic designers, but the best rules of thumb are to:
 Use a graphics application that supports non-square pixels, such as Adobe
Photoshop. In this case, you create your graphics with the proper dimensions and
pixel aspect ratio throughout the entire post-production process.
 Keep your destination video frame size in mind and follow the table on page 373
when designing graphics in your graphics application.
Note: There is no accepted standard for the exact aspect ratio of non-square SD video
pixels. Different manufacturers may assume different pixel aspect ratios when designing
their software. Fortunately, these differences tend to be very small, so in many cases you
may not notice a difference between pixel aspect ratios of, say, 0.9 and 0.89.
Since every non-square video frame size has an equivalent square frame size that will
look correct in SD video, it’s easy to create your graphics with a usable frame size. The
steps below tell you how.
Gray borders appear on the
sides because this image is
taller than it is wide.

372
Part II
Effects
See “
Pixel Aspect Ratios in SD Video Signals Versus Computer Displays
” on page 373 for
more background information on this topic.
Graphics for projects that will be output to HD video, or for video that will be played
only on computers and doesn’t use any captured SD video footage, simply need a
frame size that matches the sequence frame size. No alterations are needed.
To create graphics that look correct when output to video:
1
In your graphics application, create a frame size that’s the square-pixel equivalent of
the video frame size of your sequence.
To select the correct frame size for your video format, see “
Frame Size Chart for
Creating Graphics
” on page 373.
2
Create your graphic.
3
Do one of the following:
 Save your image from the graphics program to your media folder on disk.
 In your graphics program, first save your image at the original dimensions with a
name such as MyGraphic_original (this is a working copy that you can always use to
make further changes). Then, rescale the graphic from the square-pixel frame size
you created it with to the non-square equivalent shown in “
Frame Size Chart for
Creating Graphics
” on page 373. This makes the image look distorted in your
graphics application, but it will look right when you output it to video. Save this
resized graphic to the folder in which you store your media.
4
Import your image file into Final Cut Pro.
If your imported image dimensions match any of the SD digital video formats supported
by Final Cut Pro (such as DV NTSC, PAL, or widescreen), Final Cut Pro automatically assigns
the appropriate pixel aspect ratio associated with those dimensions. If you want to
change the pixel aspect ratio, you can change the image file’s Pixel Aspect property in the
Browser column or in the clip’s Item Properties window, as described in Volume II,
Chapter 5, “Working with Projects, Clips, and Sequences.”
Chapter 18
Working with Freeze Frames and Still Images
373
II
Frame Size Chart for Creating Graphics
Use the chart below to determine the frame size you need for creating graphics. For
example, if you’re working in DV PAL (which has a frame size of 720 x 576), your graphic
should have a frame size of 768 x 576 to look correct on an SD video monitor.
Important:
Final Cut Pro uses slightly different square-pixel image dimensions than
other video and still-image applications. For the most accurate results, you can avoid
creating and converting square-pixel images by using a graphics application that
supports non-square pixel aspect ratios. These applications allow you to create and
preview your graphics at their native resolution.
Pixel Aspect Ratios in SD Video Signals Versus Computer Displays
SD video images use pixels with a non-square (rectangular) aspect ratio, whereas
computer displays represent images using a grid of pixels with a square aspect ratio.
If you are using
this format
The video sequence
frame size is
Use graphics
with this frame size
CCIR 601
1
NTSC 4:3
720 x 486
720 x 547
CCIR 601 NTSC 16:9
anamorphic
720 x 486
853 x 486
DV NTSC 4:3
720 x 480
720 x 540
DV NTSC 16:9
anamorphic
720 x 480
853 x 480
CCIR 601/DV PAL 4:3
720 x 576
768 x 576
CCIR 601/DV PAL 16:9
anamorphic
720 x 576
1024 x 576
720p HD
1280 x 720
1280 x 720
1080i or 1080p HD
1920 x 1080
1920 x 1080
1
Refers to ITU-R BT.601
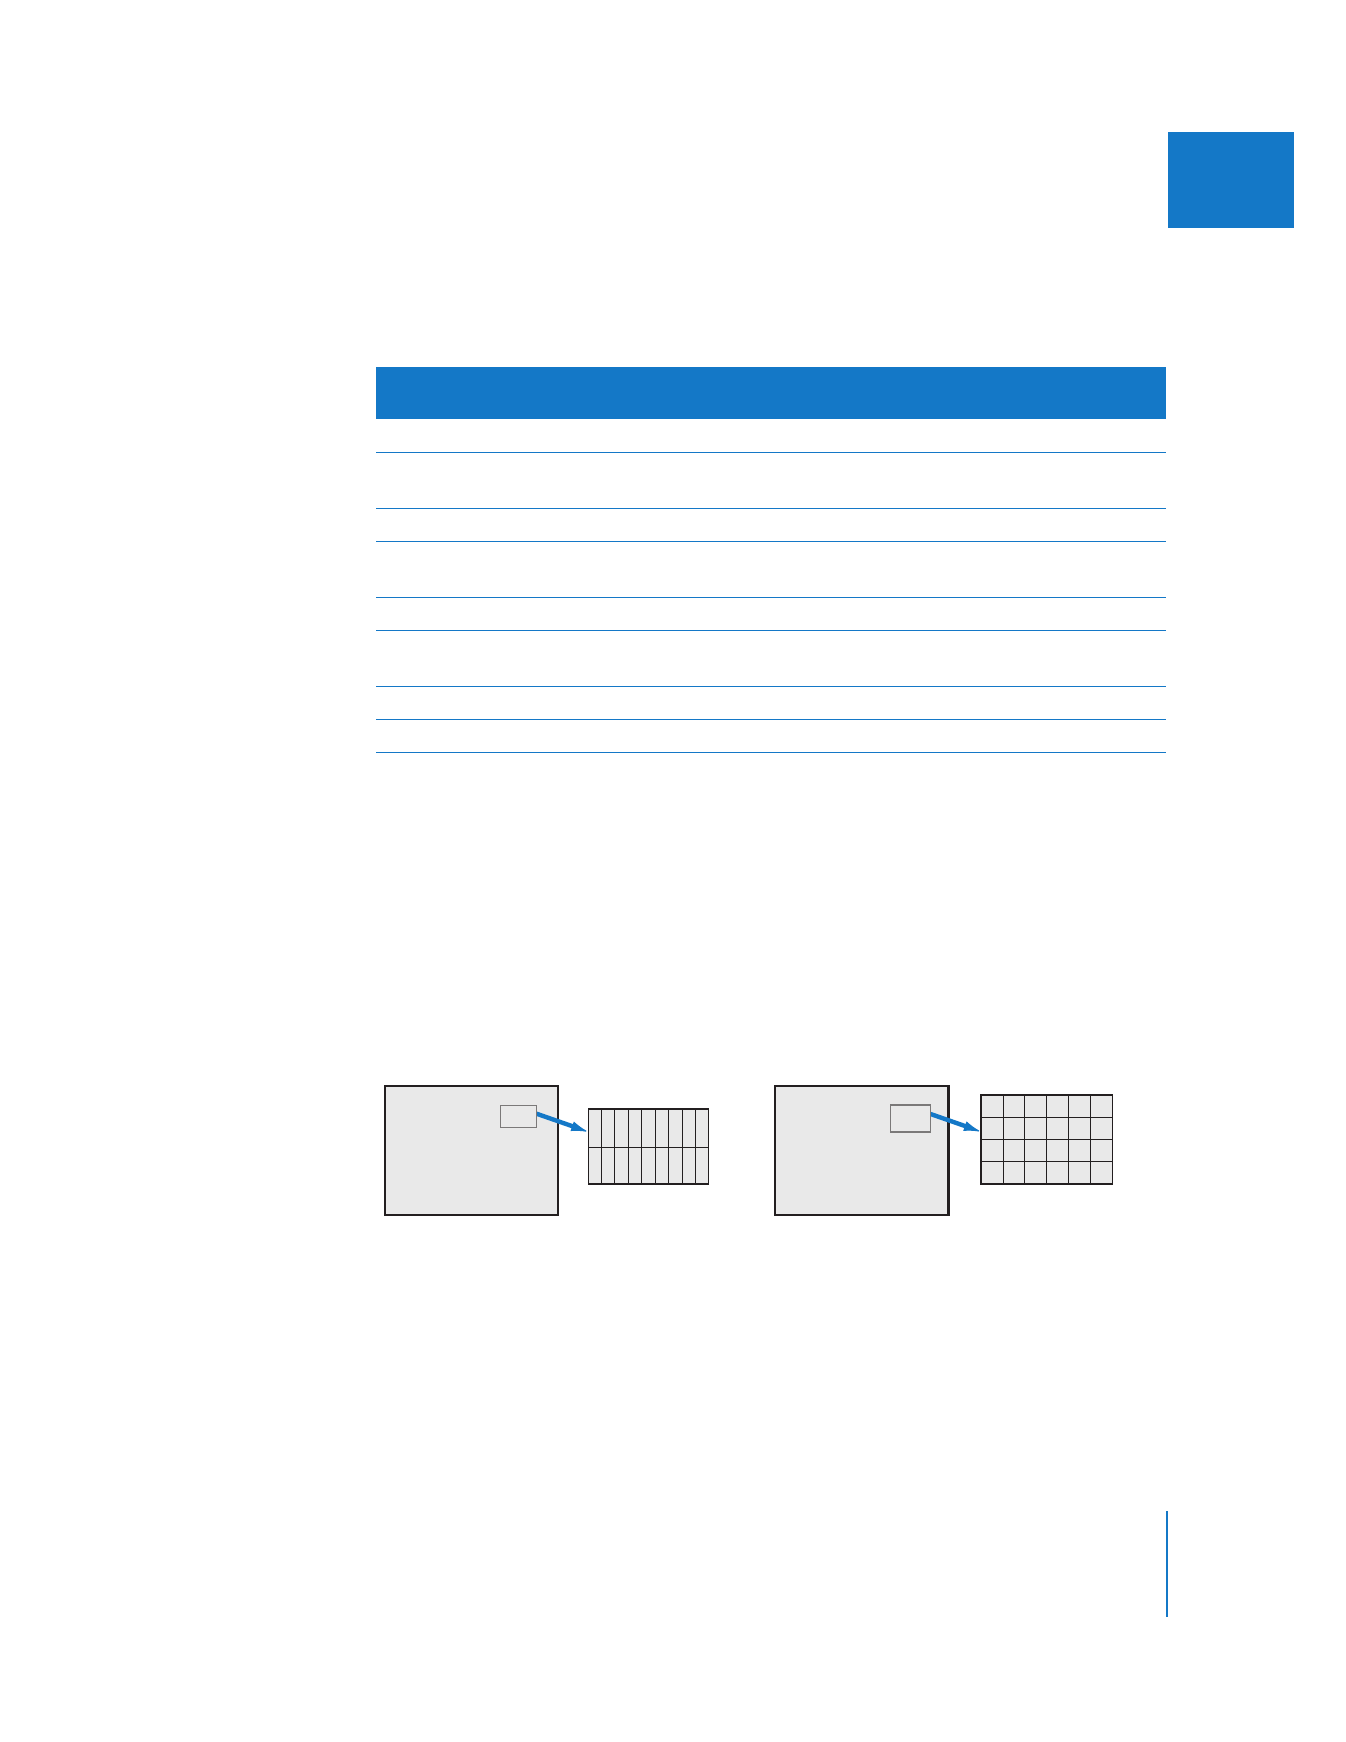
Computer display
Digital NTSC video
Non-square pixels
Square pixels

374
Part II
Effects
SD NTSC pixels are taller than computer pixels and SD PAL pixels are wider than
computer pixels. As a result, a 720 x 480 pixel image looks different (taller) on an NTSC
video monitor than it does on a computer display. For example, if you capture a clip of
video with a globe in the picture, export a frame, and look at this frame in a graphics
application, you’ll see something like this:
The Viewer and the Canvas let you display non-square pixel video correctly on the
computer’s display. You can choose this option by choosing Show As Sq. Pixels from
the Zoom pop-up menu in both windows.
Pixel Aspect Ratios in HD Video
Uncompressed HD video transferred via an HD-SDI signal has pixel dimensions of
either 1280 x 720 or 1920 x 1080. However, HD video recorded on tape is often
horizontally compressed to reduce the data rate. DVCPRO HD, HDV, and HDCAM are
three examples of formats whose native horizontal dimensions are squeezed. For
example, 1080i60 DVCPRO HD is 1280 x 1080. 1080i50 DVCPRO HD is 1440 x 1080.
Because of the discrepancy in dimensions even within a single format, it’s usually best
to create HD graphics at either 1920 x 1080 or 1280 x 720, depending on your final
output format. If you are uncertain which HD format you plan to output to, you can
always be safe by creating your graphics at the largest size possible (1920 x 1080) and
then scaling down if necessary.
Looks right
on a video monitor
NTSC square vs. non-square pixels example
Looks wrong
on a computer monitor

Chapter 18
Working with Freeze Frames and Still Images
375
II