
Example: Using the Color Corrector 3-Way Filter
While the Color Corrector filter lets you adjust the overall color balance of a clip, the
Color Corrector 3-way filter gives you even more control by allowing you to adjust the
color balance of the shadows, midtones, and highlights individually. All three of these
affected parts of your picture overlap, allowing you to make extremely involved
changes to your picture. For additional information, see “
Blacks, Midtones, and Whites
”
on page 510.

584
Part III
Color Correction and Video Quality Control
The following example shows you how to use the Color Corrector 3-way filter to adjust
a clip that was both underexposed and shot with an incorrect white balance, giving it
an orange tinge.
1
Move the playhead in the Timeline over the clip you want to work on so that you can
see your changes output to video as you work.
With an external broadcast monitor connected to your computer, and the External
Video submenu of the View menu set to All Frames, whichever frame is at the current
position of the playhead in the Canvas will be output to video.
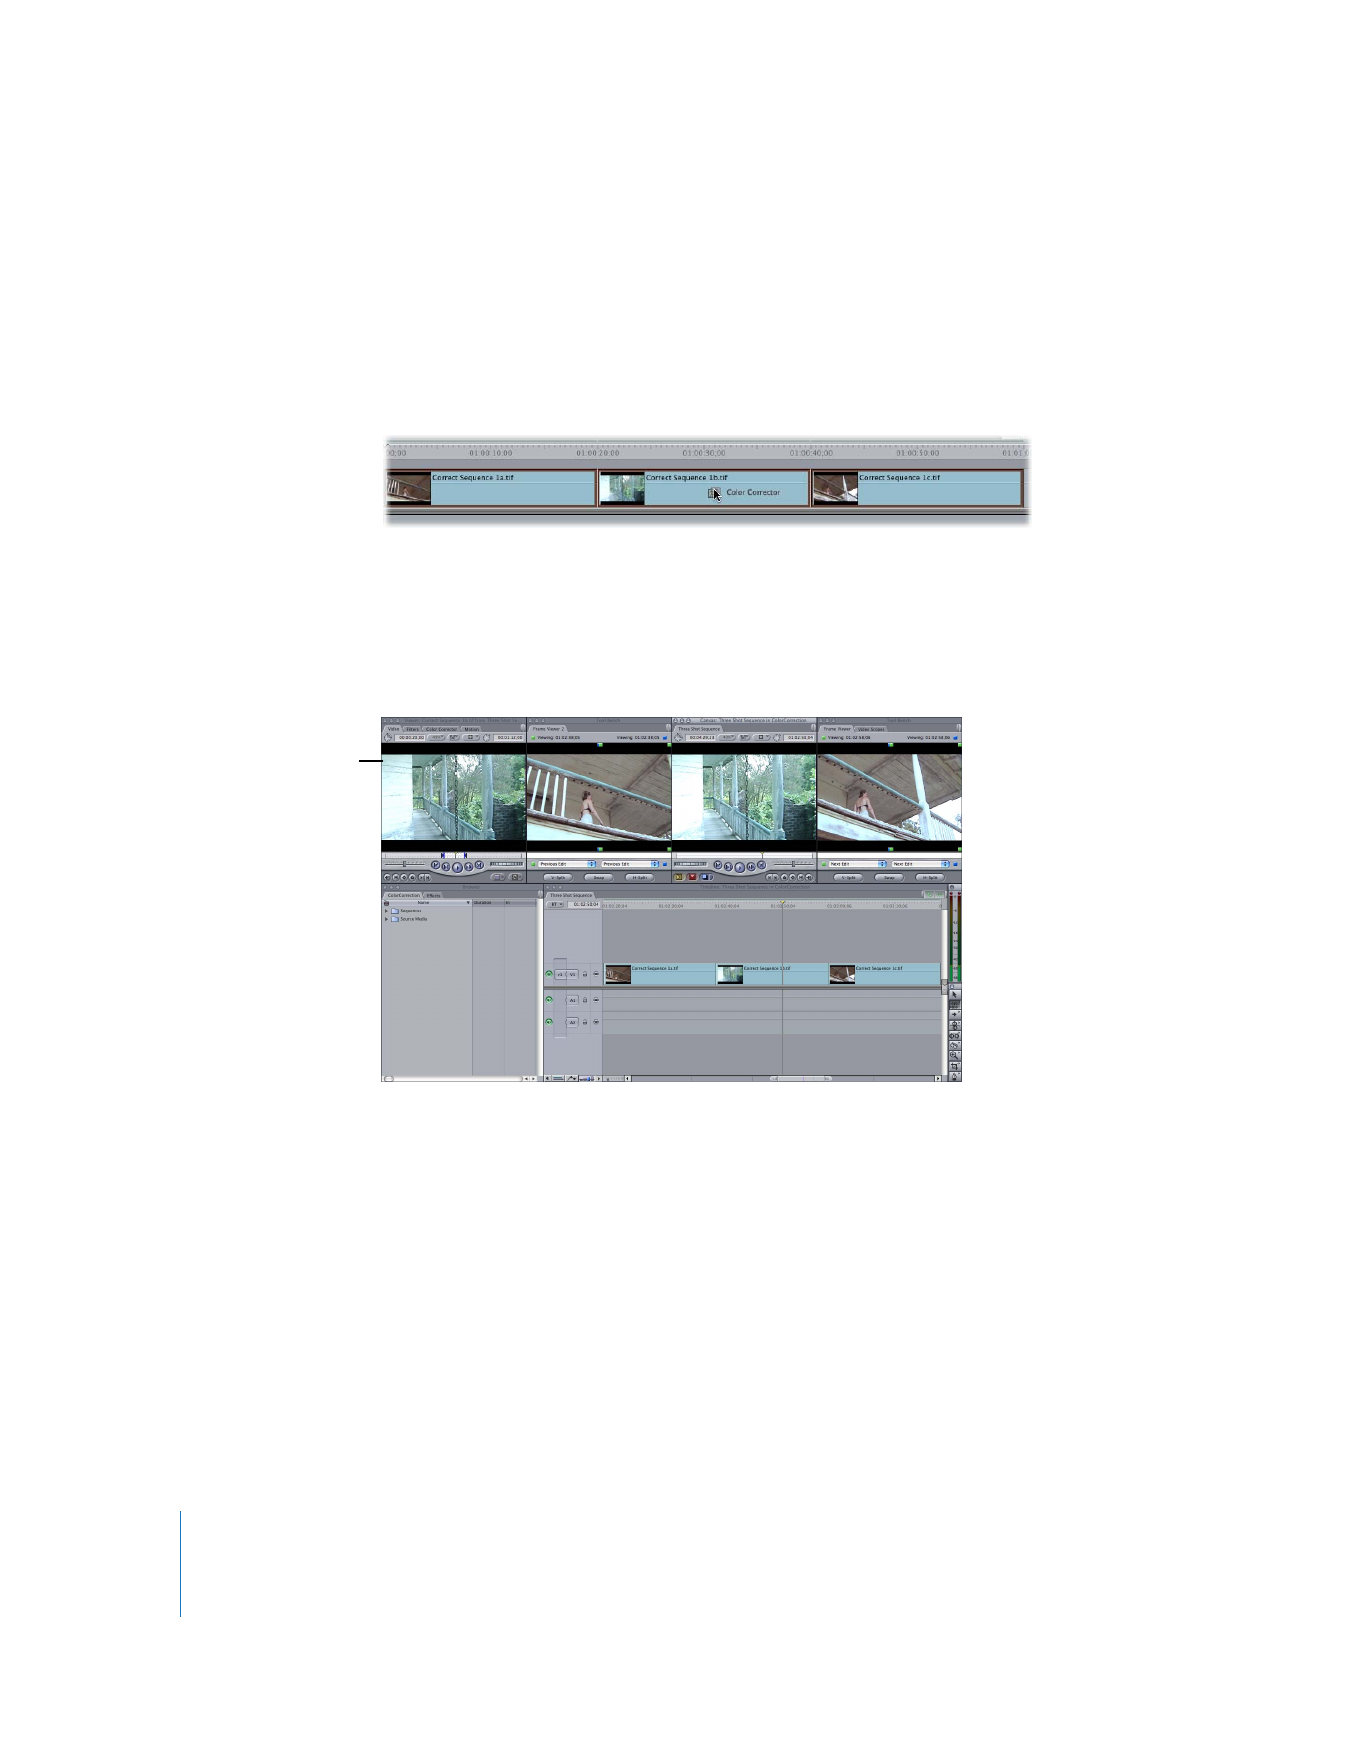
2
Apply the Color Corrector 3-way filter to the sequence clip.
For more information on applying filters, see Chapter 12, “
Using Video Filters
,” on
page 217.
3
Open the selected clip in the Viewer by double-clicking it, or by selecting it and
pressing Return.
4
Click the Color Corrector 3-way tab at the top of the Viewer to access the Color
Corrector 3-way filter visual controls.
5
Choose Window > Arrange > Color Correction.
This displays the Video Scopes tab in the Tool Bench window. While color correcting, it’s
helpful to have the Video Scopes tab open to get a more detailed analysis of your
video as you work.
This example shows how
to adjust the overall color
balance of this clip.
Click the Color Corrector
3-way tab to view the
visual controls.

Chapter 27
Color Correction
585
III
6
From the Layout pop-up menu of the Video Scopes tab, choose All to make sure that all
the scopes are available.
You are now ready to begin adjusting the image.
7
Click the Auto Contrast button to maximize the range from white to black in your clip.
The Blacks and Whites sliders automatically adjust themselves to achieve the best
numeric distribution based on the luma levels shown in the Histogram. This gives you a
starting point from which to proceed.
If your image was incorrectly exposed, you can now adjust the Blacks, Mids, and Whites
sliders as necessary. As with all level controls, moving a slider to the right redistributes
the affected values farther to the right, making the affected parts of the image appear
brighter. Moving a slider to the left redistributes the affected values farther to the left,
making the affected parts of the image appear darker.
In this example, the image is underexposed, so move the Mids slider to the right to
bring more detail out of the image.
Choose All so that all video
scopes are available for
you to use.
Auto Contrast button
Move the
Mids slider to
the right...
...so more detail comes
out in the image.

586
Part III
Color Correction and Video Quality Control
∏
Tip: One of the key differences between film and video is that video preserves much
more information in the shadows of an underexposed image than film does. You might
be surprised at how much detail you can bring out of the shadows of an underexposed
video clip. On the other hand, video doesn’t preserve any information in overexposed
highlights, whereas overexposed negative film does. The picture in an overexposed film
shot can be corrected during the telecine process, so that you have the maximum
amount of information available to you when color correcting the transferred video.
Note: Unlike negative film, reversal film preserves details in dark areas, much as
video does.
Now it’s time to address the color. In the example, the image is too warm because the
video camera was color-balanced incorrectly for tungsten instead of daylight. Although
this is obvious by looking at the shot, you can see just how far off the color balance is
by looking at the cluster of color falling above and to the right of the Flesh Tone line in
the Vectorscope of the Video Scopes tab.
8
To begin to compensate for this, click the Whites Auto-Balance eyedropper.
Note: When you click the eyedropper, your pointer turns into an eyedropper when you
move it into the Canvas.
9
Click the eyedropper in an area of the picture that’s supposed to be white. Depending
on the image, you may not necessarily want to select the purest white in the image.
You want to find an area of the image where you can see the tint, even if faintly.
Don’t select an area that’s overexposed, such as a light source or a shiny highlight. This
does not give you the appropriate result. Instead, select a properly exposed area of
your picture that’s white, such as a well-lit shirt sleeve or white wall.
The Color Corrector 3-way filter adjusts the Whites control to compensate for whatever
tint is affecting the highlights and bright areas of your picture.
Click the eyedropper
near the Whites control.
Click the eyedropper in
the white background
in the rear window.

Chapter 27
Color Correction
587
III
Because the clip was tinted toward the reds, when you click the eyedropper in the
white piece of scenery outside the window, the Whites color balance indicator moves
into a mixture of blue and cyan and turns the whites of the image into true white.
You can see the correction in the Canvas.
Note: When using the Whites Auto-Balance eyedropper, it’s important to recognize that
the color temperature of the light illuminating the white area you select will affect the
hue of the compensation that is made. If the picture is lit with a combination of
daylight and tungsten sources, selecting a part of the picture illuminated by daylight
will result in compensating the overall color temperature of the image by adding more
reds, whereas selecting a part of the picture illuminated by tungsten will result in
adding more blues. In such a case, you need to simply pick the best possible
compromise that looks right to you.
Next, you’ll focus on the blacks in your image, making further adjustments for more
accurate colors.
The Whites color balance
indicator moves to
correct the whites.
Before
After

588
Part III
Color Correction and Video Quality Control
10
Click the Blacks Auto-Balance eyedropper.
11
Click the eyedropper in an area of the picture that’s supposed to be neutral black.
Depending on the image, it may be more useful to pick a spot that’s a bit lighter than
pure black so that you can see the tint that’s affecting that part of the image.
The Color Corrector 3-way filter adjusts the Blacks control to compensate for whatever
tint exists in the shadows of your picture. In this example, cyan is added to the blacks
as well, to compensate for the reds that exist in the shadows of the image.
An optional step (usually if the clip you’re color correcting has a chip chart that was
shot along with the slate for that take) is to use the Mids Auto-Balance eyedropper.
Click the eyedropper
near the Blacks control.
Click the eyedropper in
the black of the headrest.
Before
After

Chapter 27
Color Correction
589
III
12
Click the Mids Auto-Balance eyedropper, then click the eyedropper in an area of the
chip chart that’s supposed to be neutral gray.
The Color Corrector 3-way filter adjusts the Mids control to compensate for whatever
tint exists in the vast midrange of your picture.
If you don’t have a chip chart to refer to and are unsure of the neutrality of a gray in the
background, don’t worry about performing this step. You’ll generally get good results
from simply using both the Whites and Blacks Auto-Balance eyedroppers by
themselves.
After you’ve used the Auto-Balance eyedroppers to achieve a properly balanced image,
it’s time to fine-tune the color balance. To really get the look you want, you need to
adjust the various color balance controls by hand. When adjusting the color balance
controls, you always want to start by first correcting the whites and then correcting the
blacks. You’ve already performed these two steps using the Auto-Balance eyedroppers.
Adjusting the midtones now will allow you to make the most accurate correction, with
the greatest degree of control.
13
Drag anywhere within one of the color wheels to move the color balance indicator
relative to its previous position. Because you already used the Auto-Balance
eyedroppers in the whites and blacks, these positions will be your starting points if you
make any further adjustments.
In this example, drag the color balance indicator in the Mids color wheel more into a
mix of cyan and blue to give the image a cooler look, particularly in the actor’s face and
the roof of the car.
Adjust the Mids control
to add more blue.

590
Part III
Color Correction and Video Quality Control
A before-and-after comparison of this change illustrates the effect.
While making these adjustments, it’s a good idea to use the Flesh Tone line in the
Vectorscope to show you how accurately the color of the actor’s face is represented. As
you can see in the Vectorscope’s analysis of the “before” image, the cluster of colors about
the Flesh Tone line was still a little off. Adjusting the Mids control corrected for this.
Because you’re not worrying about matching this image to any other shots right now,
you can select whatever look you want. Whether you go warmer, cooler, or even into
other more surreal balances of color is purely a creative choice at this point. If you’re
going for a realistic look, however, it’s important to be restrained and stick to making
subtle changes.
Once you’ve achieved the color balance you want, it’s time to adjust the saturation of
your clip to complete the look you want.
After
Before
After
Before
Flesh Tone line

Chapter 27
Color Correction
591
III
14
Drag the Saturation slider to increase or decrease the saturation.
Be careful when you do this. A common mistake beginners make is to oversaturate
shots to make them look “better.” Although a highly saturated look is sometimes
appropriate, less saturation may actually improve the look of your footage. This is
especially true if you have a camcorder with artificially vivid color.
In this example, the corrections applied so far have caused the image to be slightly
oversaturated. This is especially apparent in the red third of the RGB Parade scope, in
the Video Scopes tab.
Note: As always, be careful to make adjustments to saturation only while looking at a
properly calibrated broadcast monitor. It can be very tempting to mistakenly
oversaturate the colors of your clip based on the way video looks on a computer
display. It’s a good idea to enable the Excess Chroma option (in the Range Check
submenu of the View menu) to keep yourself from inadvertently setting illegal chroma
levels by boosting the saturation too high.
Before adjusting
the saturation
After adjusting the
saturation, red levels
are slightly reduced.
592
Part III
Color Correction and Video Quality Control