Using the Render Manager
The Render Manager allows you to manage the render files associated with the
sequences in your projects. Render files are created whenever you render transitions,
effects, or multilayer composites in a sequence. They are stored in the scratch disk
location specified in the Scratch Disks tab of the System Settings window. For more
information, see Volume IV, Chapter 23, “Choosing Settings and Preferences.”
You use the Render Manager to delete unwanted render files to free up disk space.
Periodically, you may find it useful to remove the following:
 Render files from deleted or old projects
 Unnecessary render files for existing projects
The Render Manager finds render files from both open and closed projects. You can use
the modification dates for files displayed in the Render Manager to help you determine
which files you no longer need. If you delete render files for projects you’re still working
on, you may need to rerender sections of your sequences.
Note: The Render Manager doesn’t search disks that aren’t specified as scratch disks.
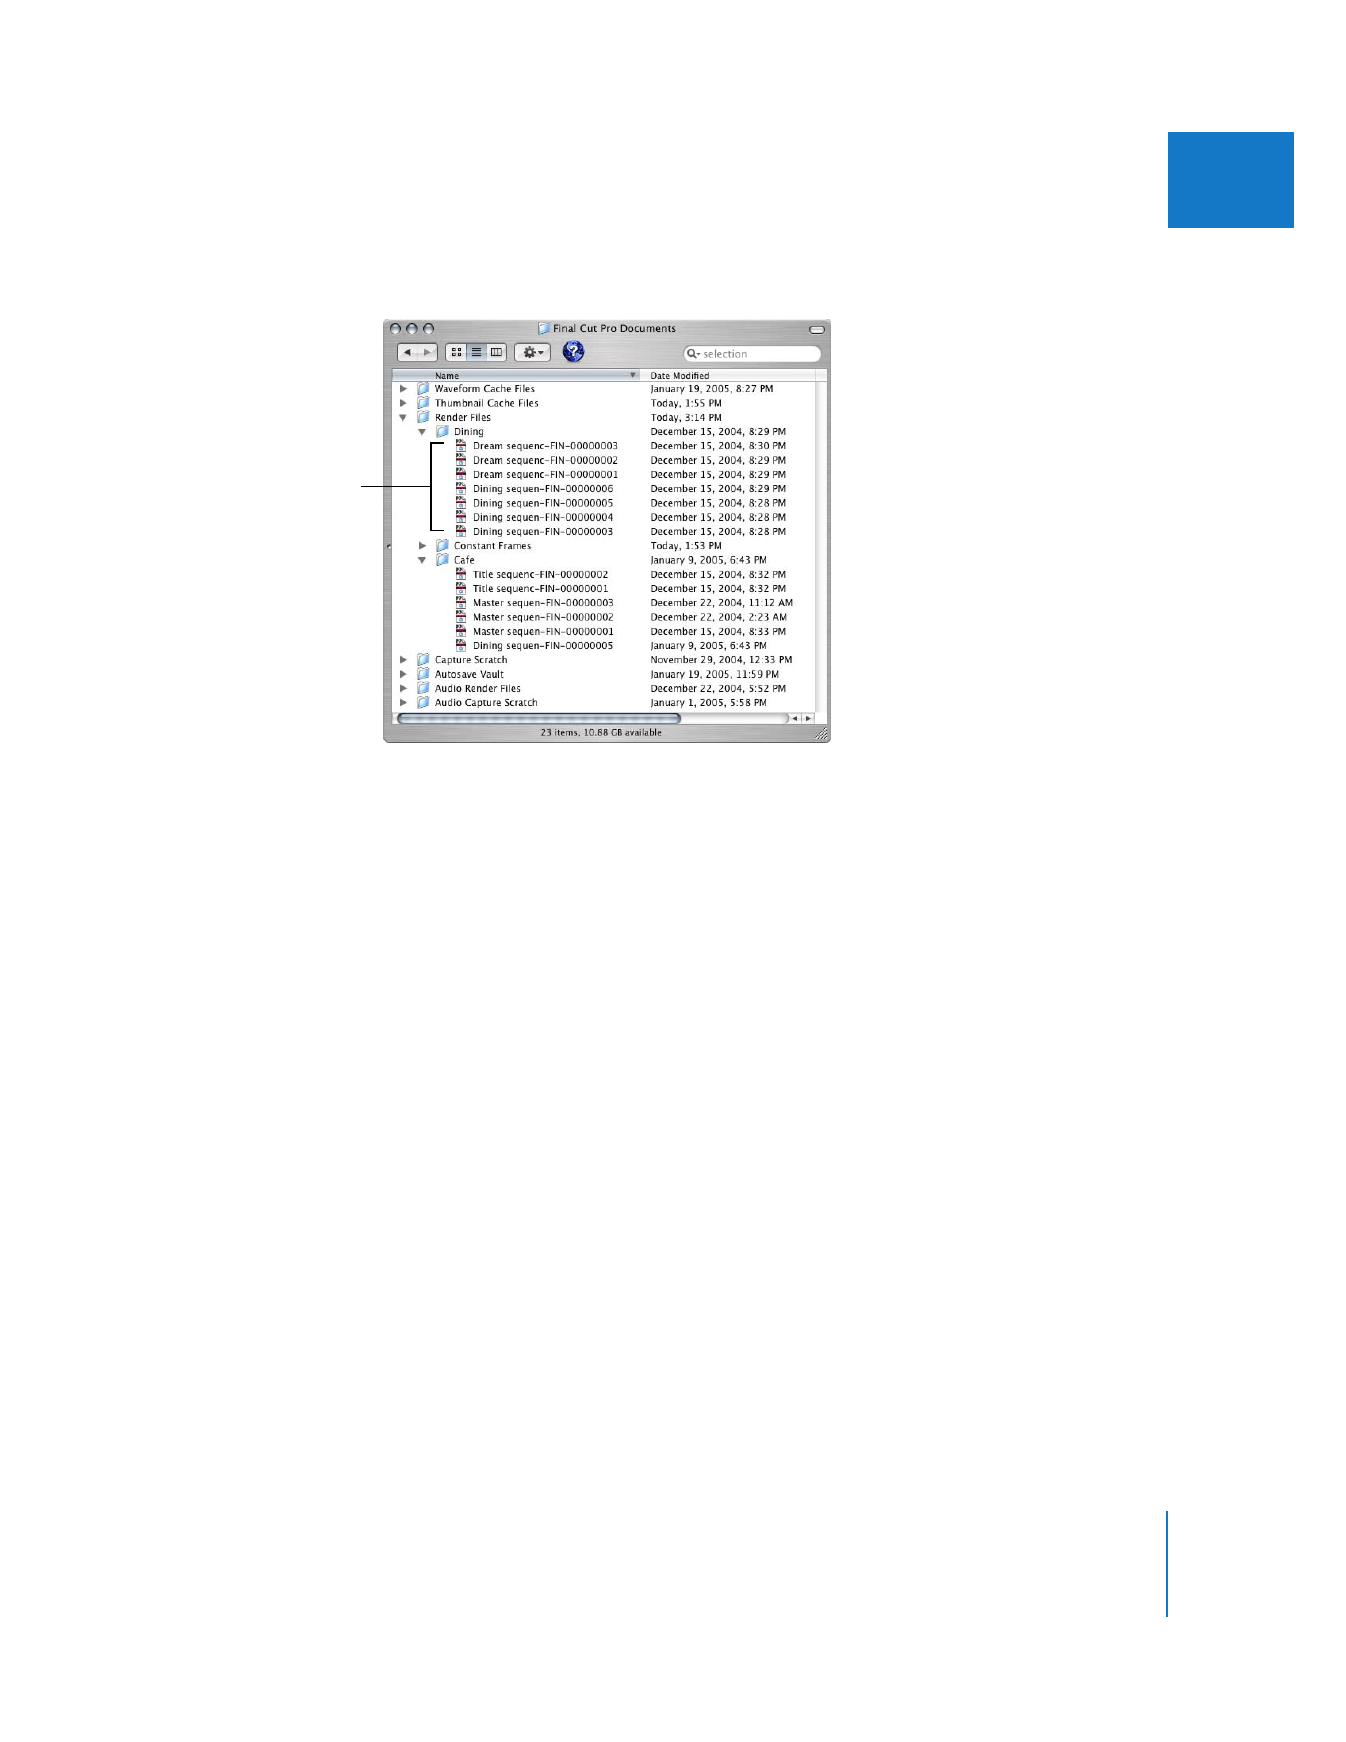
Render files for a project
674
Part IV
Real Time and Rendering
In the Render Manager, render files are organized into folders by project and sequence;
filenames show whether files are video or audio render files. The Last Modified date
column shows the last time a render file was saved.
Items in the Render Manager are displayed in three groups: audio, audio mixdown
(sequence-level audio render files), and video.
To delete render files:
1
Choose Tools > Render Manager.
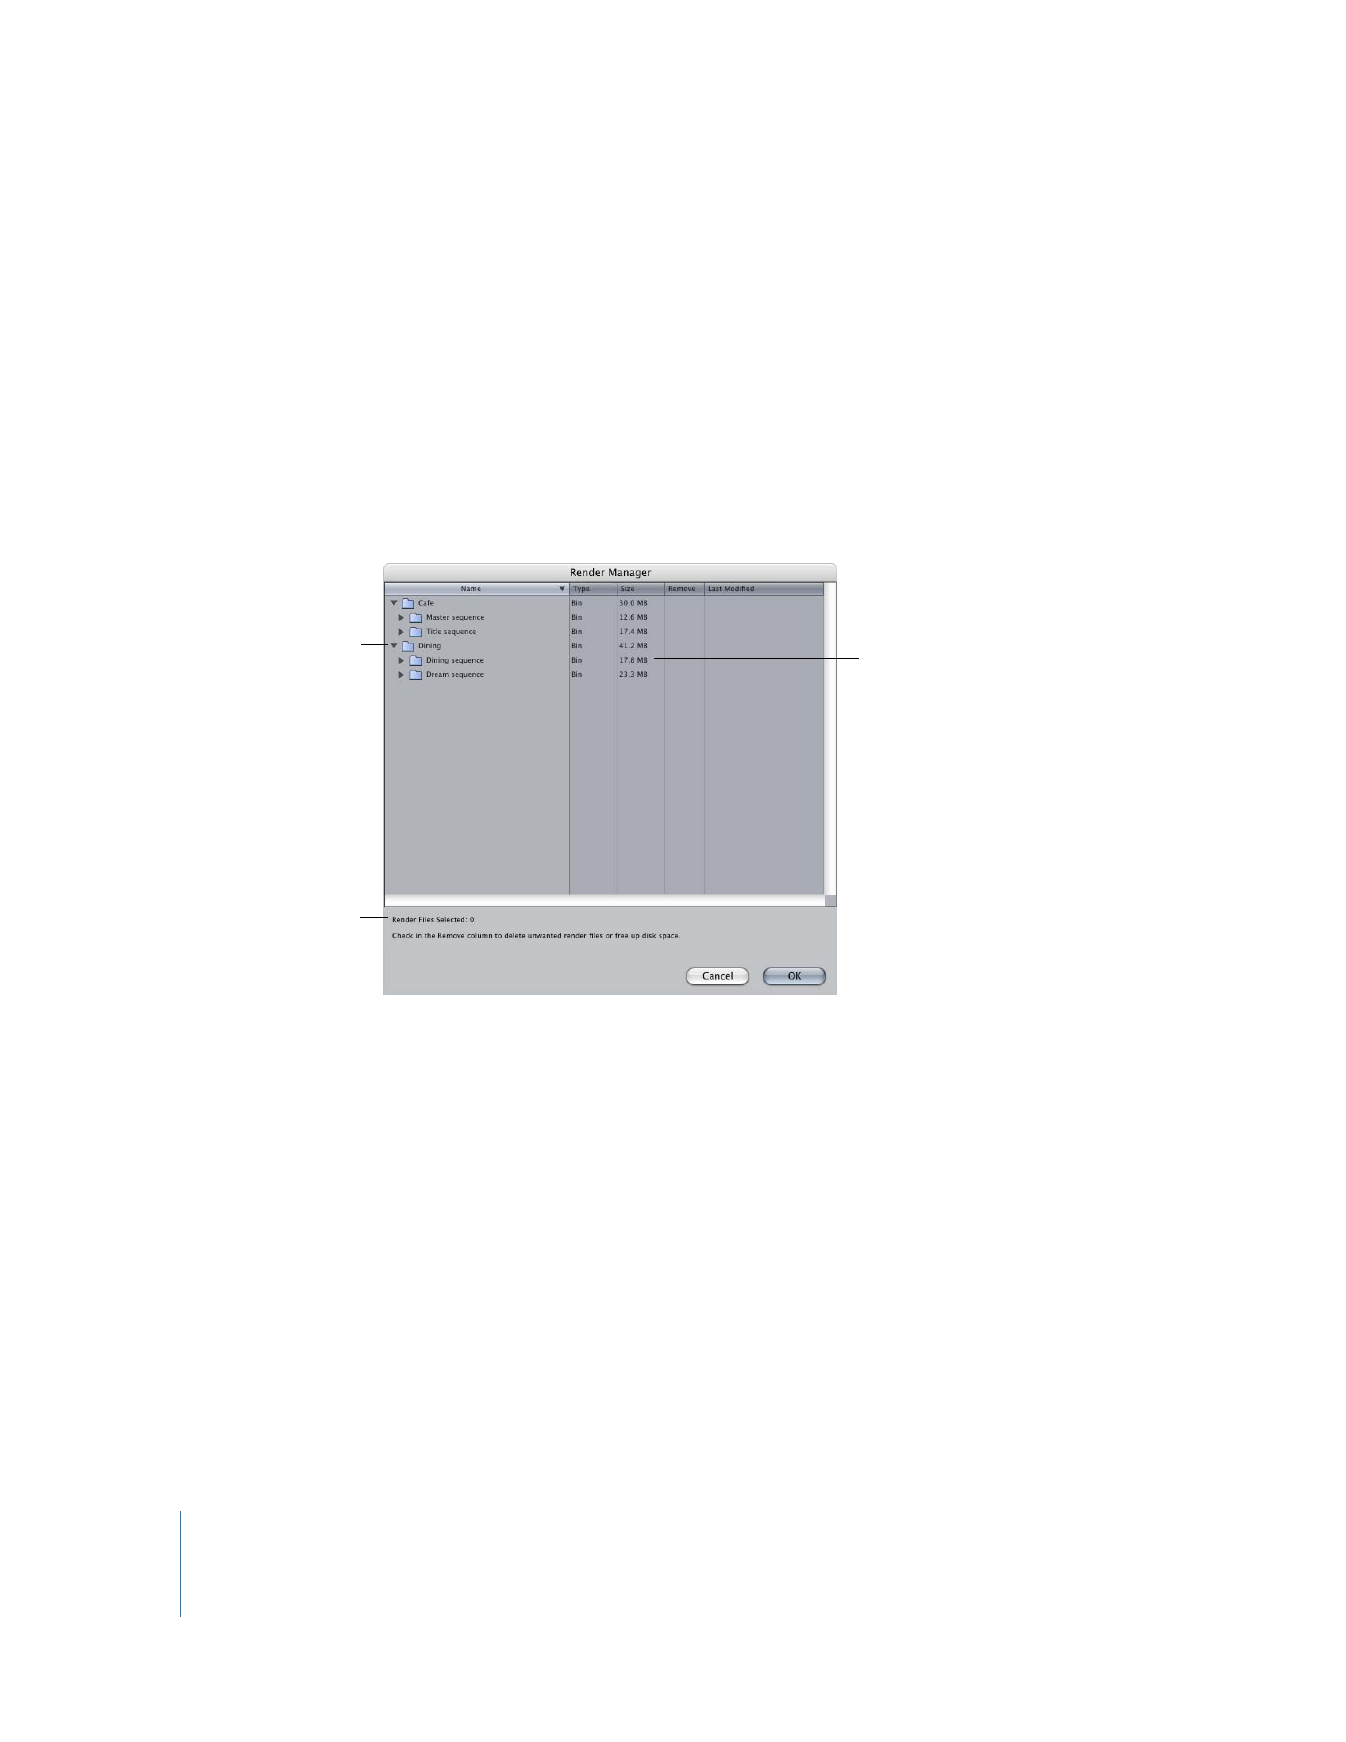
The Render Manager dialog appears. All projects that refer to render files on the current
render scratch disk are displayed. This includes all items in a sequence or project.
 Disclosure triangle: Click to show items within a project or sequence.
 Projects: Click the disclosure triangle next to a project to display all sequences in
the project that contain render files on the current render scratch disk.
 Sequences: Click the disclosure triangle next to a sequence to display the render
files for video and audio.
 Type: The type of item (bin or render file).
 Size: The amount of disk space used by render files.
 Last Modified: The date the render files were last updated.
Click the disclosure
triangle next to a project
to show all of its
render files.
Each entry shows the
amount of disk space
used on the render
scratch disk.
Displays the number of
render files to be deleted
and the disk space that
will be made available.

Chapter 29
Rendering and Video Processing Settings
675
IV
2
Click in the Remove column to delete specific render files.
 Clicking an item that includes other items, such as a project, automatically includes
all those items within it.
 Clicking a sequence selects all the render files for the sequence.
A checkmark appears next to each item you want to delete. The total amount of disk
space that will be made available is displayed at the bottom of the dialog.
3
When you’re ready to delete render files, click OK.
All files tagged for removal (with a checkmark) are deleted from the scratch disk.
Important:
Deleted render files cannot be restored with the Undo command.