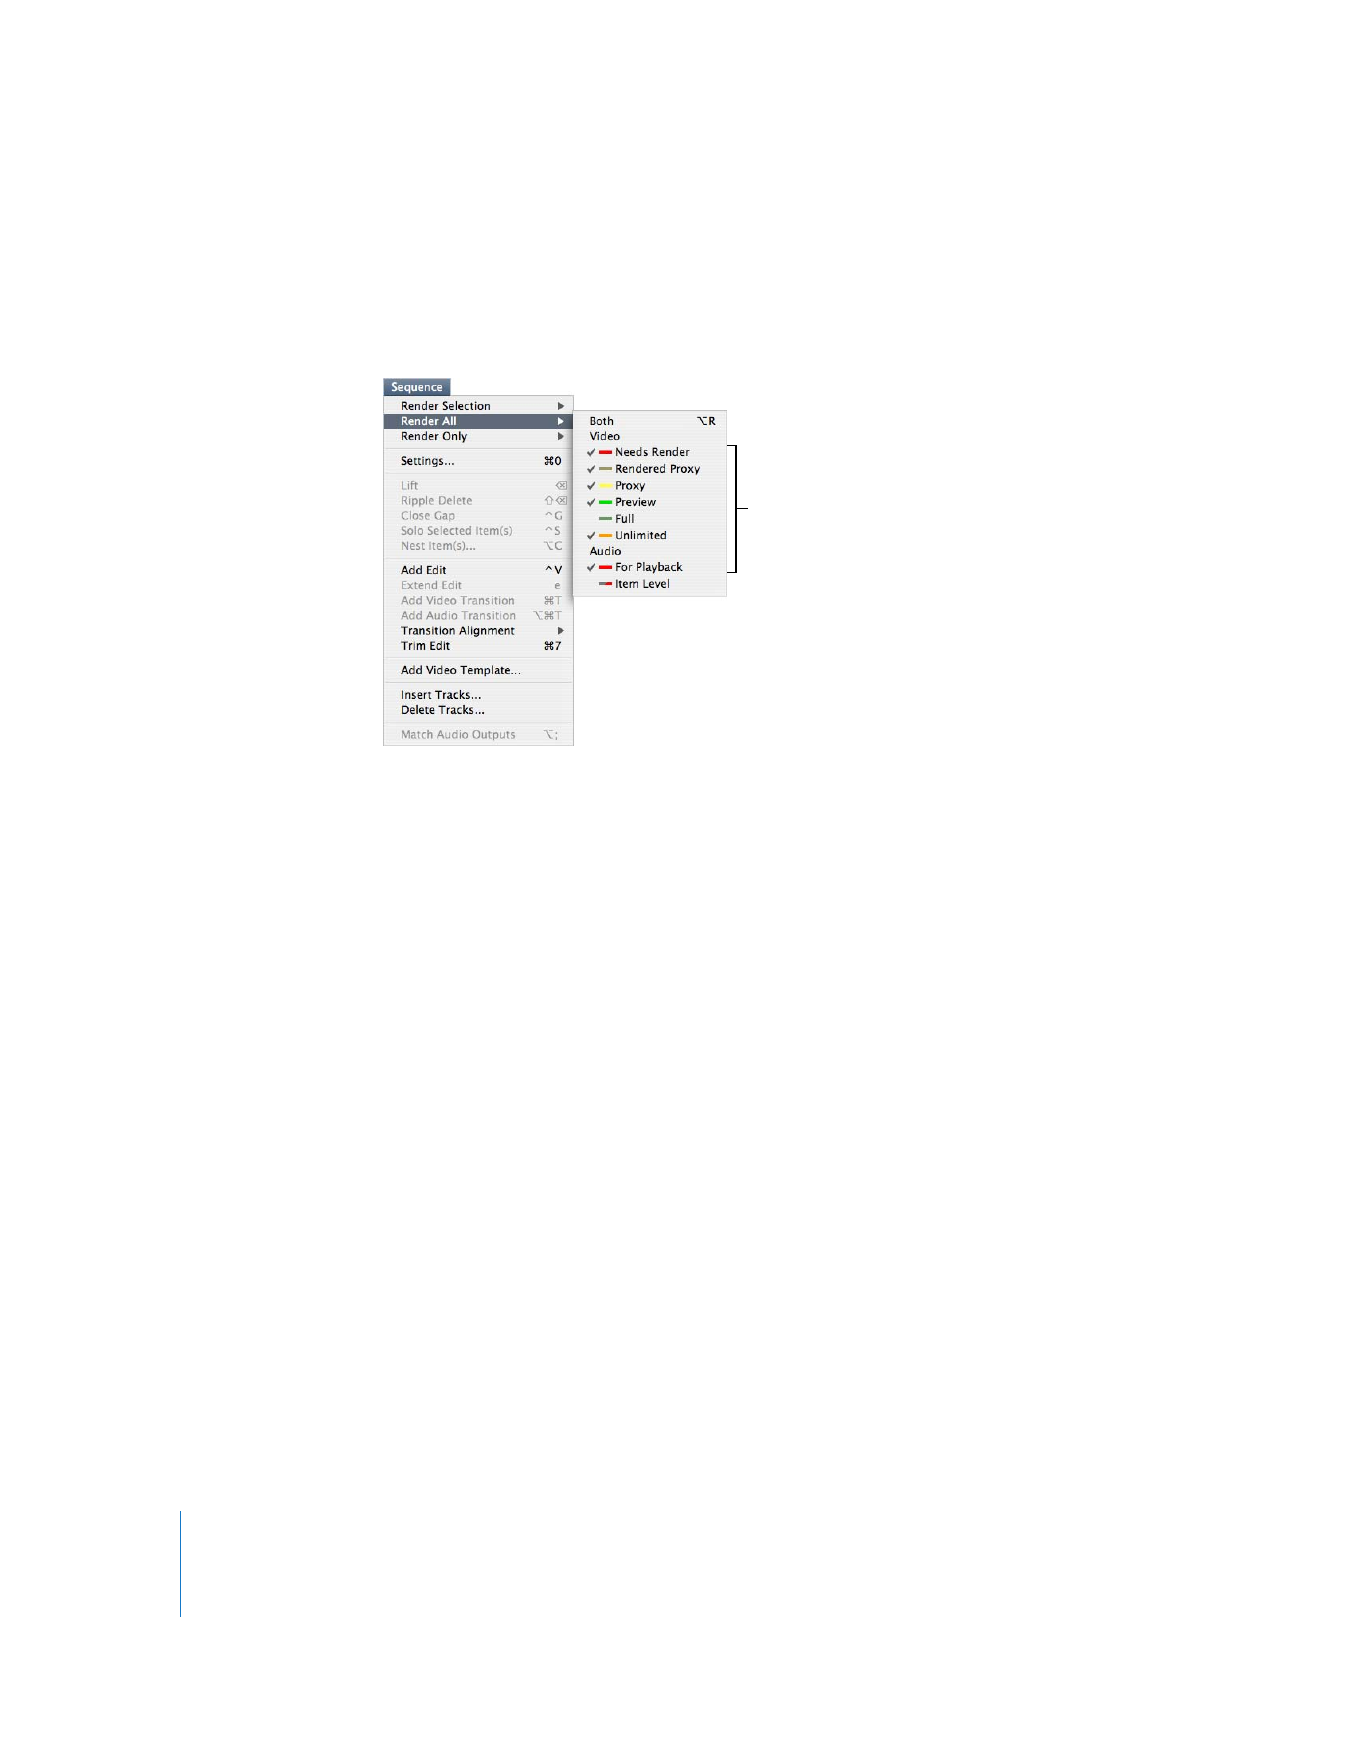
Render All
The commands in the Render All submenu render all the clips in a sequence
corresponding to the selected render categories, regardless of what you have selected
in the Timeline.
 Both: Renders both the video and audio of the sequence.
 Video: Renders all of the video items in the sequence.
 Audio: Renders all of the audio items in the sequence.
You can restrict which segments are rendered by only selecting particular render status
categories. For example, if you want to render all segments in your sequence that have
a red render status bar, choose the Needs Render option (so there is a checkmark next
to it), deselect all the others, then choose Sequence > Render All > Video.
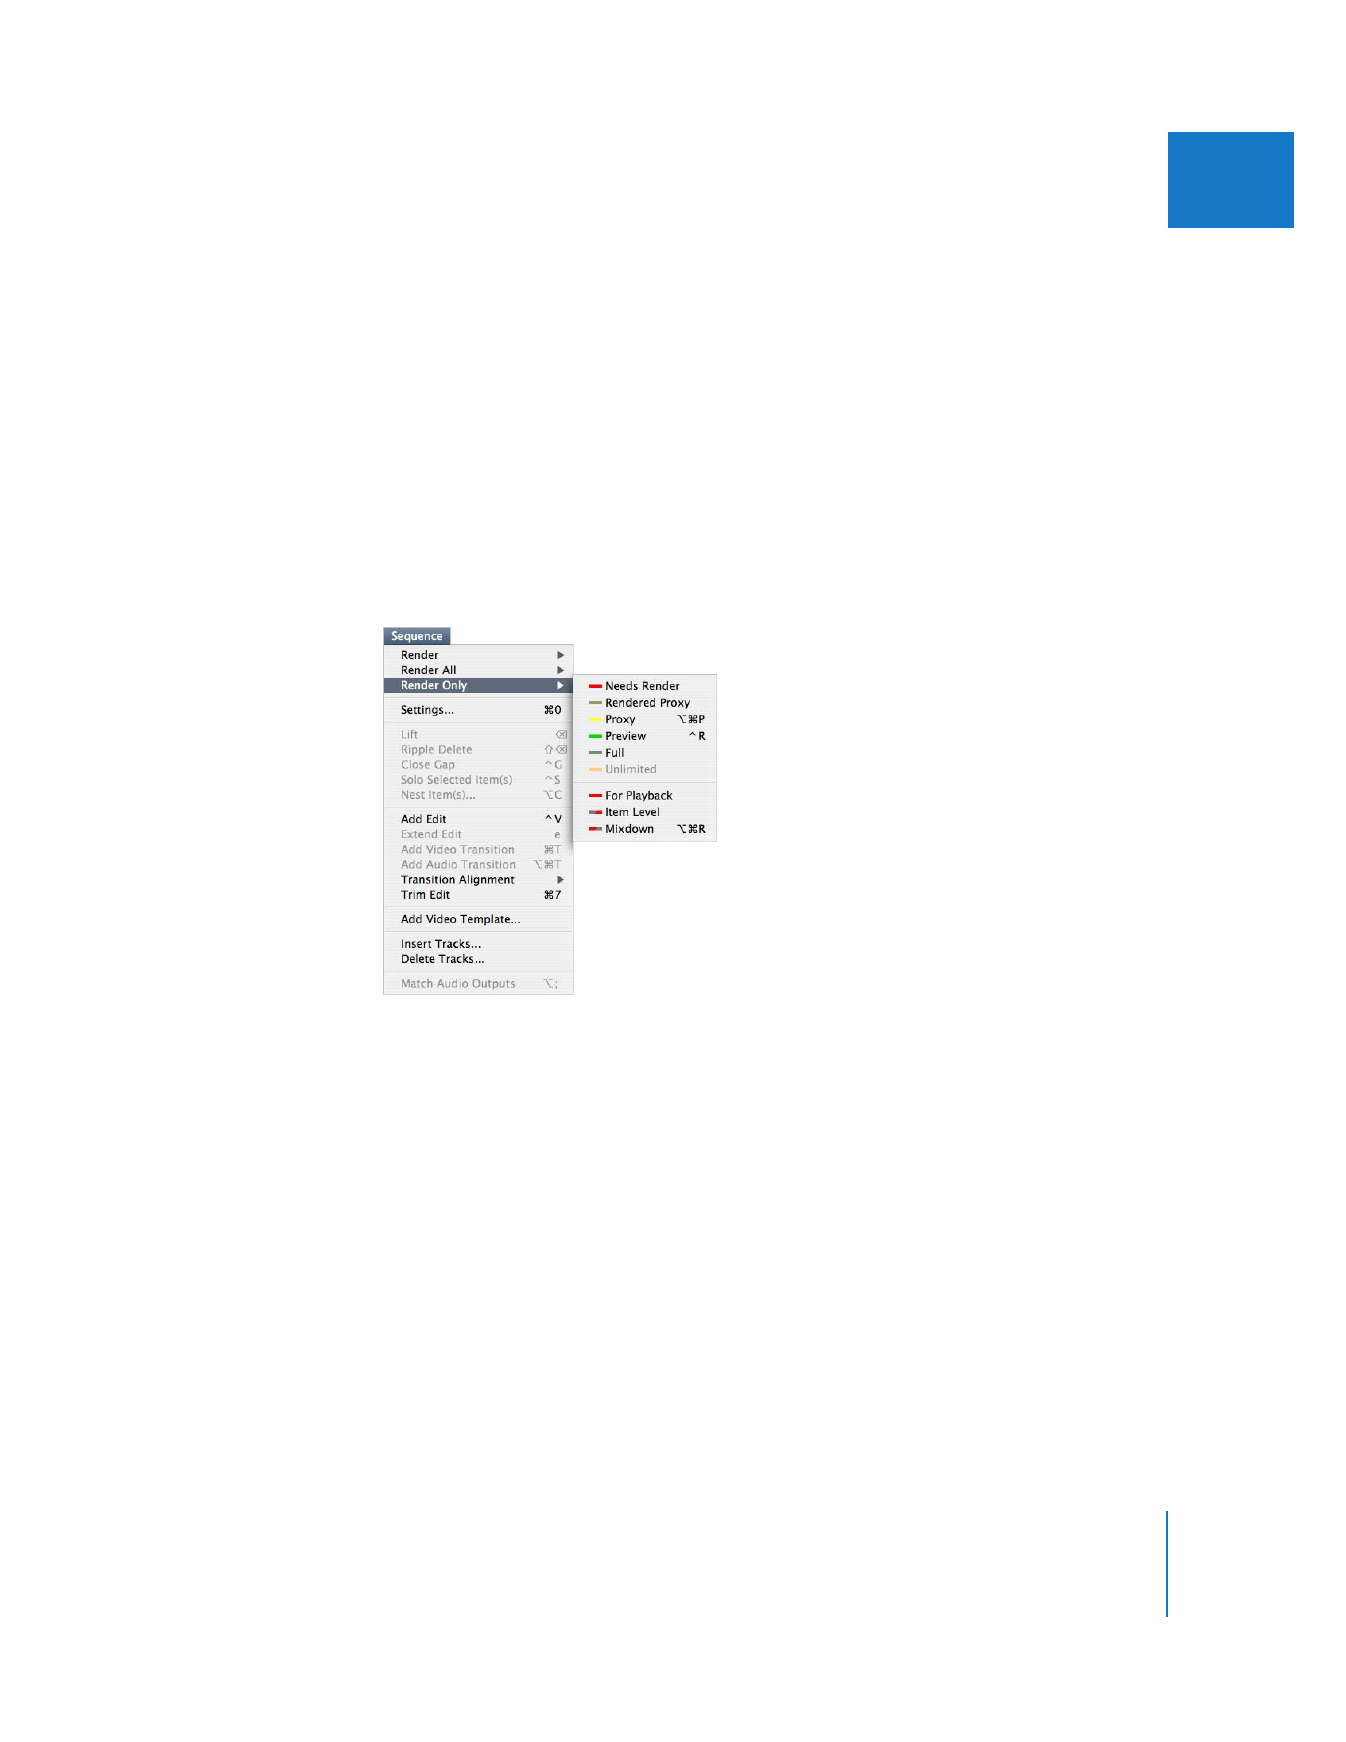
To render an entire sequence:
1
Do one of the following:
 In the Browser, select one or more sequences.
 Open a single sequence in the Timeline.
2
If necessary, choose Sequence > Settings, click the Render Control tab, then choose the
quality settings for rendered effects and select which effects are and are not rendered.
3
Choose Sequence > Render All, then select which kinds of render segments you want
to render from the submenu.
Render categories that are enabled have a checkmark next to them.
Video and audio render
categories that are enabled
have a checkmark.
Chapter 29
Rendering and Video Processing Settings
655
IV
4
Choose Sequence > Render All > Both.
5
If your project has not yet been saved, Final Cut Pro prompts you to save your project
so a Render folder can be created.
A status window appears showing the rendering progress. Click Cancel to stop rendering.
Note: All frames that have already been rendered remain written to disk, even if
rendering is canceled.