
Processing Steps in the Media Manager
Operations in the Media Manager are done in the following order:
1
If you’re duplicating the selected items, you’re prompted for a name and location for
the new project file.
2
If you’re removing unused media from existing media files, items outside the current
selection are scanned to see if they use the same media files. (Final Cut Pro looks at all
sequences and clips in all projects that are currently open.)
If any items are found, a message asks if you want to add these additional items to the
current selection, make them offline, or cancel the operation altogether.
3
The destination disk is checked to see if there is enough free disk space, based on the
options you’ve selected.
If there isn’t enough free disk space, a message asks you to specify a new destination
or cancel the operation.
4
If items outside your selection are found and you chose to make them offline in step 2
above, they are taken offline.
Click here to select
a location for
storing media files.
This shows the location
where moved or copied
media files will be stored.
Chapter 7
Overview of the Media Manager
99
I
5
Media files are copied or moved to the selected destination.
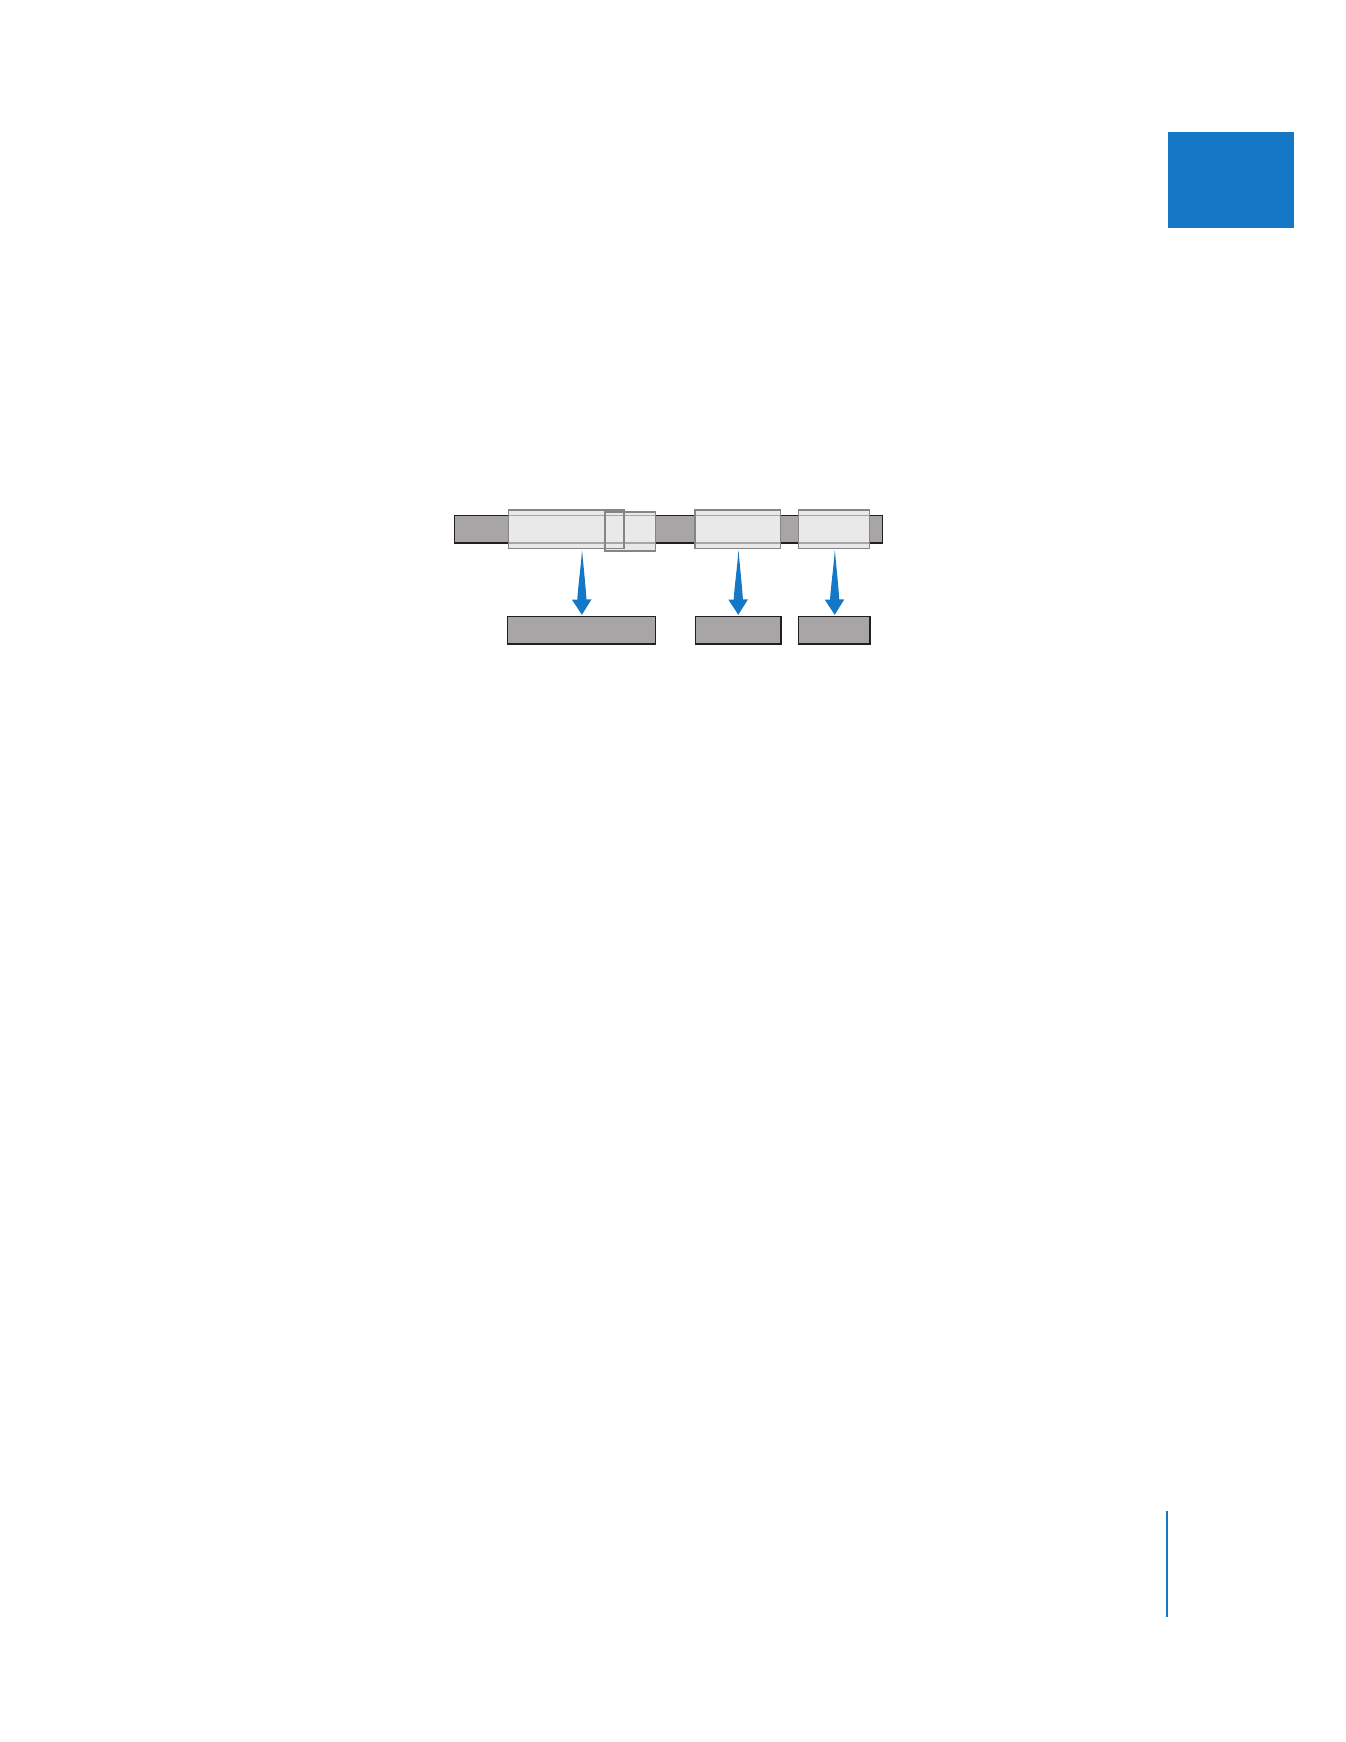
If the “Delete unused media” option is selected, unused media is not included. If multiple
clips correspond to the same media file and they don’t overlap, each used segment of the
original media file will be written as a separate file and be named accordingly.
For example, suppose that you originally captured a ten-minute clip and used four
sections of this clip’s media file in your project; two of them overlap and the other two
don’t. In this case, three media files are created, one from the two overlapping clips,
and two more for the remaining two clips.
Note: The names of newly segmented media files are based on the option chosen in
the “Base media file names on” pop-up menu, using either the existing media filenames
or the names of the clips in your project.
6
If the “Include master clips outside selection” option is selected, the master clips
created in your new project are defined by both the media used by your selected
items, as well as from the In and Out points of the master clips in your current project.
Otherwise, new master clips are created based only on the media used by your
selected items.
7
If the “Include affiliate clips outside selection” option is selected along with the “Include
master clips outside selection” option, media used by any clips affiliated with your
selection is preserved. For more information on what media will be preserved, see
“
Limiting How Much Media Is Copied or Deleted
” on page 101.
8
If you chose to include render files, they’re copied or moved to the selected
media destination.
9
If you chose to create a new project, one is created and any selected clips or sequences
are copied to it. A bin of master clips is also created for any clips in your project.
10
If you chose the Copy, Move, or Recompress options in the Media Manager, all items in
your original or newly created project are reconnected to the new or moved media
files on disk. If you selected the “Use existing” option, all items in your original or newly
created project are reconnected to the original media files, not copies.
Important:
Media Manager operations use only the source timecode track, ignoring
the Aux 1 and Aux 2 timecode tracks. Aux 1 and 2 timecode tracks are preserved,
however, and remain in the media files that remain after the Media Manager operation
is complete.
Before
Clip-1
Clip
After
Clip-2
Clip

100
Part I
Media and Project Management