Synchronizing Clips with the Cinema Tools Database
When you import a telecine log file into your Final Cut Pro project, a new Cinema Tools
database is created with a record for each clip. You can also add new records to an
existing database manually. In either case, once you have captured and processed clips
in Final Cut Pro, you can connect them to a Cinema Tools database using the
Synchronize with Cinema Tools command.
You can use the Synchronize with Cinema Tools command to do the following:
 Connect clips to a Cinema Tools database: Cinema Tools will automatically connect
any correctly named clip (whose name matches the scene and take entries) with its
record, as long as the record is not already connected to a clip.
 Update the film-related information that appears in Final Cut Pro: You cannot change
the film-related information, such as key numbers or telecine film speed (TK speed),
in Final Cut Pro—these changes must be made in Cinema Tools. If you change any
records in Cinema Tools, you can use the Synchronize with Cinema Tools command
to update the information in Final Cut Pro to reflect those changes.
Note: Final Cut Pro can display film-related metadata in a variety of ways, including
as columns in the Browser and as keycode and ink number values in the Viewer and
Canvas. See the Cinema Tools User Manual for more information.
To synchronize Final Cut Pro clips with a Cinema Tools database:
1
Select the clips in the Final Cut Pro Browser that you want to synchronize with a
Cinema Tools database.
You can select clips that are already connected to the database and need their
information updated or clips that are not yet connected to the database.
2
Choose Tools > Synchronize with Cinema Tools.
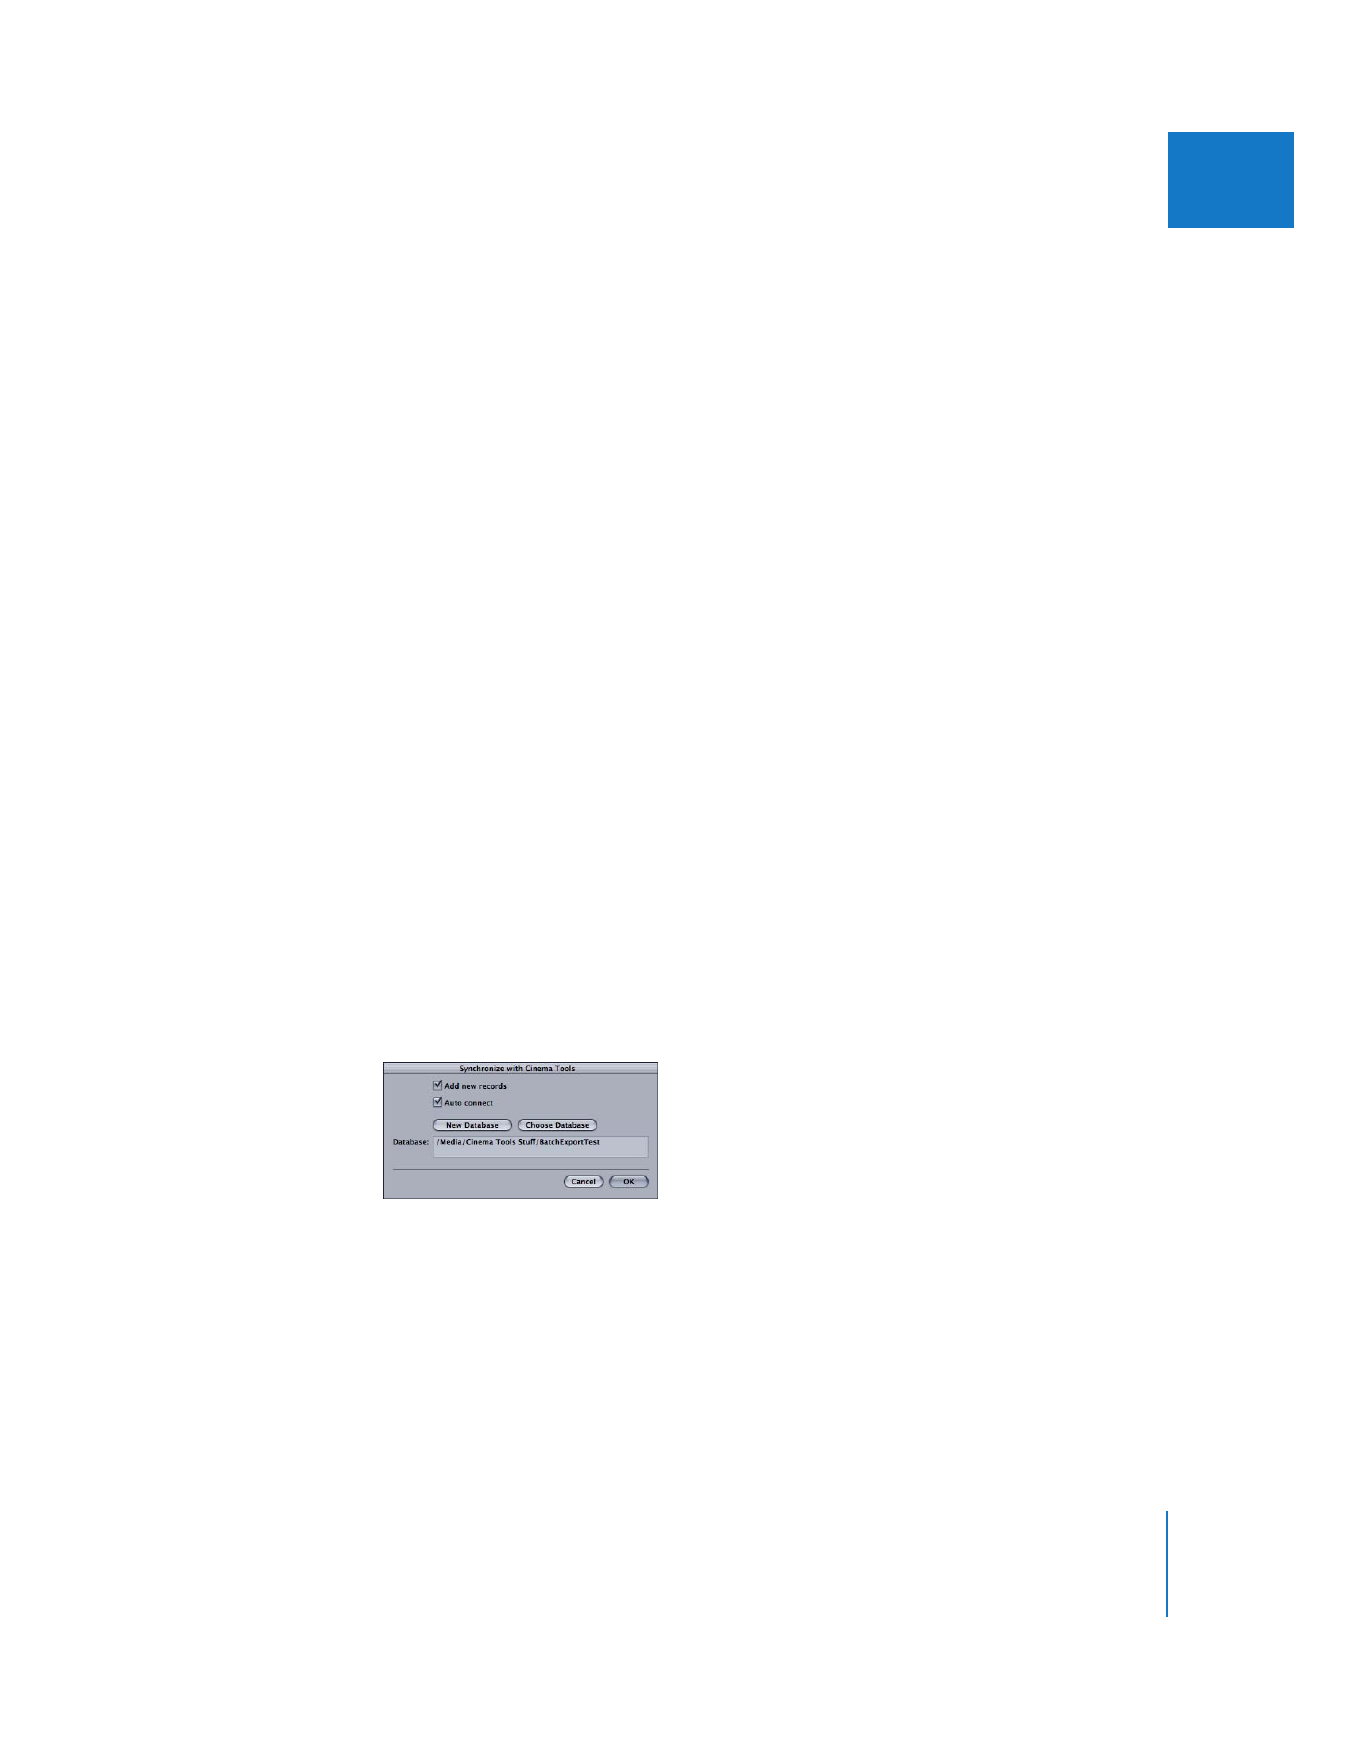
A dialog appears allowing you to configure the synchronization process.
The Database field shows the currently selected database.
3
Select the “Add new records” checkbox if you want the database to automatically have
new records added for selected clips that are not already in the database.
This checkbox must be selected when you are synchronizing with a new database.
4
Select the “Auto connect” checkbox if you want the database to automatically connect
the clips to any new records that are created in the database.
174
Part II
Project Interchange
5
Do one of the following:
 If the database shown in the Database field is the correct one, click OK. The Database
field updates if you use the New Database or Choose Database button.
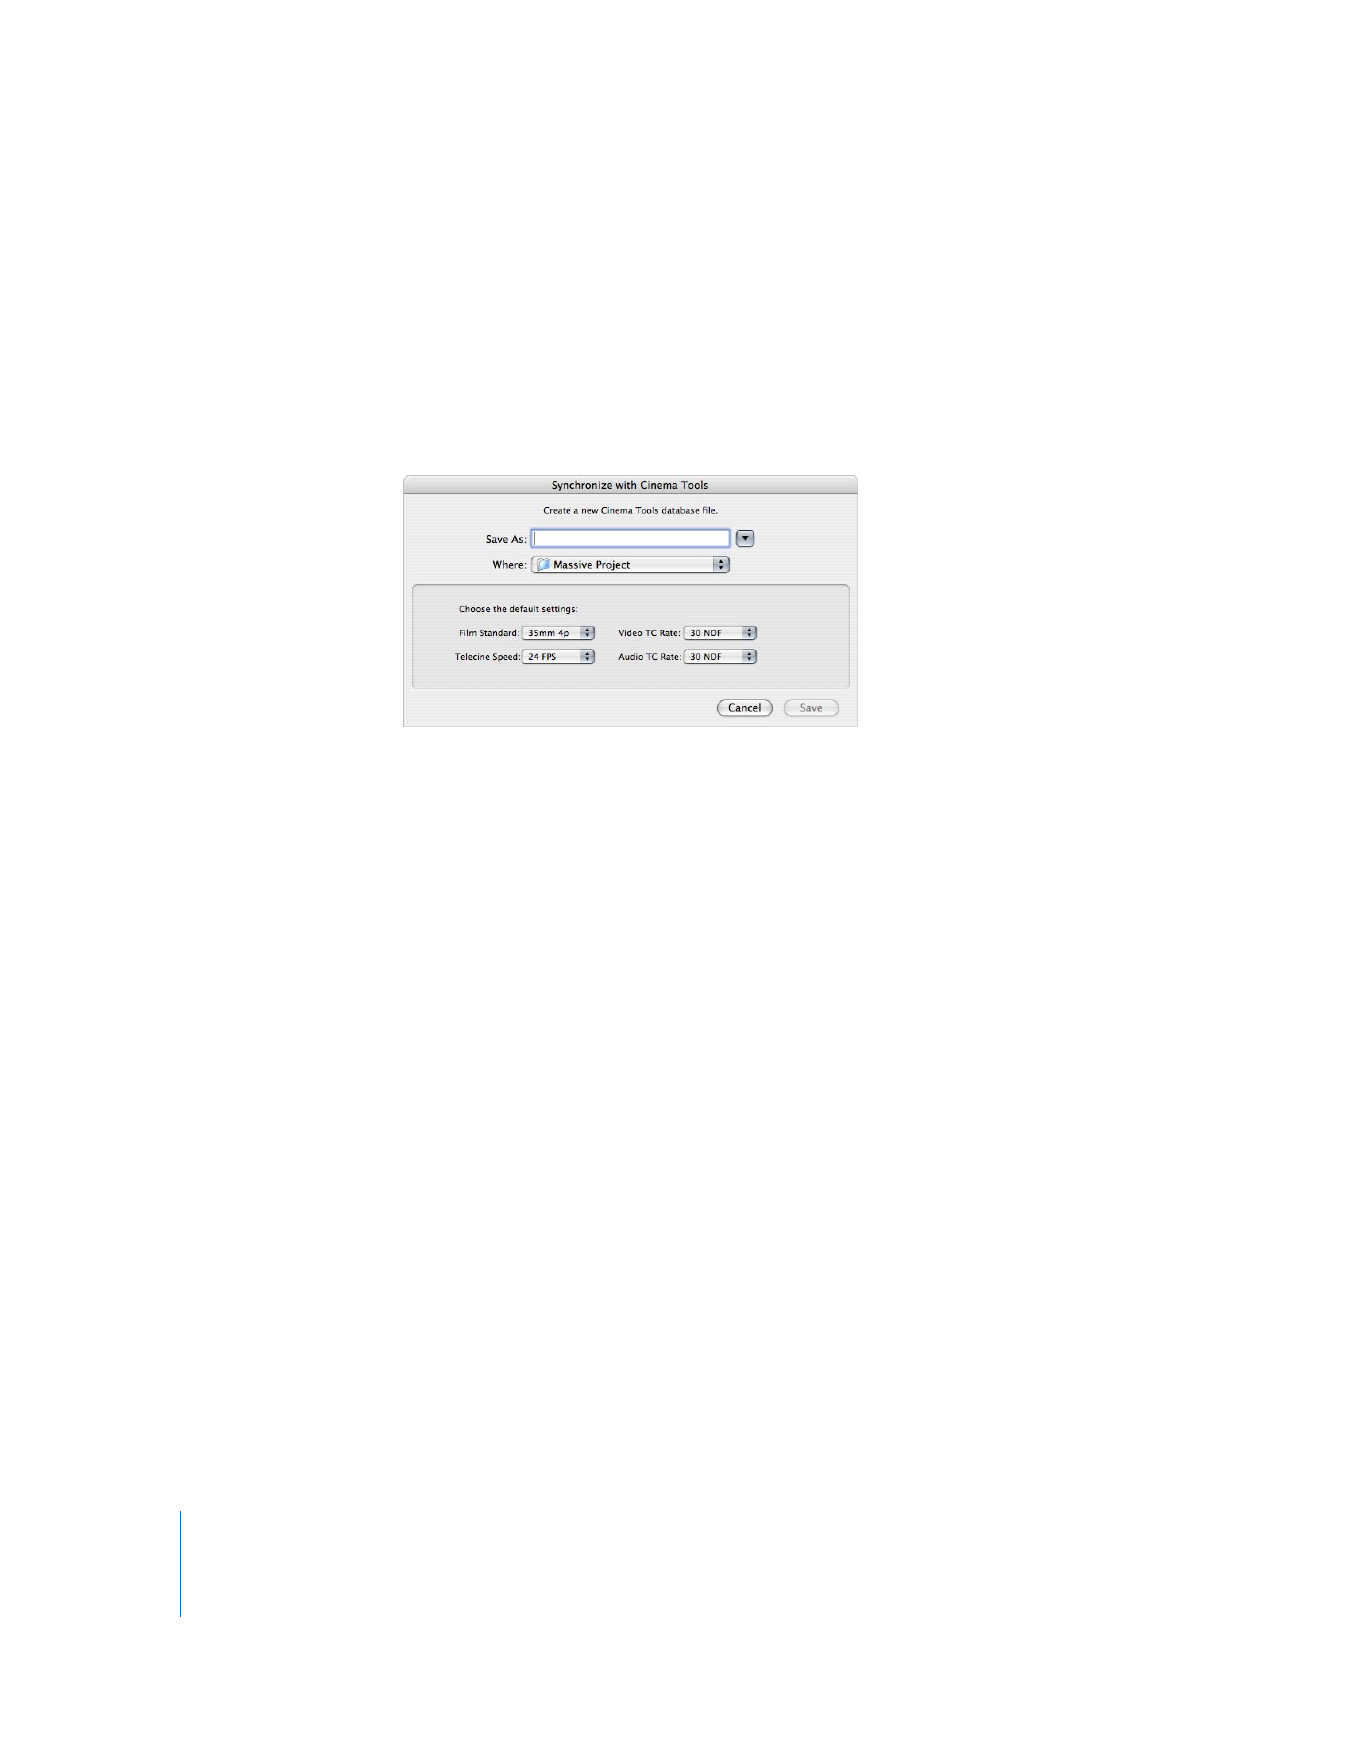
 Click New Database to create a new Cinema Tools database. This opens a new dialog
where you can enter a name and location for the database, as well as configure its
default settings. See the Cinema Tools User Manual for information on these settings.
Click Save when finished.
 Click Choose Database to choose an existing database. This opens a dialog where
you can select an existing database to synchronize with. Click Open when finished.
6
If you used either the New Database or Choose Database button, click OK.
Cinema Tools first checks the database for existing records without connected clips and
attempts to match the records with clip names (based on scene and take entries). If
matches are found, Cinema Tools connects the clips to the matching records. If no
matching records are found, new records are added to the database for each clip, with
any applicable information added to each record.