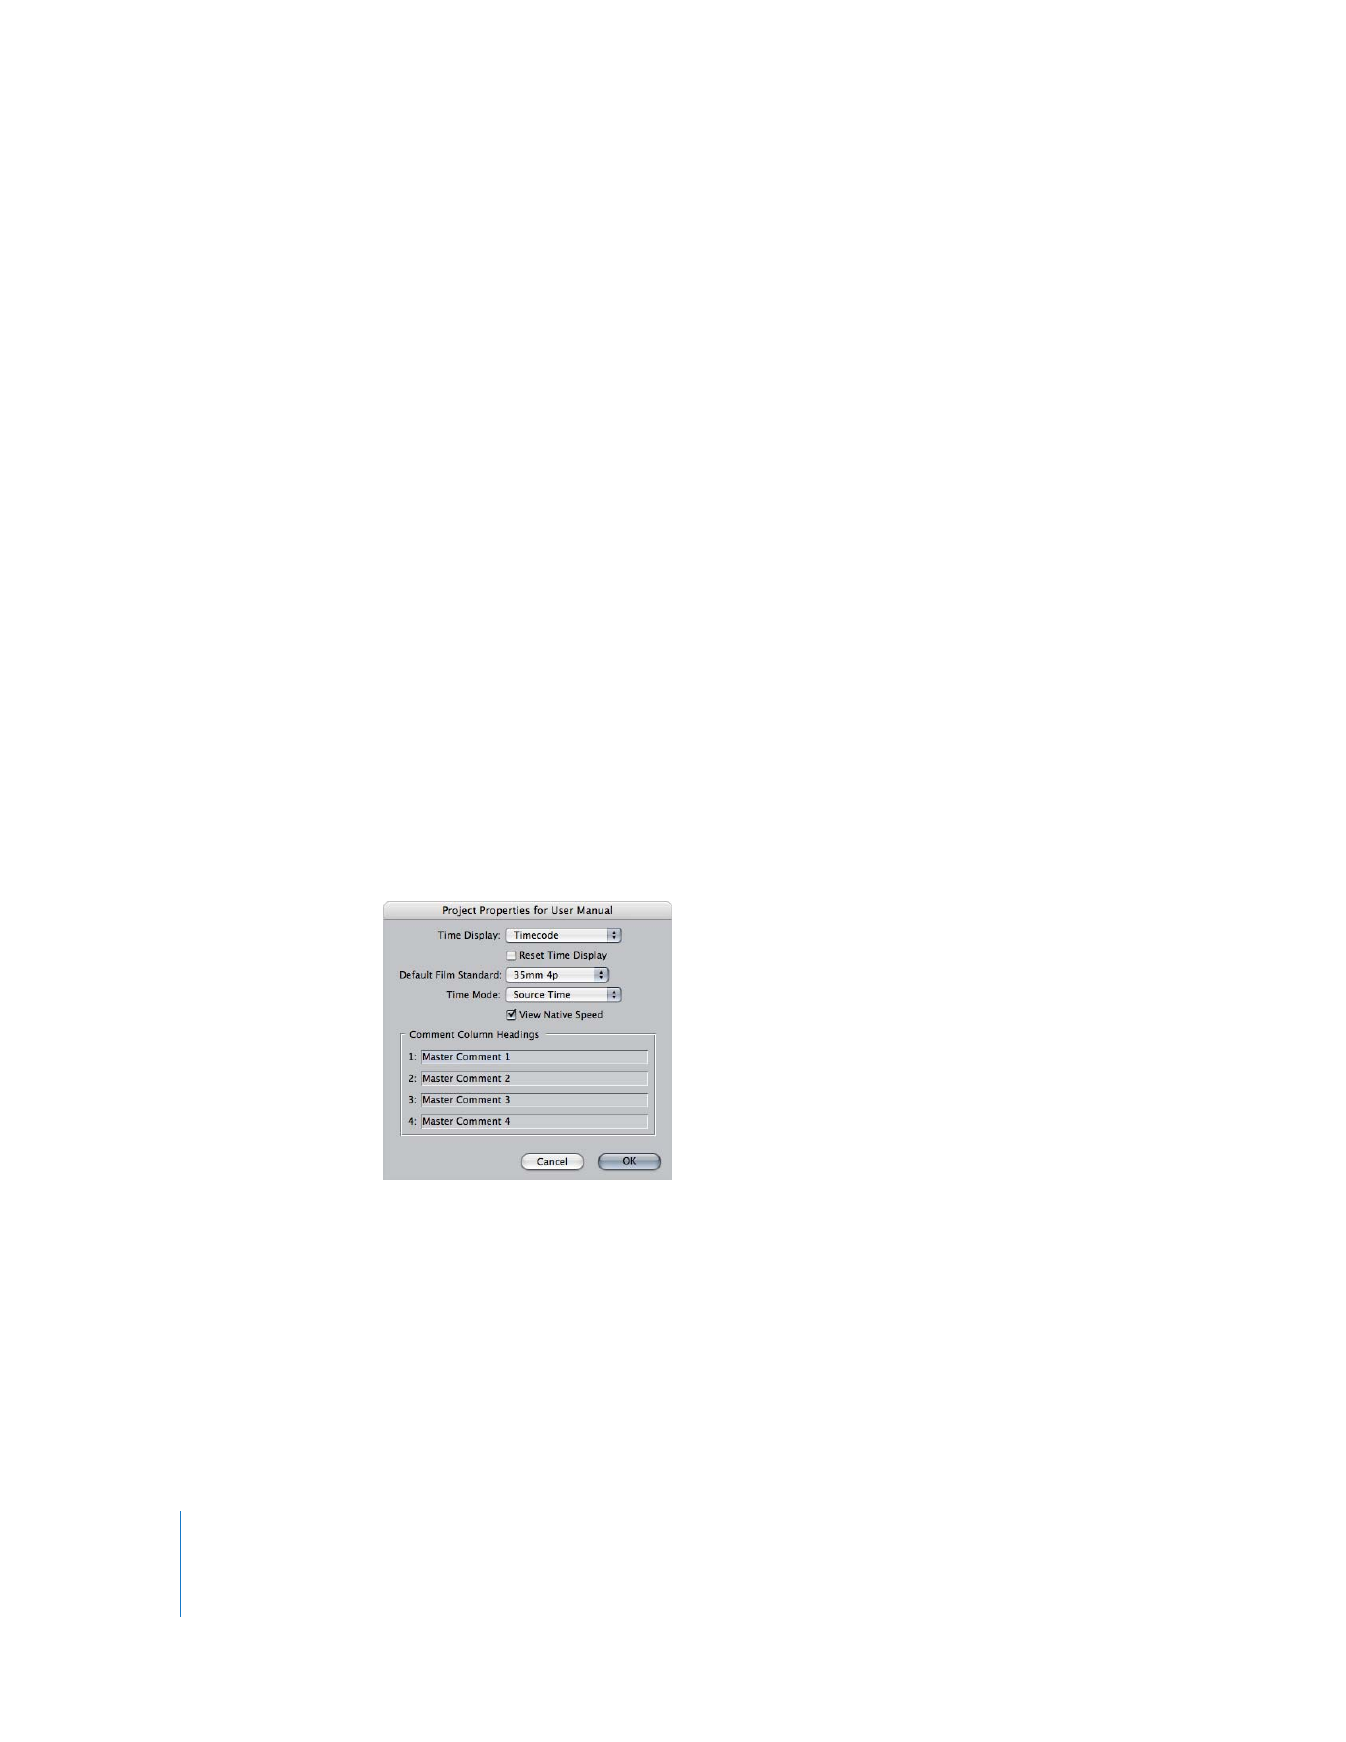
Showing Film-Based Frame Counts
You can set a project’s timecode display format to a Feet+Frame mode, giving film
editors a more familiar way to judge project length. This setting affects the time display
along the top of the Timeline, as well as the timecode fields along the top of the Viewer
and Canvas.
To set a project to display the Feet+Frame mode:
1
Select the project’s tab in the Browser.
2
Choose Edit > Project Properties.
The Project Properties window appears.
3
Choose Feet+Frame from the Time Display pop-up menu.
4
Choose the film standard from the Default Film Standard pop-up menu. The film
standard defines how many frames are in a foot.
You can also individually control the timecode display of the Timeline, Viewer, and Canvas.

Chapter 12
Working with Film and Cinema Tools
177
II
To change the timecode display of the Timeline, Viewer, or Canvas:
m
Control-click a timecode field in the window whose timecode display you want to
change, then choose the mode from the shortcut menu.
For the Viewer and Canvas, this affects both timecode fields along their tops, and in the
case of the Viewer, the timecode fields of its tabs. For the Timeline, this affects the
timecode shown along the top of the window and in the Current Timecode field. The
timecode displays in the Transition Editor and Trim Edit windows are also affected.
Important:
The feet and frame values that are shown are not the same as keycode or
ink numbers. The feet and frame values always start at 0000+00 at the beginning of the
sequence or clip.
When using the Feet+Frame timecode display mode, you can enter values in the same
places you can enter timecode values. For example, you can enter a value in the
Current Timecode field of the Viewer to position the playhead in the Timeline. To
ensure the number you enter is correctly interpreted by Final Cut Pro, make sure to
use one of the following characters to separate the feet and frame values: plus sign (+),
ampersand (&), period(.), or comma(,).