About Tracks on Videotape
Most professional videotape formats have one video track, two or more audio tracks,
a timecode track, and a control track.
About the Control Track
Unlike the other tracks on a tape, the control track serves a purely practical
function: to make sure the tape plays at exactly the same speed it was recorded at so
the signal is output correctly. A control track is a series of electronic pulses on your
videotape that the VTR follows during playback, speeding up or slowing down the
capstan (motor) as necessary for consistent playback. These pulses are almost like
electronic sprocket holes that regulate videotape playback speed.
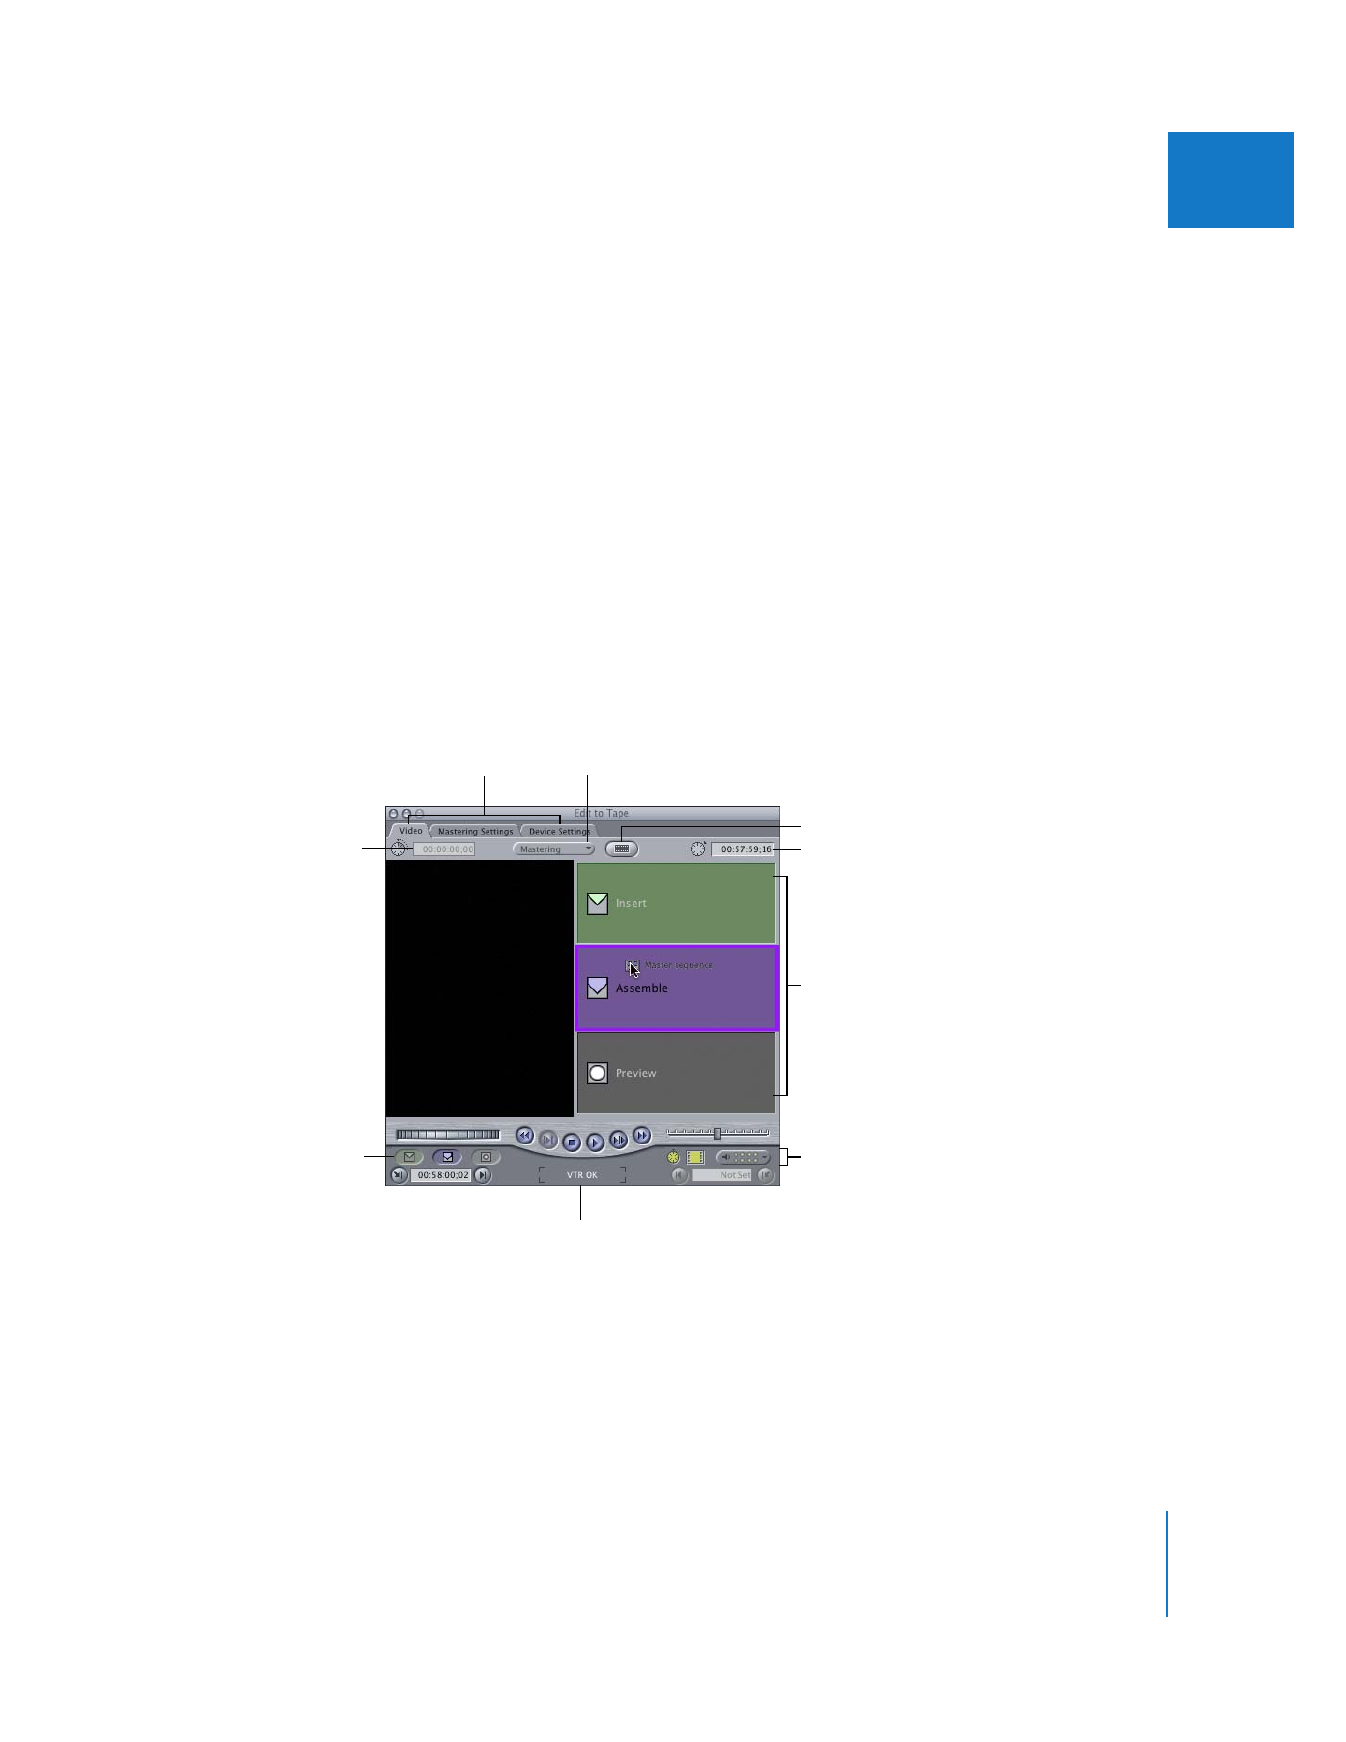
Insert editing allows you to replace individual video, audio, or even timecode tracks,
leaving the other tracks intact. The control track is never replaced during insert
editing. When you perform an insert edit, the VTR uses the control track to play back
the tape at the proper speed while recording new video or audio tracks.
When the control track is broken, you may see the video signal jump or look unstable
for a few seconds. This happens because the VTR relies on a consistent control track
to control the speed of the deck’s motor. A missing or inconsistent control track
causes the motor to change speed drastically, which means the video signal isn’t read
at the proper speed of the tape, and so the image is not scanned properly. Control
track breaks may not always be noticeable, but they are unacceptable in a
professional environment.
About the Timecode Track
Timecode is also recorded onto a separate track on non-DV tape formats. Timecode
allows your computer to control your camcorder or deck and import or export
frame-accurate video clips. When you’re using the Print to Video command, abrupt
breaks can cause subtle gaps in the timecode track. Although these happen less often
than control track breaks, they can cause problems in a professional environment.

Chapter 14
Assemble and Insert Editing Using Edit to Tape
201
III