Using Edit to Tape to Output Multichannel Audio
Final Cut Pro is capable of outputting up to 16 tracks of audio when performing an
insert edit to tape. The number of audio tracks that can be recorded to when using the
Edit to Tape command depends on the number of audio tracks your video or audio
recording deck supports. You also need to have enough discrete outputs on your audio
interface to connect to each audio input on your deck. Assemble editing records all
audio tracks at once.
If you have a VTR or audio device that supports RS-422 remote control, you can enable
recording of individual audio channels during output with the Edit to Tape window
(also known as insert editing).
Note: If you use a FireWire connection or the Print to Video command for output to
tape, you can skip this section.
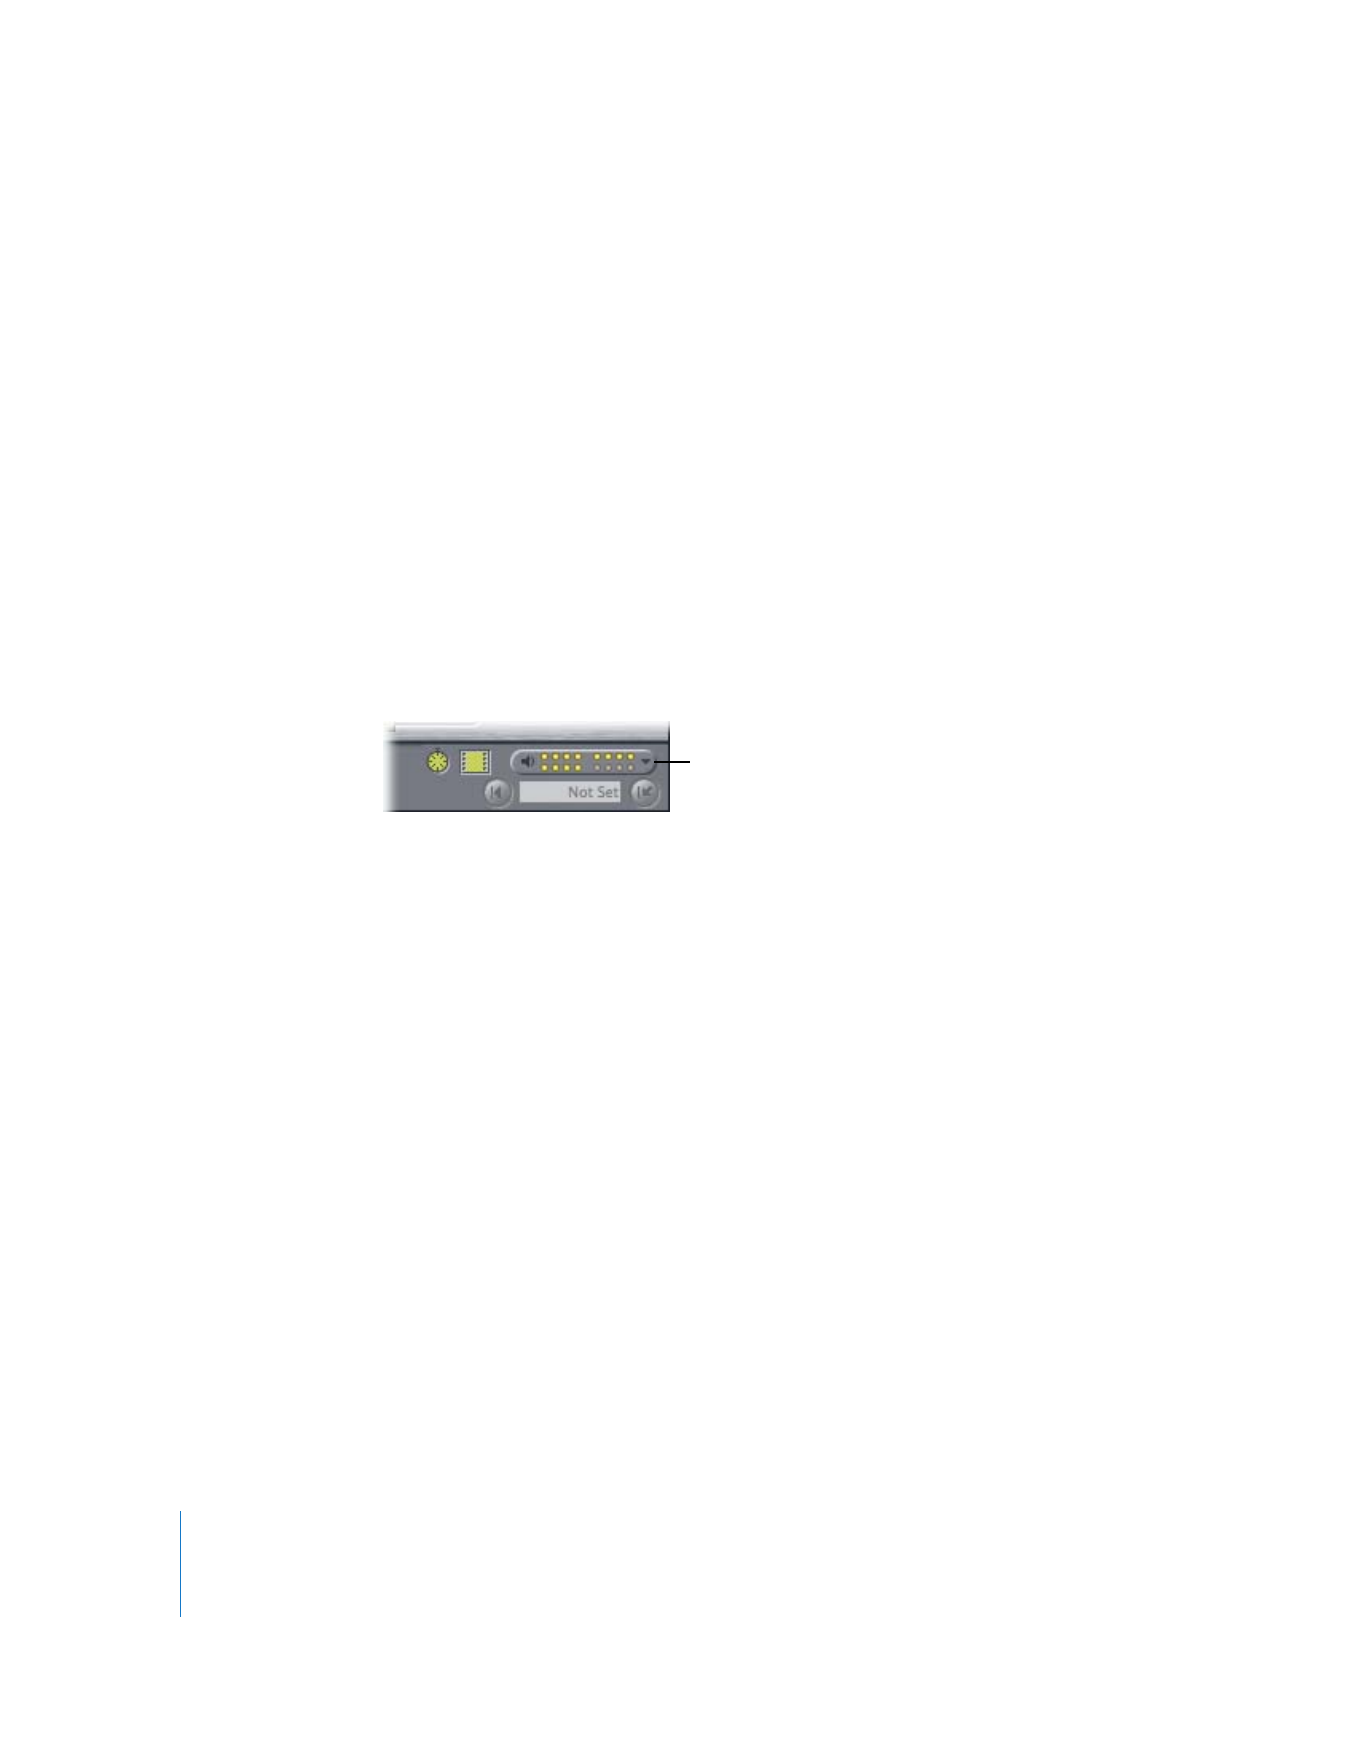
You can record-enable individual audio channels in the Edit to Tape window by
choosing channels from the Audio Insert pop-up menu.
When you start the output process, Final Cut Pro sends a channel insert message that
tells the deck which channels you chose from the Audio Insert pop-up menu. However,
different decks expect audio channel information to be in different places within the
message, potentially leading to unexpected enabling or disabling of channels. To
ensure that Final Cut Pro sends audio channel insert information in the proper format,
you need to choose an audio mapping setting in your device control preset before you
edit to tape.
Important:
The audio mapping setting does not determine which audio channels are
inserted. Instead, it determines the format in which Final Cut Pro communicates which
audio channels to insert.
Audio Insert
pop-up menu

Chapter 14
Assemble and Insert Editing Using Edit to Tape
217
III
The following chart shows some common video and audio recording decks and the
appropriate audio mapping setting for each.
If you are uncertain which audio mapping setting to use for your deck, here are
several guidelines:
 2 channels: Older decks that only have analog audio inputs (for example, Betacam SP
and U-Matic 3/4") typically allow two channels of audio insert editing.
Note: Some Betacam SP decks have four audio channels, but channels 3 and 4
cannot be inserted independently from the video channel (thus these decks are still
considered two-channel decks for the purpose of audio insert editing).
 4 channels: Many professional digital video decks today (Digital Betacam,
DVCPRO 50, HDCAM) support at least four channels of audio insert editing.
 8 channels: Some newer digital video decks (D5-HD, IMX) support eight channels of
audio insert editing.
 8 channels (legacy): Several older audio-only decks such as the Tascam DA-98
support eight-channel insert editing, but they communicate differently than newer
digital video decks. If you are using a Tascam DA-98 or similar device, try this option.
 12 and 16 channels: Some high definition HDCAM SR decks support 12 channels of
audio insert editing.
Recording device
Channels available
for insertion on deck
Audio mapping
Sony UVW-1800,
Sony BVW-70 (Betacam SP)
2 channels
2 channels
Sony DVW-500
(Digital Betacam),
Sony HDW-2000 (HDCAM),
Panasonic AJ-SD930
(DVCPRO 50)
4 channels
4 channels
Sony MSW-2000 (IMX),
Panasonic AJ-HD3700 (D5-HD)
8 or more channels
8 channels
Tascam DA-98
8 channels
8 channels (legacy)
Sony SRW-5505 (HDCAM SR)
12 channels
12 channels

218
Part III
Output
To set up Final Cut Pro to output more than two channels of audio:
1
Choose the third-party video or audio interface you want to use for audio output in the
A/V Devices tab of the Audio/Video Settings window, then configure its options.
For more information on selecting an audio interface in the A/V Devices tab, see
Volume 1, Chapter 12, “Connecting Professional Video and Audio Equipment.”
2
Make sure that the audio outputs of your video or audio interface are physically
connected to the audio inputs of your video or audio recording device with the
proper cables.
3
Configure the Audio Outputs tab (found in the Sequence Settings window) of the sequence
you want to edit to tape with the number of audio channels you want to output.
For more information on configuring the audio outputs of sequences, see Volume III,
Chapter 2, “Assigning Output Channels and External Audio Monitors.”
4
Assign each audio track in your sequence to the proper output channel.
5
Choose a device control preset that contains an audio mapping with the same number
of audio channels as the video or audio deck you are going to output to.

15
219
15