Choosing Export Settings with the Settings Button
You can click the Settings button to access the Batch Export window, which allows you
to specify settings for all items in a bin.
To specify settings for batch export items using the Settings button:
1
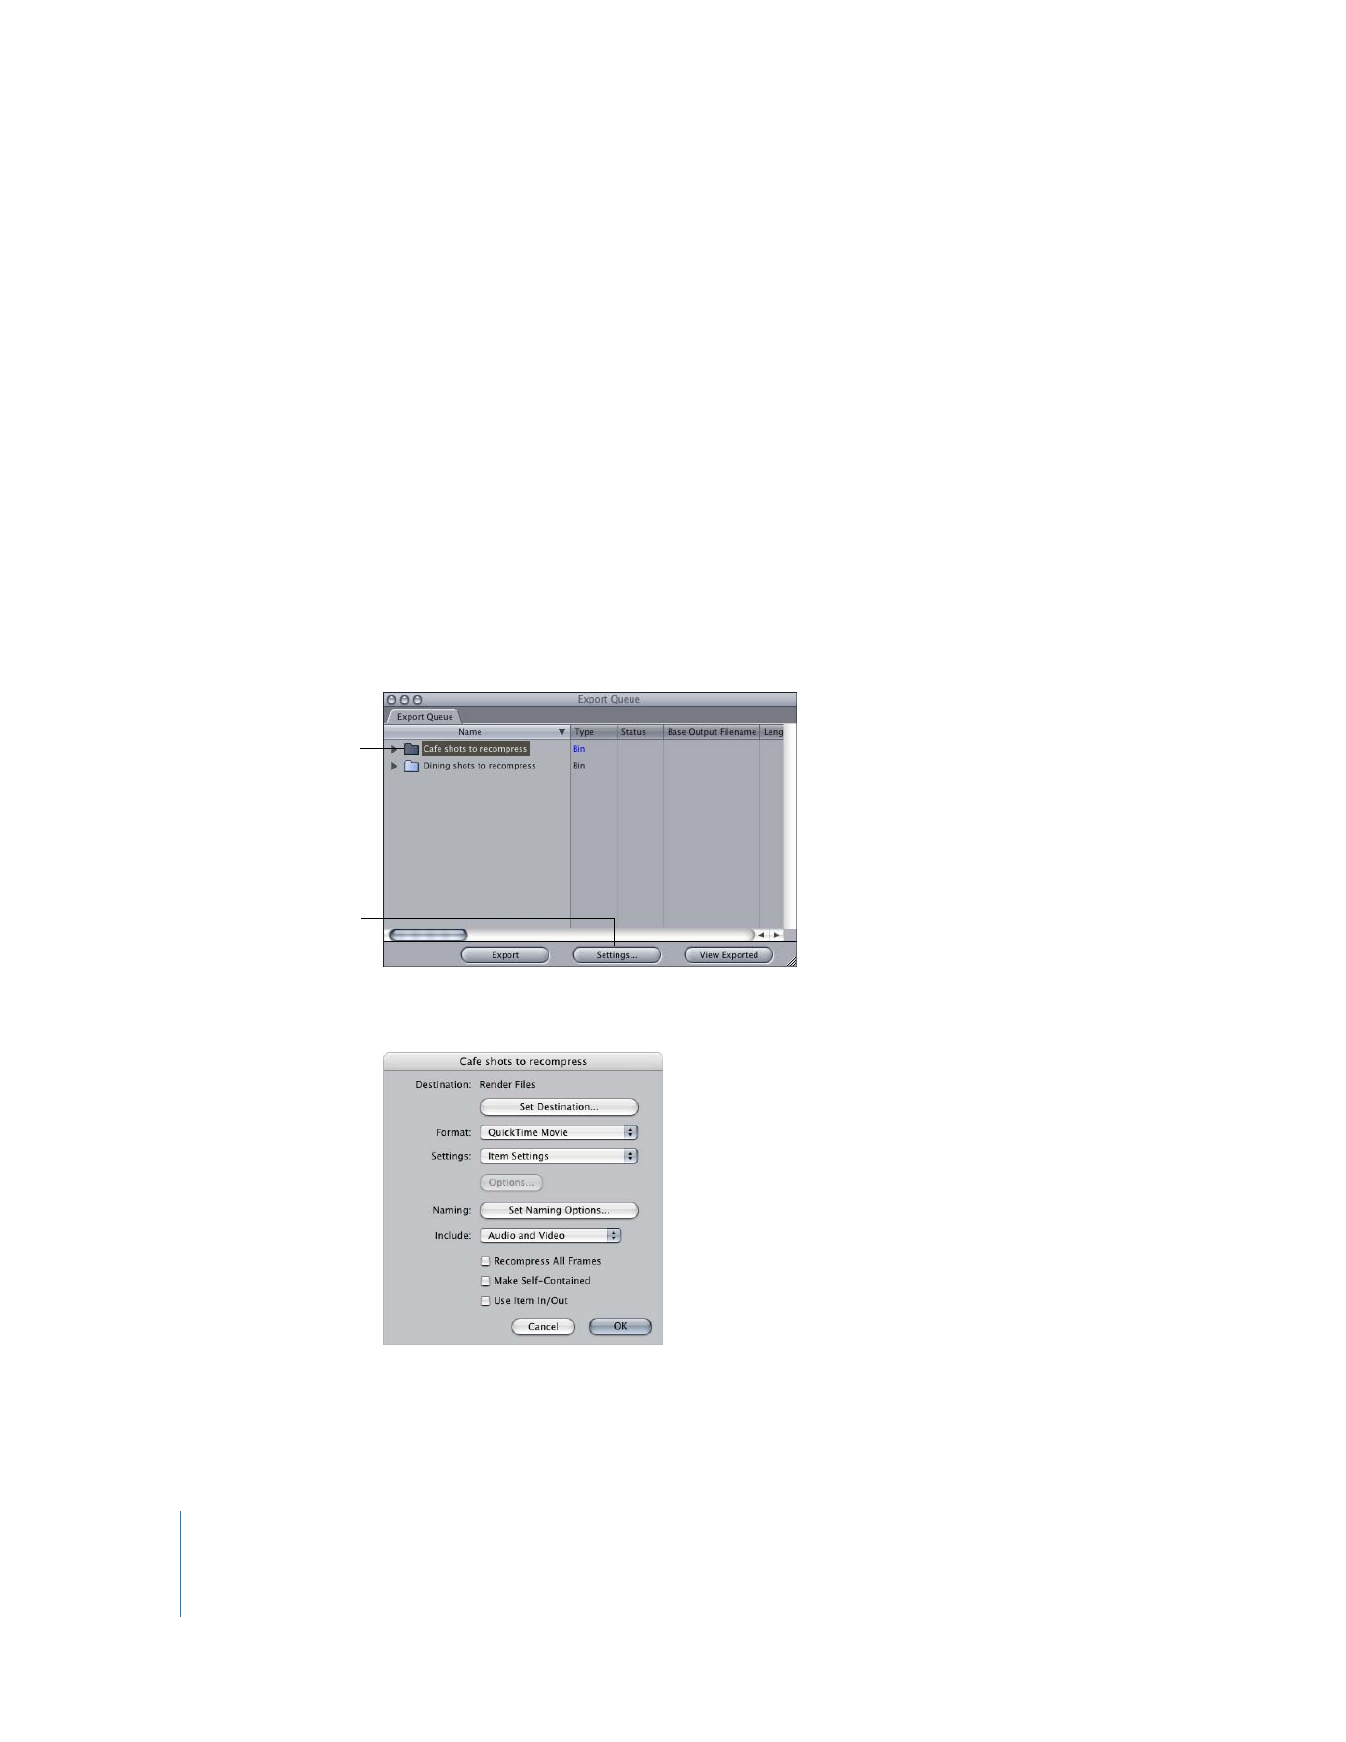
Select the bin in the Export Queue window, then click the Settings button.
In the Batch Export window, you can specify settings for all items in the bin.
2
Click Set Destination, then choose a location to save the exported file.
Select the bin that
contains the items you
want to export.
Then click Settings.
Chapter 22
Batch Exporting Clips and Sequences
295
III
3
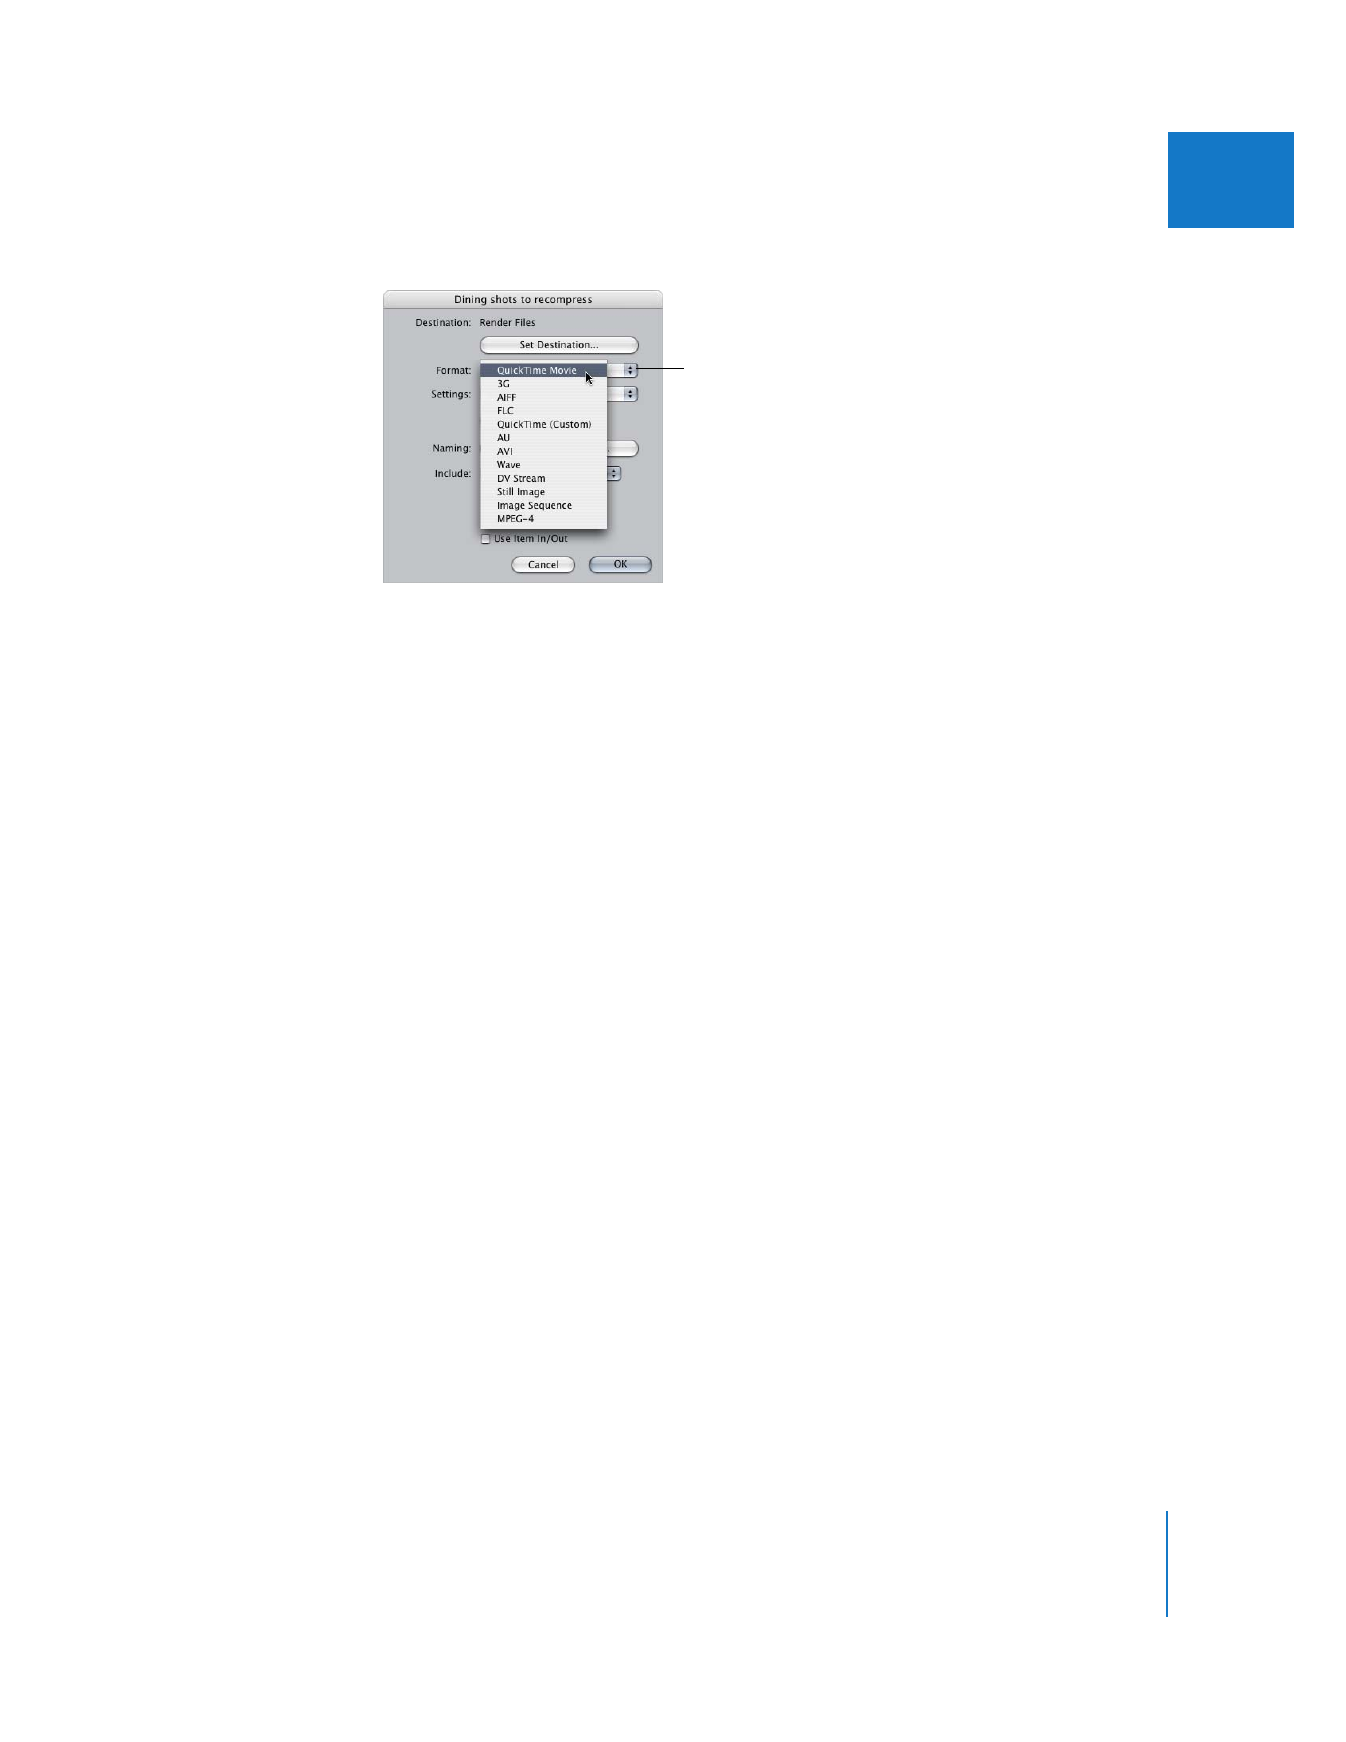
Choose a QuickTime-compatible file format from the Format pop-up menu.
These are the same file format choices available when using the Export Using
QuickTime Conversion command and the Export QuickTime Movie command.
∏
Tip: If you choose the QuickTime Movie file format, the settings available are the same
as when you use the Export QuickTime Movie command. This allows you to select
whether video, audio, or both tracks are exported, whether frames are recompressed,
and whether or not the resulting movie file is self-contained.
If you choose any other option, the options available are the same as when you use the
Export Using QuickTime Conversion command. For more information, see Chapter 18,
“
Exporting Using QuickTime Conversion
,” on page 245 and Chapter 17, “
Exporting
QuickTime Movies
,” on page 237.
4
Choose preset settings from the Settings pop-up menu.
The preset settings you see depend on the format you’ve selected.
Note: If you are exporting a QuickTime movie, the preset settings are the current
sequence presets available in Final Cut Pro. This is the same as when you are using the
Export QuickTime Movie command, except the option Item Settings replaces Current
Settings, and no custom settings choice is available.
If you want to export a QuickTime movie using all available QuickTime customization
settings, make sure you select QuickTime (Custom) from the Format pop-up menu.
5
To specify additional settings, click Options (if available), then click OK.
Some formats let you choose additional options, such as bit rate. The Options button is
dimmed if no options are available. Many of these options are described in
“
Configuring QuickTime Movie Settings
” on page 249 and “
QuickTime Movie Sound
Settings
” on page 257.
Choose a format here.
296
Part III
Output
6
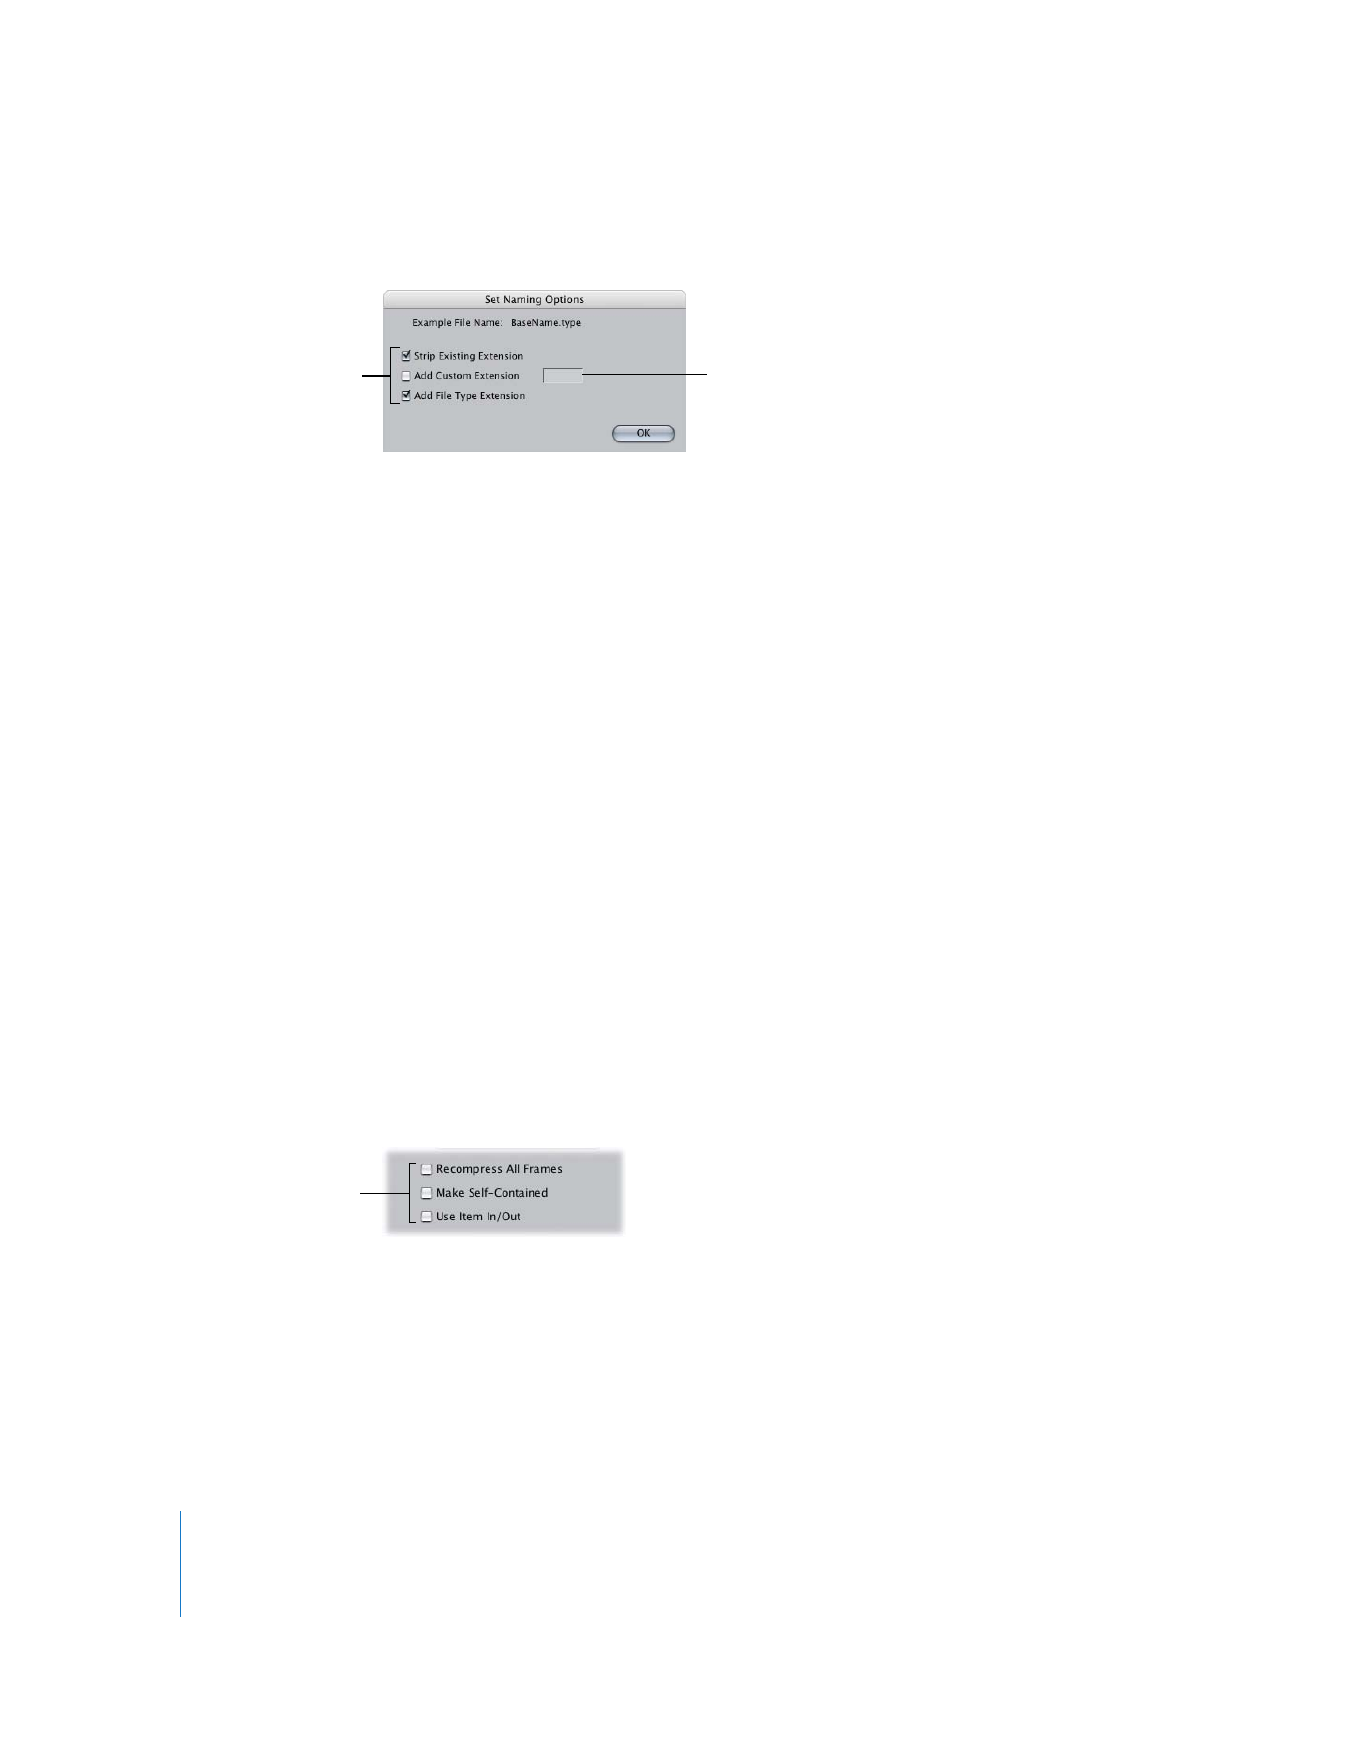
Click Set Naming Options, choose the type of file extensions you want, then click OK.
 Strip Existing Extension: Specifies whether an existing extension is removed from the
base filename when the export filename is created. This is useful if you’re adding
your own extension.
 Add Custom Extension: Type a custom extension to be applied to the filename.
 Add File Type Extension: Specifies whether the default extension for the specific
export file type is automatically appended to the filename.
Typical extensions are:
 .mov: QuickTime movie files
 .pct: PICT files
 .tif: TIFF files
 .wav: WAVE files
 .aif: AIFF files
7
If you chose QuickTime Movie from the Format pop-up menu, choose the tracks you want
to export from the Include pop-up menu—Audio and Video, Audio Only, or Video Only.
An empty audio track can still take up disk space. If your exported file doesn’t need an
audio track, choose Video Only.
8
If you chose QuickTime Movie from the Format pop-up menu, the Recompress All
Frames and Make Self-Contained options are available. You can select these options if
you want. For more information about these options, see “
Choosing the Type of
QuickTime Movie to Export
” on page 238.
9
Select the Use Item In/Out checkbox to export only the media between the current In
and Out points. If this is not selected, all of the media in the clip or the entire sequence
is exported.
10
Click OK.
After you specify your settings, you’re ready to export. For more information, see
“
Doing a Batch Export
” on page 298.
Select the checkbox next
to the extensions you
want to add to
the exported files.
To add a custom
extension, enter it here.
Select the options
you want.

Chapter 22
Batch Exporting Clips and Sequences
297
III