
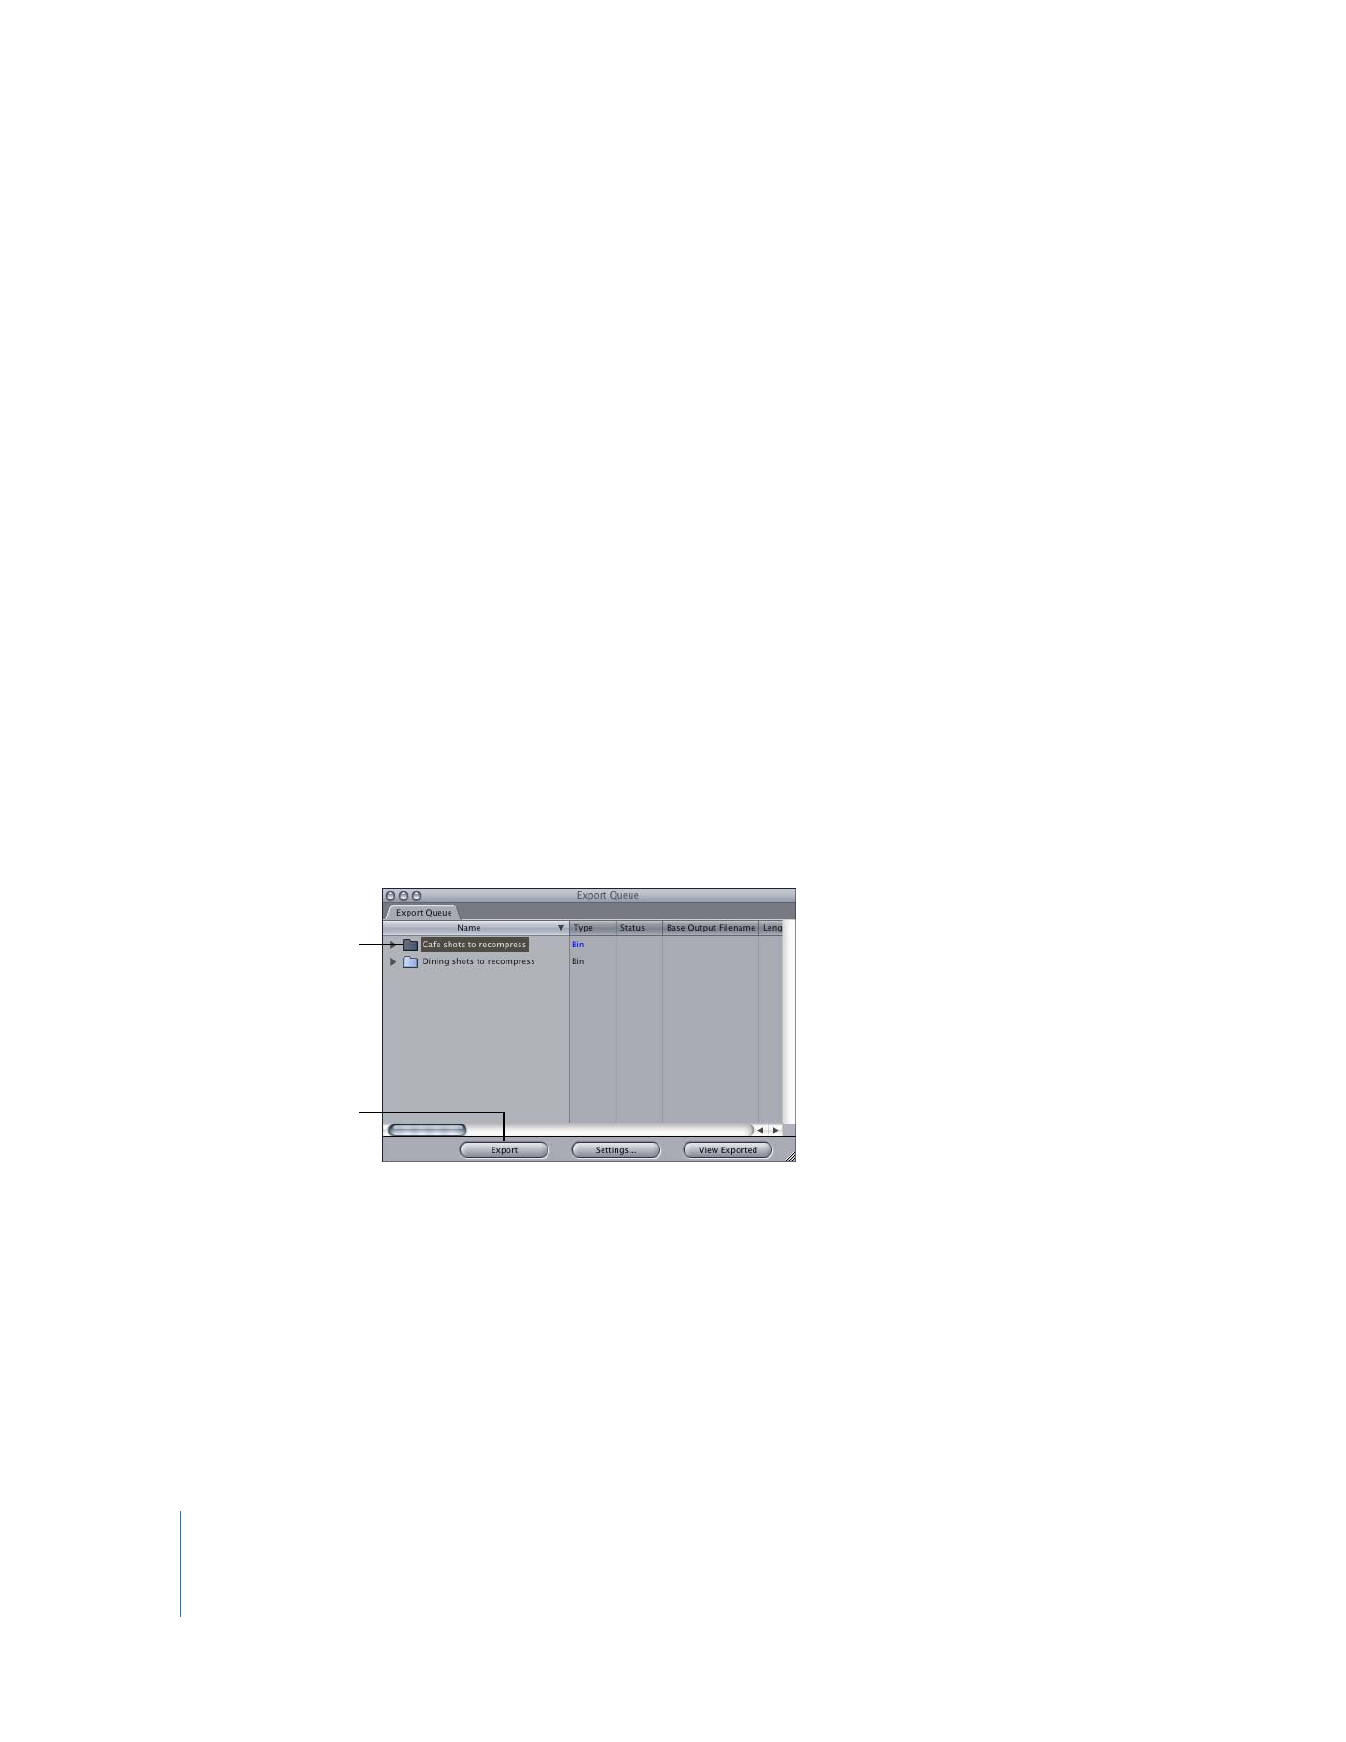
Selecting Batch Export Settings from Columns
The columns in the Export Queue window display details about each bin. You can
change export settings directly from these columns.
To change batch export settings from the Export Queue window:
m
Control-click in a column for a bin, then choose a setting from the shortcut menu.
If the message “No shortcut” appears, the information in that column cannot be
changed from the Export Queue window.
Columns in the Export Queue window:
 Name: Displays the name of the item. The Name column always appears on the left.
 Type: Displays the type of item—clip, subclip, merged clip, sequence, bin, or effect.
 Status: Displays the current export status for the item. If there’s an error during
export, a message explaining the problem appears.
 Queued: An item is ready for export. This appears when an item is first added to
the Export Queue.
 Done: An item was successfully exported. These items are ignored if you start
another batch export process.
 Canceled: The export process was canceled.
 Error: This appears when a problem prevented the item from exporting successfully.
 Base Output Filename: Lets you specify new filenames for clips and sequences. If
nothing is specified in this column, the item name is used as the output filename.
Naming options specified in the Batch Export window are also applied to the
filename specified here.
 Length: Displays the total length of the clip or sequence, regardless of In or Out points.
 Destination: The path to the folder on disk where the exported files will be saved.
The Render Files folder is used by default. To change the folder, double-click in this
column. In the dialog, choose a location to save the file.
 Format: Displays the file format used for exporting.
 Settings: Displays the preset settings chosen for this export bin from the Settings
pop-up menu in the Batch Export window. You can Control-click to choose preset
settings here or choose options from the shortcut menu.
 Use In/Out: Make sure there is a checkmark in this column to export the sequence or
clip using the current In and Out points. If there is no checkmark in this column, all of
the media in the clip or the entire sequence is exported.
 Strip Existing Extension: Specifies whether an existing extension is removed from the
base filename when the export filename is created. This is useful if you’re adding
your own extension.
 Add Custom Extension: Type a custom extension to be applied to the filename.
 Add File Type Extension: Specifies whether the default extension for the specific
export file type is automatically appended to the filename.
298
Part III
Output
The following three options are available only when the exported file format is a
QuickTime movie:
 Include: Specifies which tracks should be included in the exported media file—Audio
and Video, Audio Only, or Video Only.
 Recompress All Frames: This is the same option that is available when you use the
Export QuickTime Movie command. For more information, see Chapter 17, “
Exporting
QuickTime Movies
,” on page 237.
 Make Movie Self-Contained: This is the same option that is available when you use
the Export QuickTime Movie command. For more information, see Chapter 17,
“
Exporting QuickTime Movies
,” on page 237.
After you specify your settings, you’re ready to export. For more information, see the
next section, “