Exporting a QuickTime Movie File
You can export a QuickTime movie from three kinds of selections:
 A selected sequence in the Browser or the current sequence in the Timeline
 Media between a sequence’s In and Out points
 A selected Browser clip
To export a QuickTime movie from a sequence:
1
Select a sequence in the Browser, or open a sequence in the Timeline.
2
Choose Sequence > Settings.
The Sequence Settings window appears.
3
Click the Render Control tab and select the appropriate rendering options for the
output quality you want.
For more information on these settings, see “
Render Control Tab
” on page 366.
4
Click OK to apply the changes you made to the sequence settings.
5
In the Timeline, do one of the following:
 Set In and Out points to define which portion of your sequence you want export.
 Clear In and Out points to export the entire sequence.
6
Choose File > Export > QuickTime Movie.
7
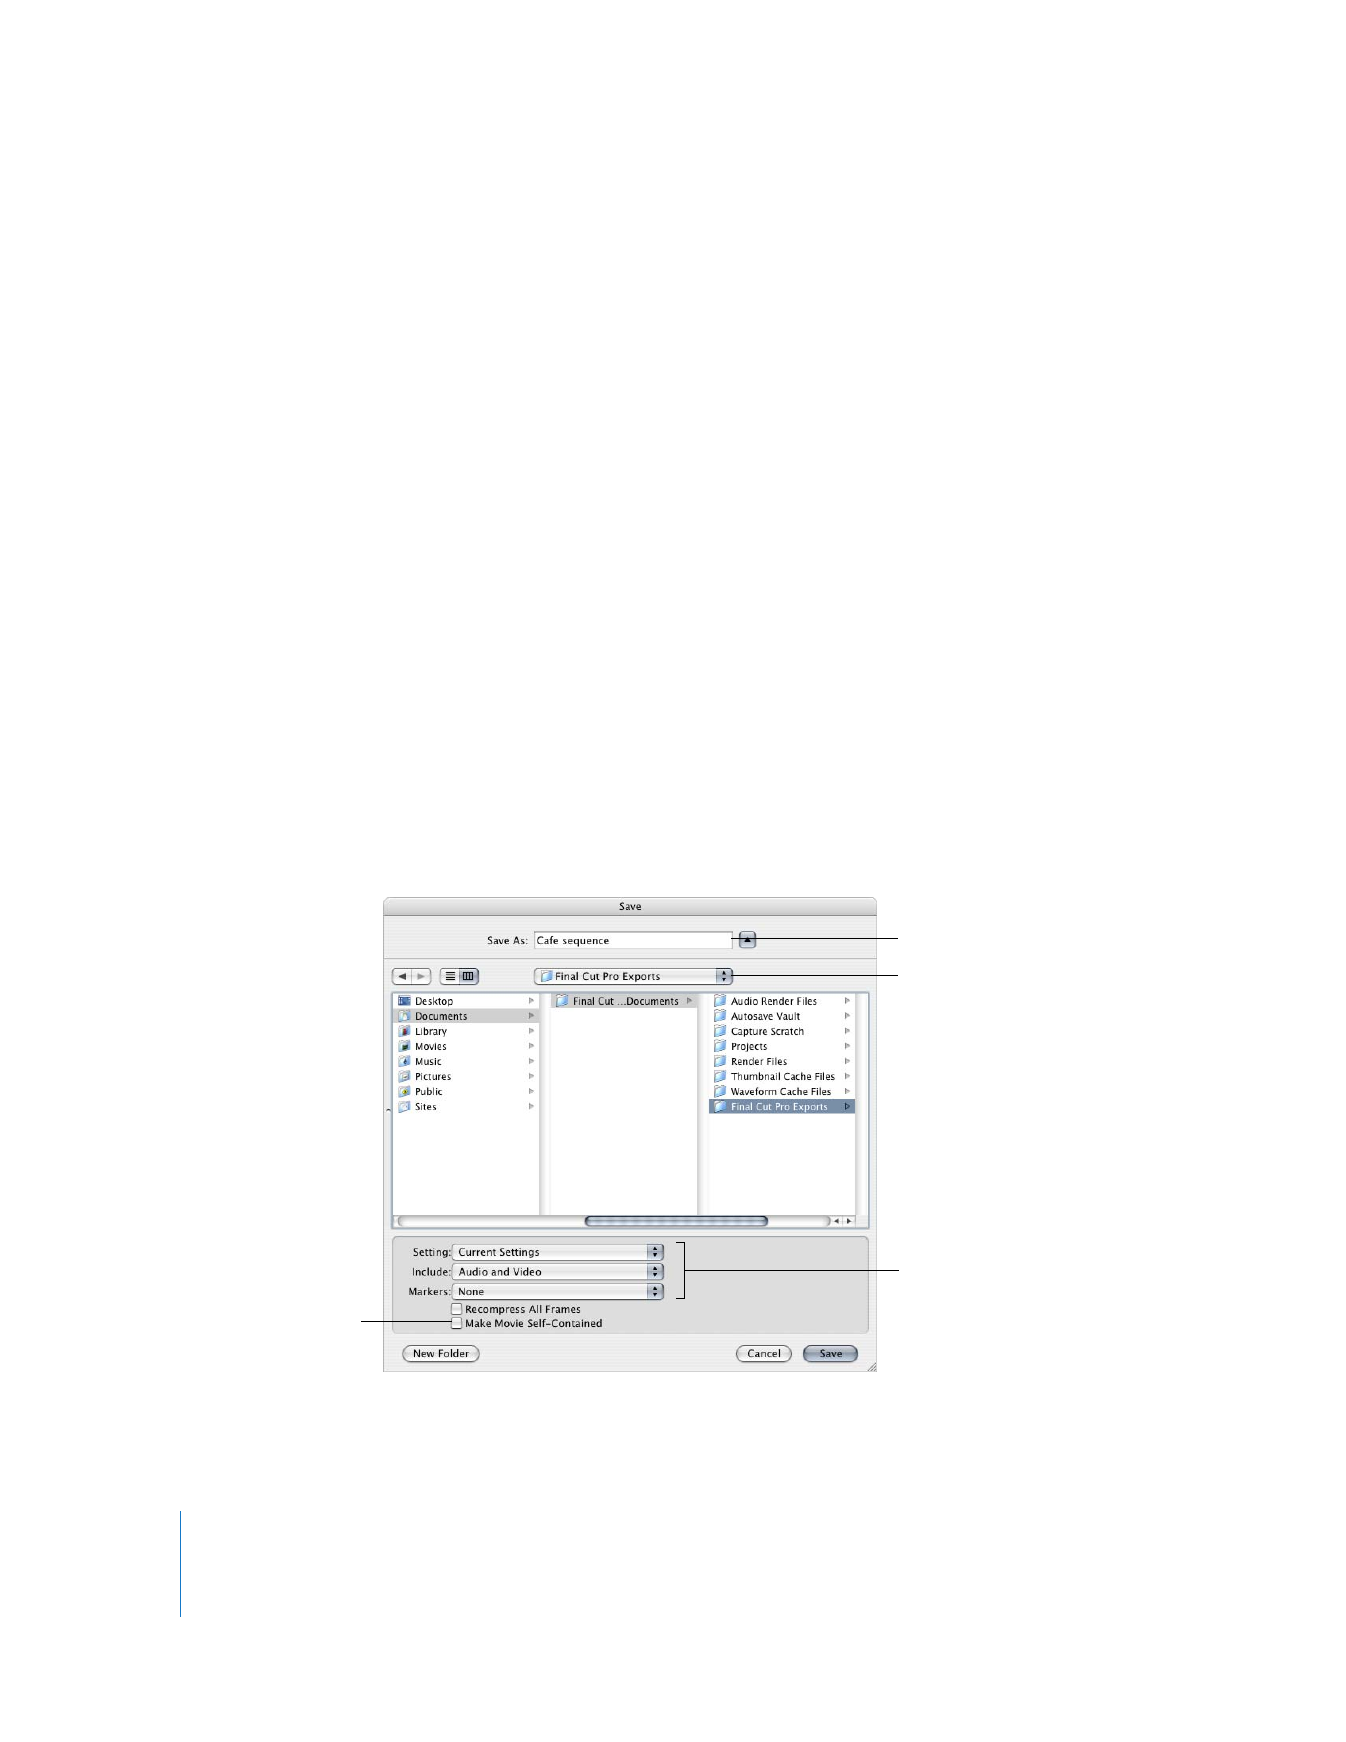
Choose a location and enter a name for the file.
To create a reference
movie, make sure
this checkbox is
unselected.
Specify the settings for
the exported movie.
If you want, enter
a name for the file.
Choose a location
to save the file.
Choose a location
to save the file.
Chapter 17
Exporting QuickTime Movies
241
III
8
Choose the format you want to use from the Setting pop-up menu.
The settings shown here come from built-in presets.
 Current Settings: This uses the current sequence or clip settings of the item you
selected for export.
 Other sequence presets: Choose a new sequence preset to recompress your clip or
sequence to another format and codec. For example, you may want to export a
DV sequence to an uncompressed codec for online editing.
 Custom: Choose this to choose custom export settings using the Sequence Preset
Editor window.
9
Choose Audio and Video, Audio Only, or Video Only from the Include pop-up menu.
Important:
An audio track in a QuickTime movie file takes up disk space even if it is
empty. If your QuickTime movie doesn’t need an audio track, choose Video Only.
All audio that requires rendering is automatically rendered with a render quality of
High, regardless of the render quality setting. Even QuickTime movies that you
output that don’t have the Recompress All Frames checkbox selected will have the
highest-quality audio. For more information about how multichannel audio is exported,
see Volume III, Chapter 10, “Exporting Audio for Mixing in Other Applications.”
10
Choose which markers you want to export from the Markers pop-up menu.
For more information about the different kinds of markers you can export, see the next
section, “
Exporting QuickTime Movies with Markers
”.
Important:
Markers within sequence clips are never exported—only markers in the
sequence itself are exported.
11
To export a QuickTime movie with all video, audio, and rendered media in a self-contained
file, select the Make Movie Self-Contained checkbox.
Leave this checkbox unselected to export a reference movie, which is a small movie
that contains pointers to audio and render files located elsewhere. For more
information, see “
Choosing the Type of QuickTime Movie to Export
” on page 238.
12
To recompress every frame of your clip or sequence, select the Recompress All
Frames checkbox.
Note: This option is available only if the Make Movie Self-Contained checkbox is selected.
13
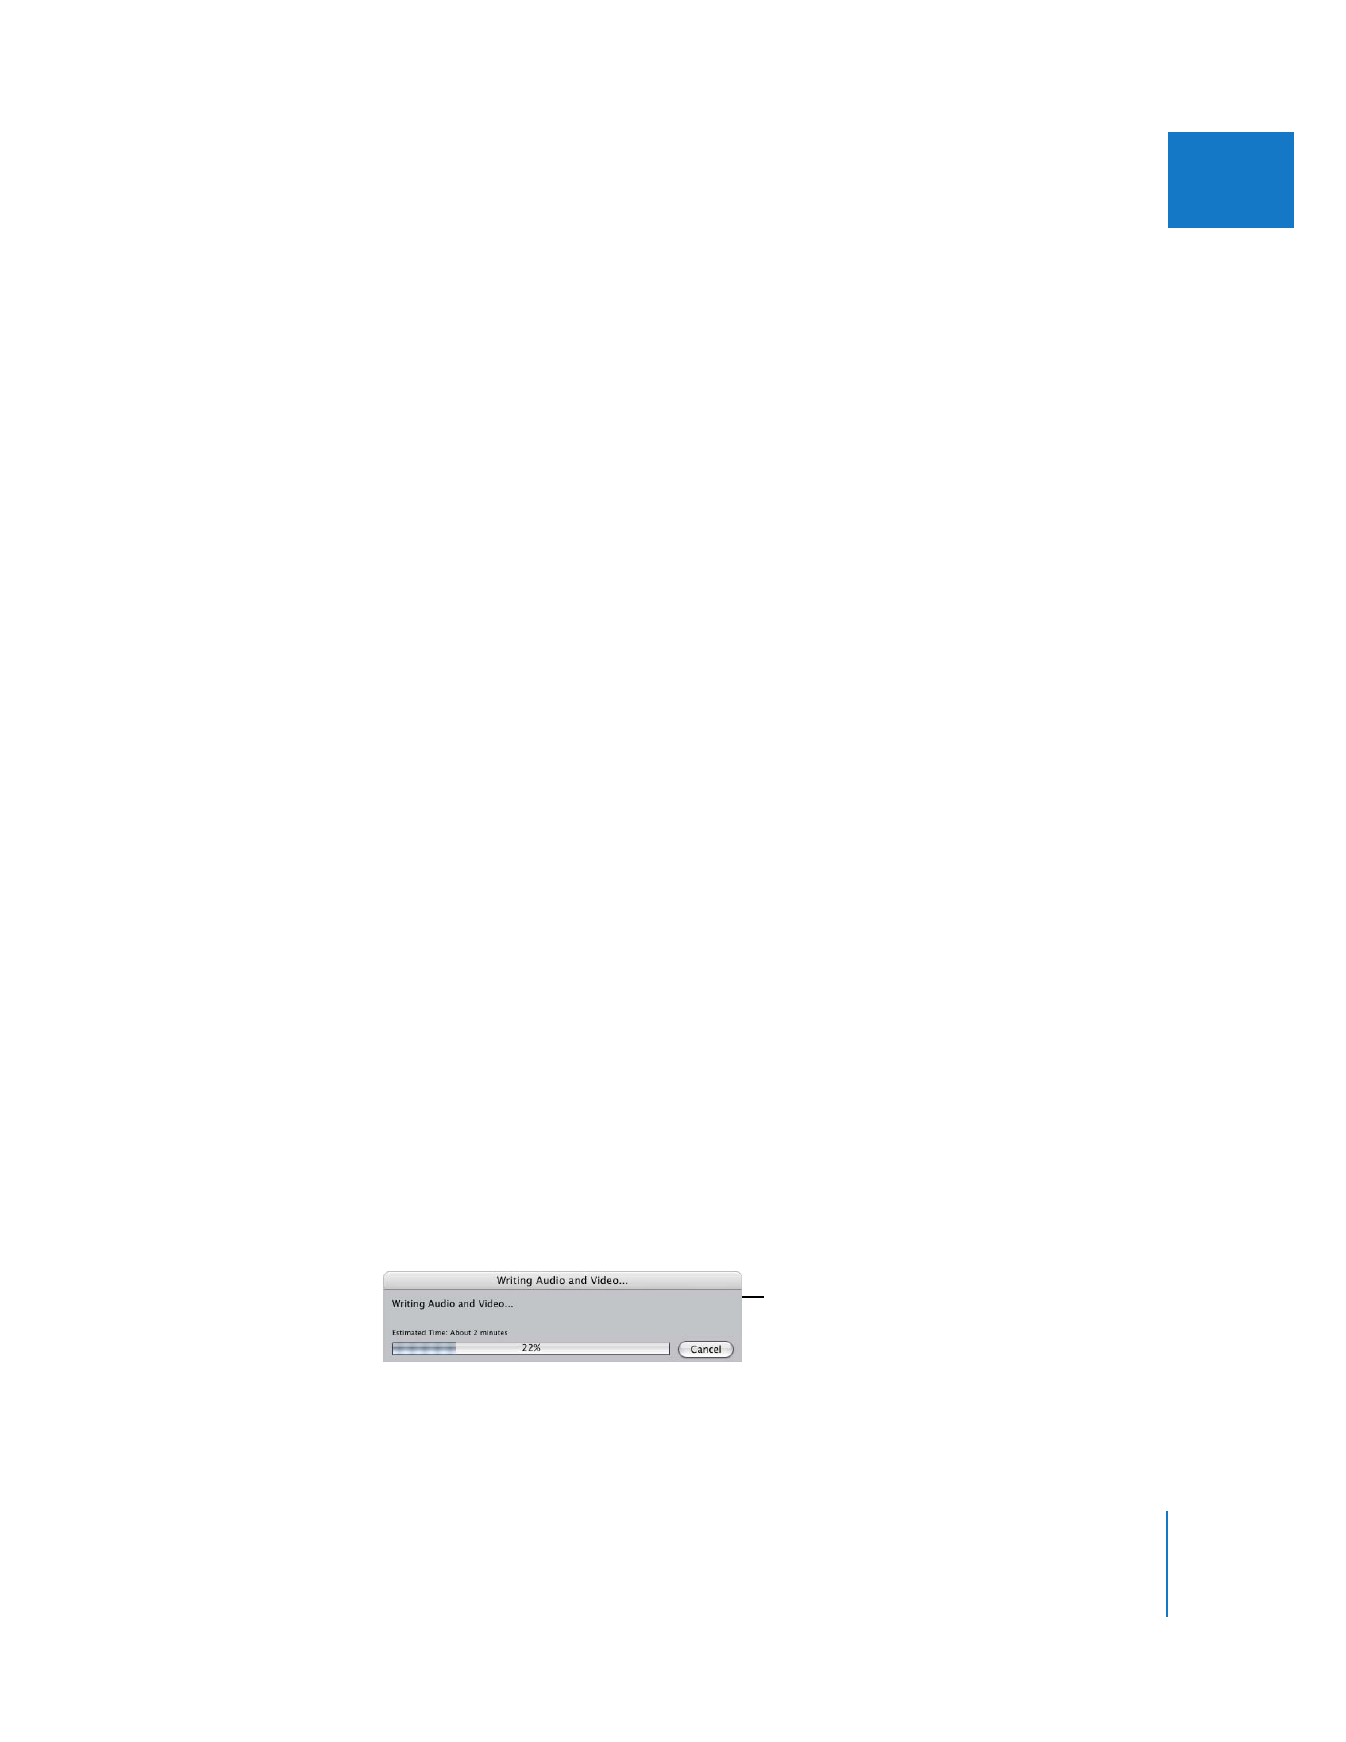
When you’re ready to export, click Save.
To cancel your export, press Esc or click Cancel.
A dialog shows you the
progress of the export.

242
Part III
Output
To export a QuickTime movie from a clip in the Browser or Viewer:
m
Follow the steps for exporting a sequence, but select a clip in the Browser or Viewer.
Note: When exporting a clip from the Browser or Viewer, there is no need to specify
settings in the Render Control tab of the Sequence Settings window (those settings
apply only to sequences and sequence clips). Also, markers are not included.