Exporting a Single Still Image
Exporting a still image from Final Cut Pro is easy. First, you create the still image and
then export it to the graphics file format you need.
To export a still image:
1
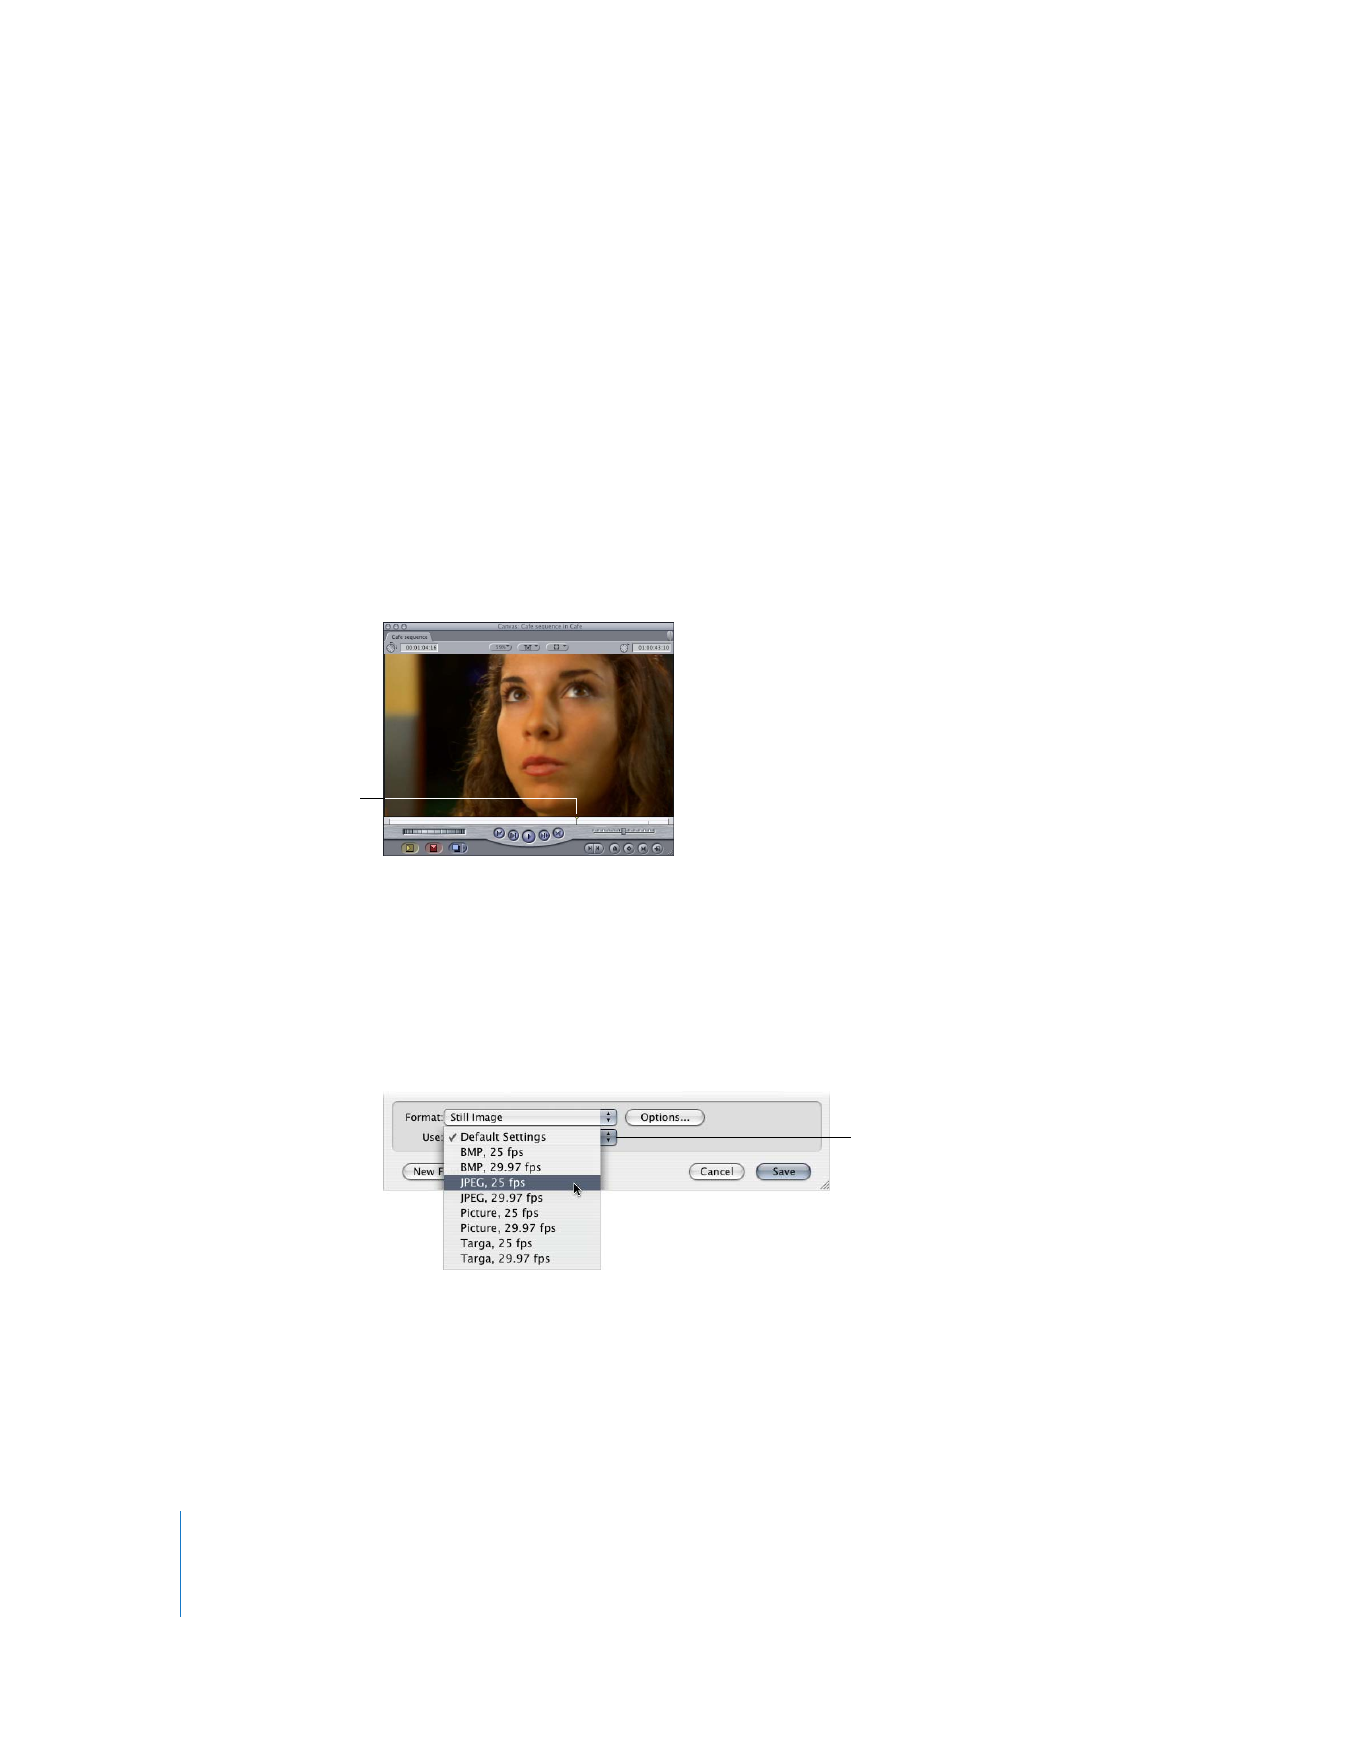
In the Canvas or Viewer, position the playhead at the frame you want to export.
2
Choose File > Export > Using QuickTime Conversion.
3
Choose a location and enter a name for the file.
4
Choose Still Image from the Format pop-up menu.
5
Choose a file format from the Use pop-up menu.
Disregard the frame rate (frames per second or fps) when exporting single still images.
Some graphics file formats do not appear in the Use pop-up menu. If the file format
you need does not appear in the list, see step 6.
Move the playhead
to the frame you
want to export.
Choose a setting from
the pop-up menu.
Chapter 21
Exporting Still Images and Image Sequences
287
III
6
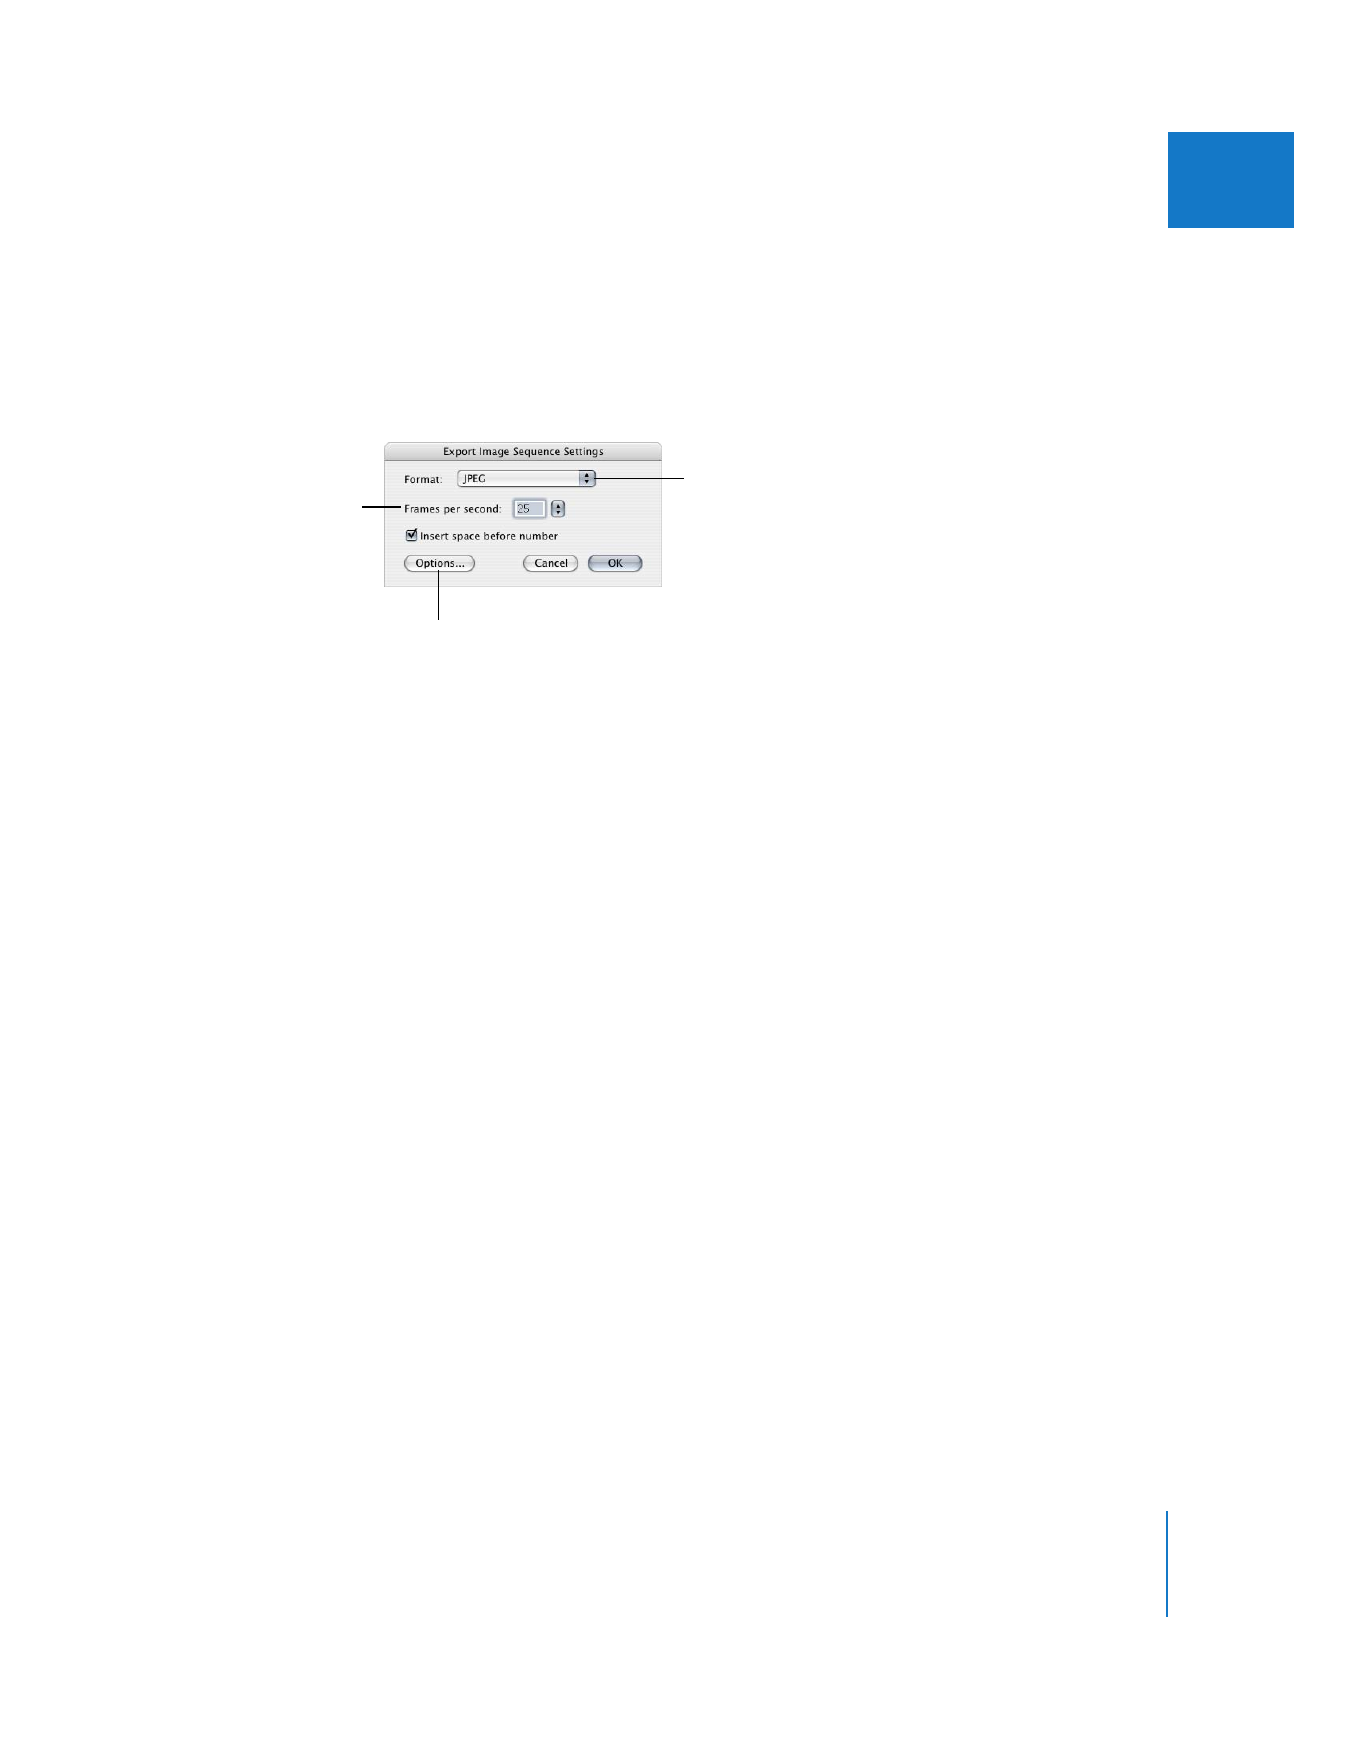
To select custom settings, click Options, and in the Export Image Sequence Settings
dialog, choose your settings, then click OK.
Custom settings allow you to choose any graphics file format supported by QuickTime.
You can also make particular adjustments to the compression method or color depth. In
most cases, the default values are fine, but if you need particular settings, you can adjust
the settings here. Each graphics file format has a unique set of adjustable parameters.
 Format: Choose the graphics file format you want to use from the pop-up menu.
Some file formats have additional options for controlling the quality of the
compression, the color depth, and so on.
 Frames per second: This setting doesn’t apply for still images.
 Options: Click here to set options for the particular graphics file format you are exporting.
7
When you’re ready to export, click Save.