
Exporting a QuickTime Movie File for Web Distribution
If you need to create a self-contained movie file with the same settings as the original
media file, you should probably use the Export QuickTime Movie command (see
Chapter 17, “
Exporting QuickTime Movies
,” on page 237). However, if you want to export
a compressed QuickTime movie file for the web or some other means of distribution,
you should use the Export Using QuickTime Conversion command.
To export a QuickTime movie file:
1
Choose Sequence > Settings, then click the Render Control tab.
2
Select the appropriate rendering options for the output quality you want.
For more information on these settings, see “
Render Control Tab
” on page 366.
3
Select a clip or sequence in the Browser or open a sequence in the Timeline.
4
Choose File > Export > Using QuickTime Conversion.
5
Choose a location and enter a name for the file.
248
Part III
Output
6
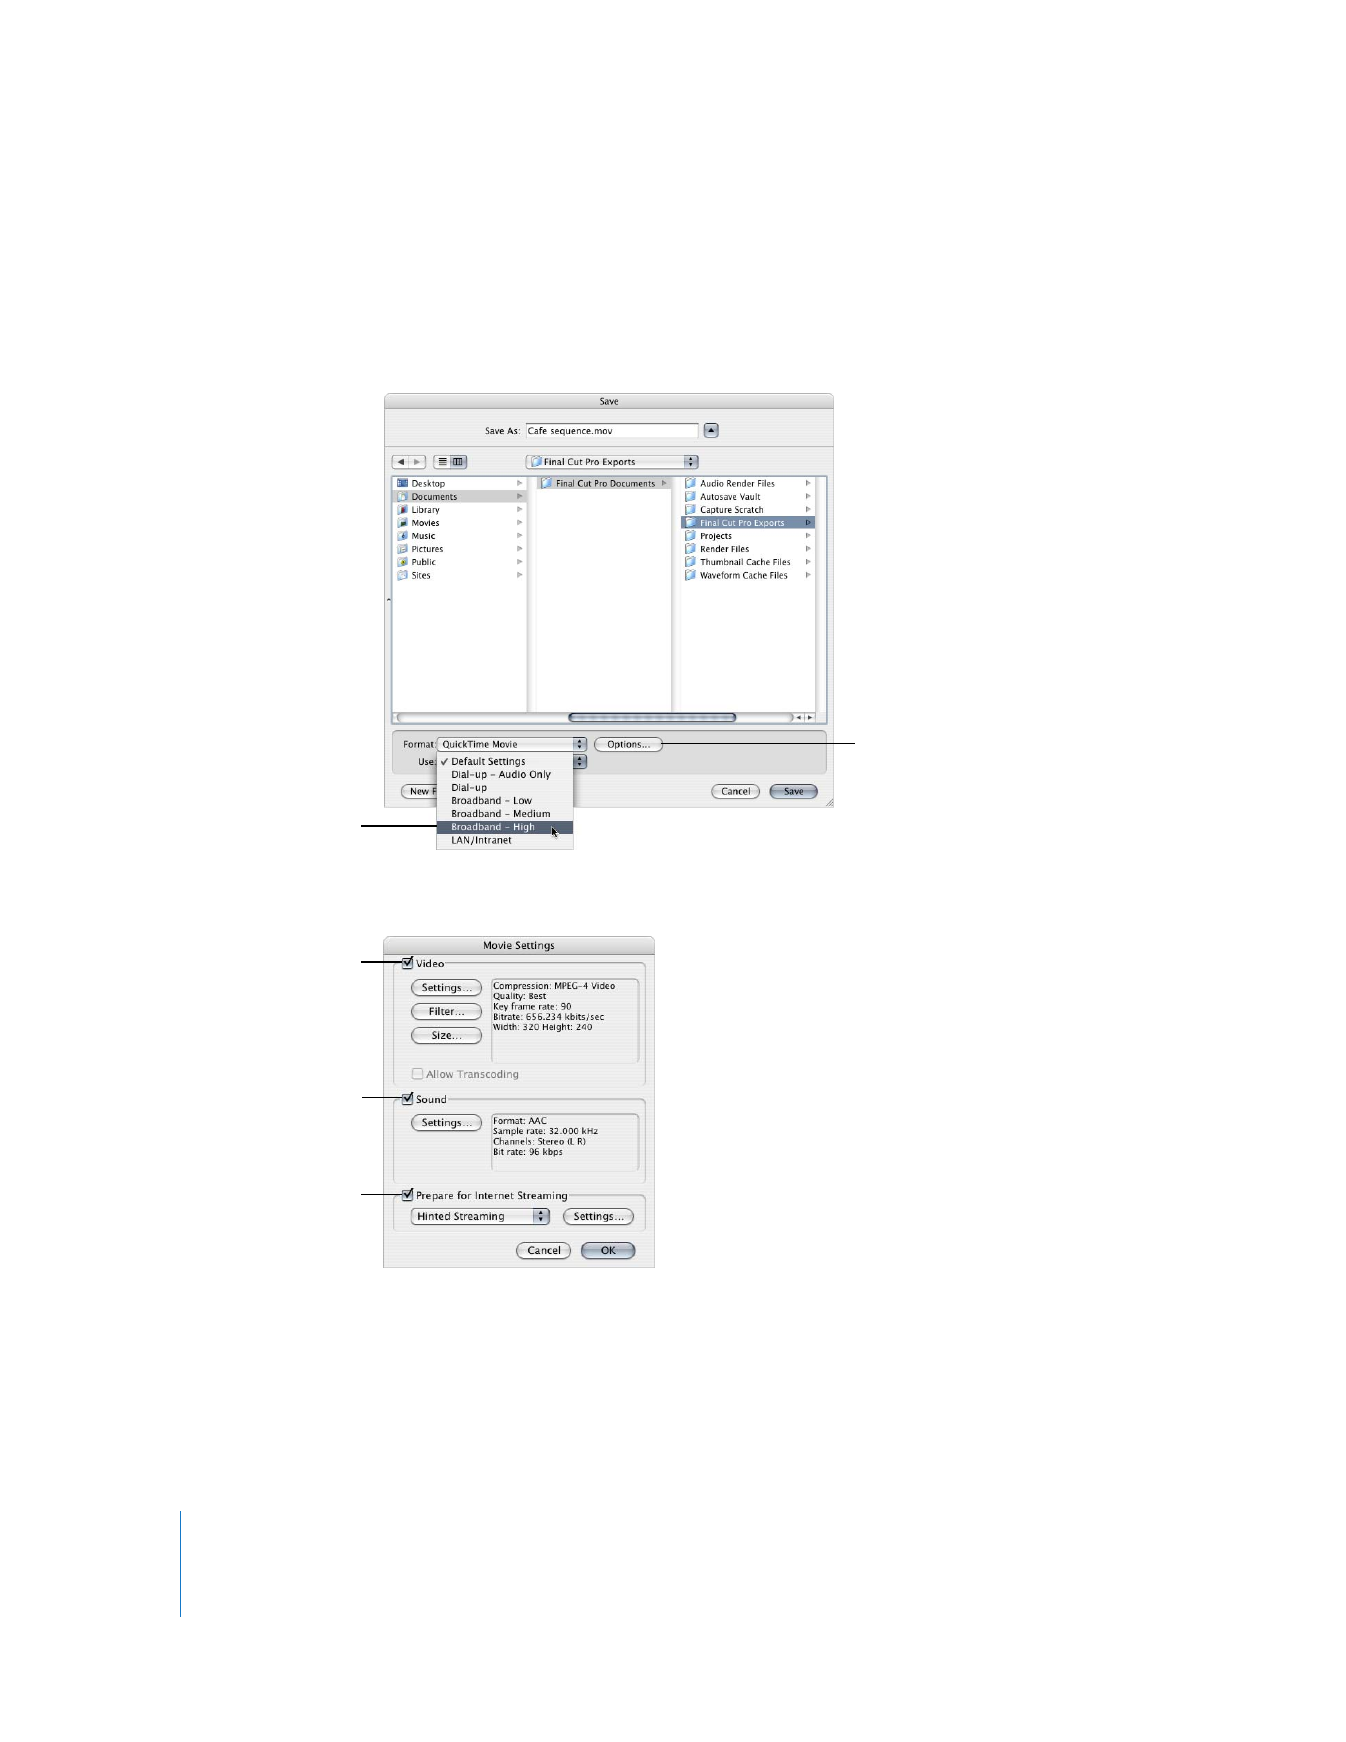
Choose QuickTime Movie from the Format pop-up menu.
7
If you want, choose a preset compression setting from the Use pop-up menu.
The preset compression settings use the H.264 codec and target a range of download
and streaming speeds.
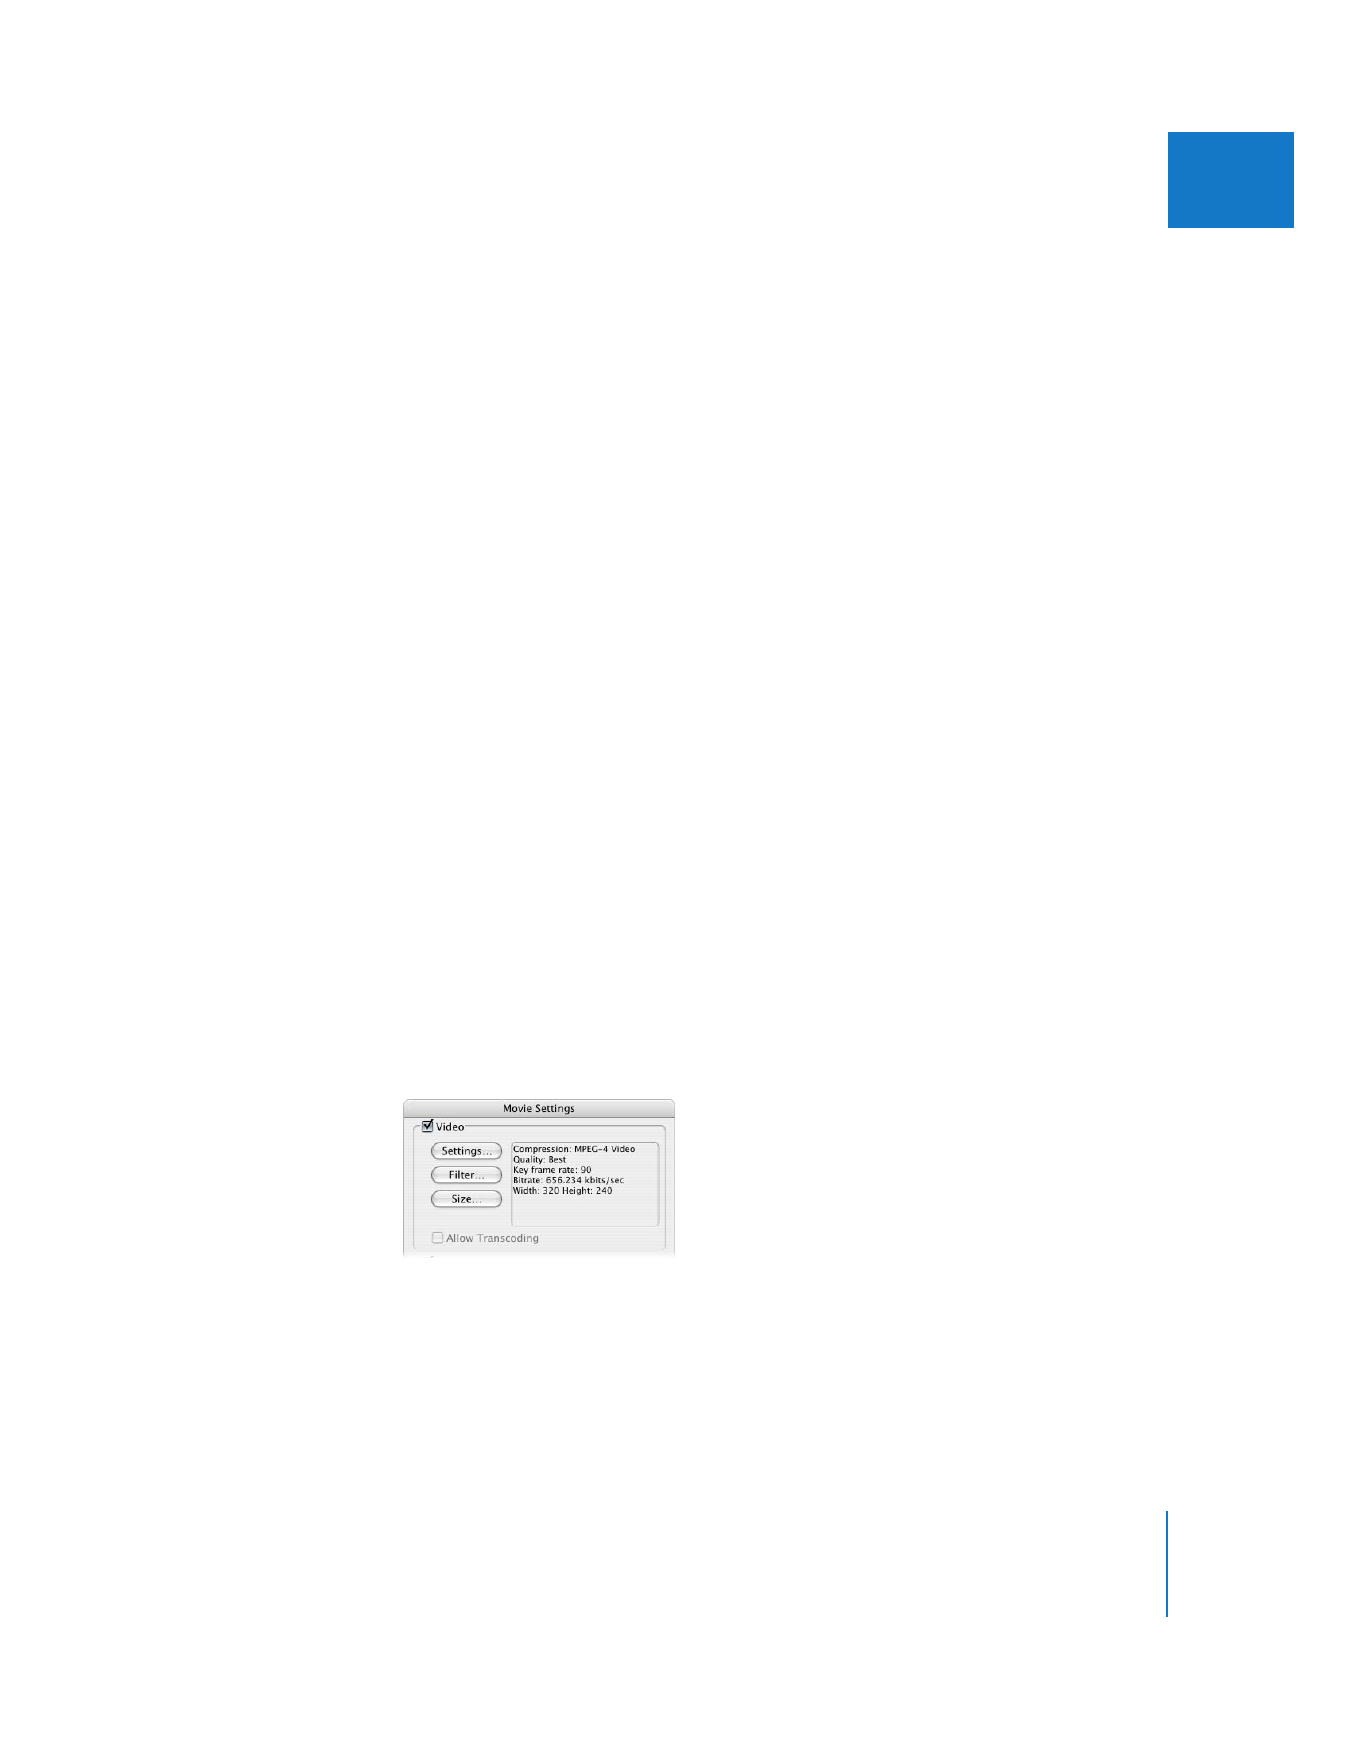
8
To customize video, audio, and Internet streaming settings, click Options.
Note: Unless you are creating movies for online distribution, turn off Internet streaming
options for the best results.
For detailed information on settings, see “
Configuring QuickTime Movie Settings
,” next.
Choose a preset
compression setting...
...or choose custom video
and audio settings by
clicking here.
Click here to include
video in your exported
QuickTime file.
Click here if your program
is to be streamed on
the Internet.
Click here to include
audio in your exported
QuickTime file.
Chapter 18
Exporting Using QuickTime Conversion
249
III
9
When you’ve finished selecting your options, click OK.
10
When you’re ready to export, click Save.
A dialog shows you the progress of the export. To cancel your export, press Esc or
click Cancel.
Note: Whenever you use the Export Using QuickTime Conversion command, all audio
that requires rendering is automatically rendered with a render quality of High,
regardless of the render quality setting.