Exporting an AVI File
AVI is a Windows-compatible movie file format for digital video. This file type is no
longer officially supported by Microsoft, but it’s still frequently used. The AVI format is
similar to a QuickTime movie file, but it supports fewer track types and codecs. It is
useful mainly for delivery of movie files to Windows computers or the Internet.
To export an AVI file:
1
Select a clip or sequence in the Browser, or open a sequence in the Timeline.
2
Choose File > Export > Using QuickTime Conversion.
3
Choose a location and enter a name for the file.
4
Choose AVI from the Format pop-up menu.
Chapter 18
Exporting Using QuickTime Conversion
265
III
5
Choose a setting from the Use menu.
Each setting in this list is a predefined group of codecs and settings. If your needs are
more specific, skip ahead to step 6.
6
To customize settings, click Options.
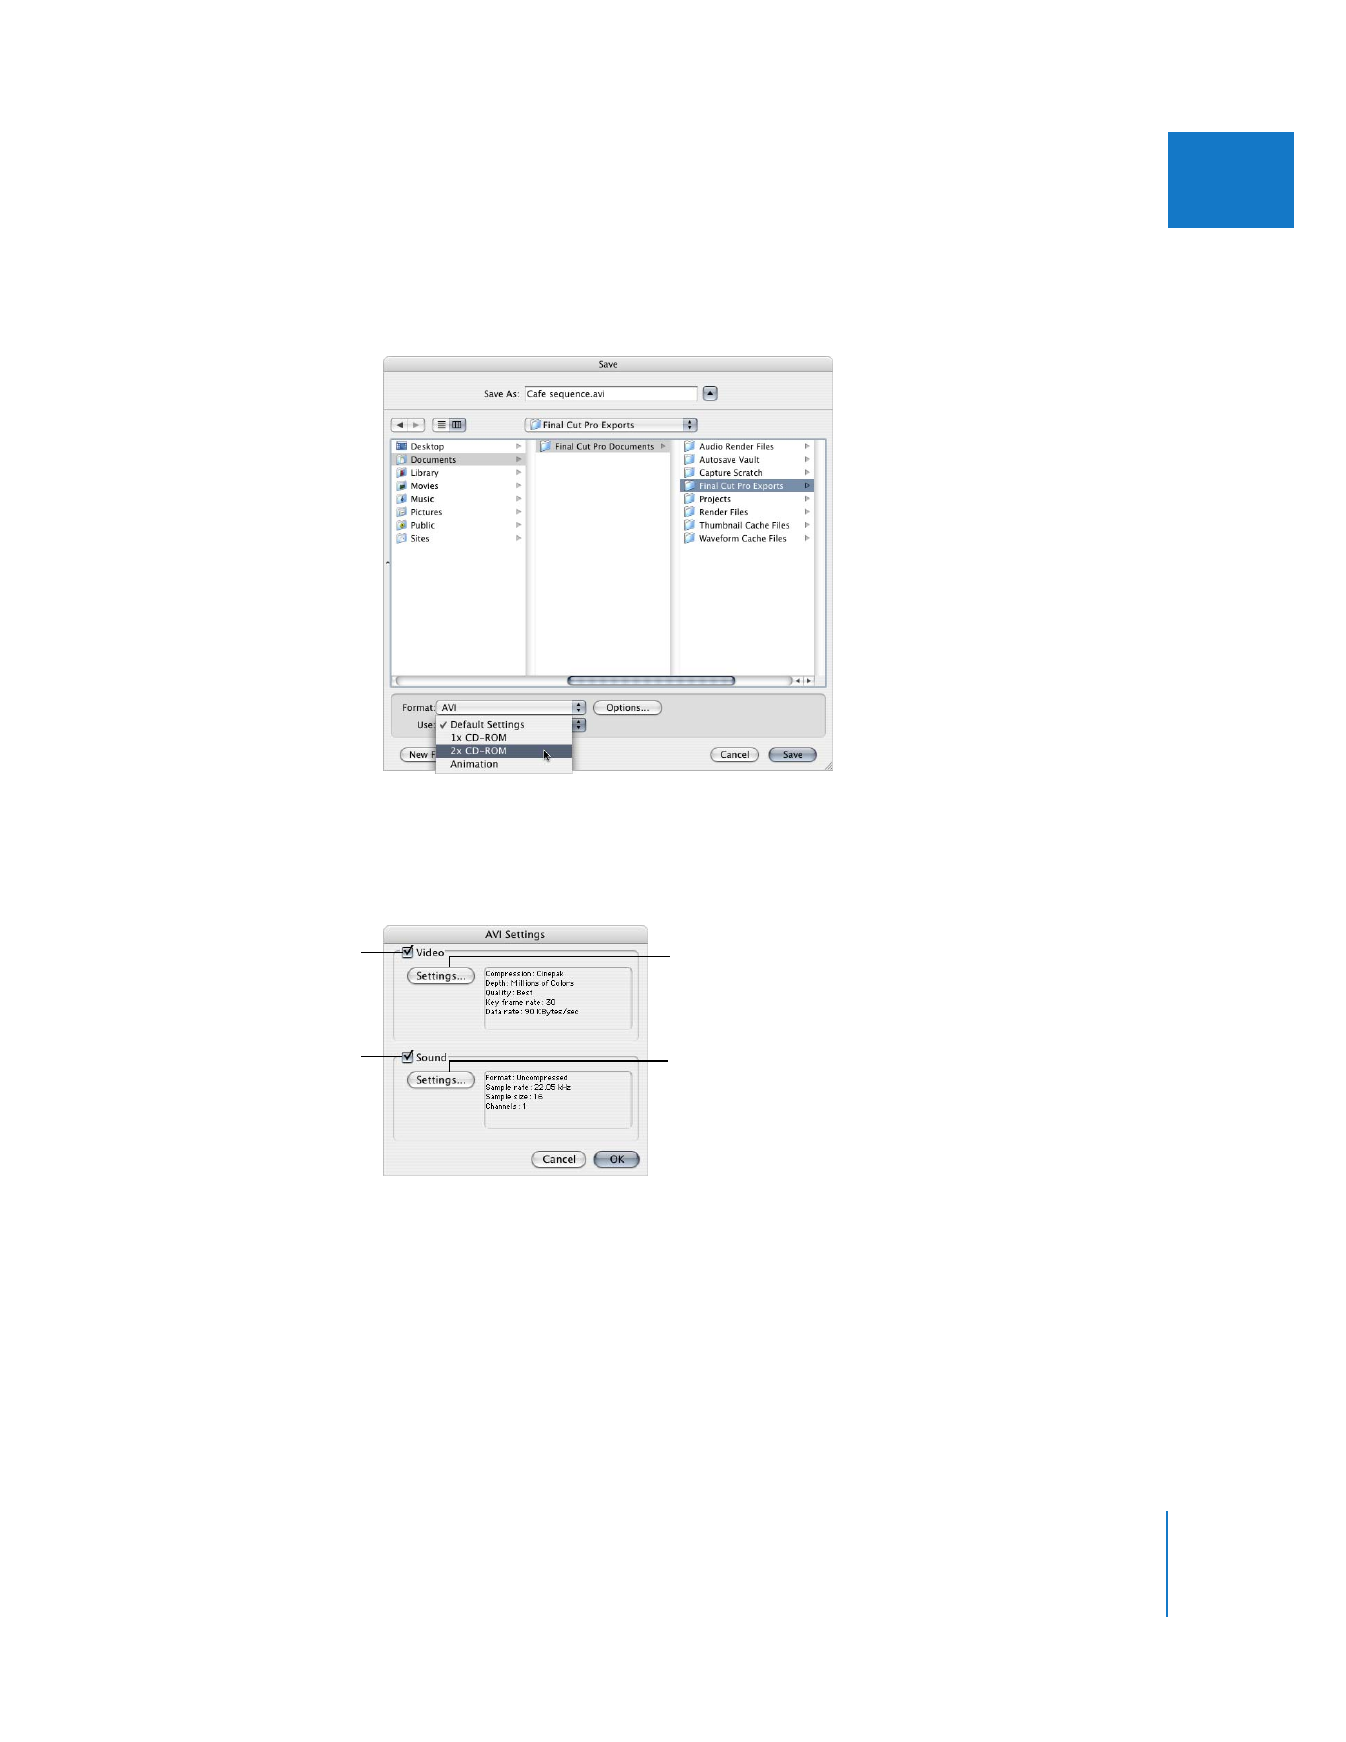
7
Select the Video and Sound checkboxes to include both video and audio in your
exported file.
If there is no audio in your clip or sequence, make sure the Sound checkbox is not
selected. Otherwise, the blank audio tracks will take up space in your output file.
To include video in
the exported file, make
sure this is selected.
To include audio in
the exported file, make
sure this is selected.
Click here to adjust the
compression settings
used for the audio track.
Click here to adjust the
compression settings
used for the video track.

266
Part III
Output
8
Click Settings in the Video area to adjust the compression settings used for the
video tracks.
The video compression settings here are similar to the QuickTime movie file
compression settings, although fewer codecs are supported. For more details, see
Chapter 17, “
Exporting QuickTime Movies
,” on page 237.
9
Click Settings in the Audio area to adjust the compression settings used for the
audio tracks.
The audio compression settings here are similar to the QuickTime movie sound
settings, although different codecs and settings are supported.
10
When you’re ready to export, click Save.
A dialog shows you the progress of the export. To cancel your export, press Esc or
click Cancel.

19
267
19