
Preparing Your Videotape with Black and Timecode
If you plan to do insert editing and your tape is blank, your tape needs to have a signal
already recorded on it. You can prepare a tape for insert editing by blacking the tape,
which means recording control track, timecode, and a black video signal. You can also
perform insert edits on any tape with an existing control track. Having timecode on the
tape is also necessary to set In and Out points for the edit.
Most blacked tapes start at 00:58:00:00 to allow 2 minutes of header elements before
your program. The movie itself usually starts at 01:00:00:00. This is set in the Initialize
Tape dialog. You will see it only if your deck has a settable timecode generator. You may
want to black several tapes in advance so they are available when needed.
Note: Most consumer DV camcorders are limited to start recording at 00:00:00:00.
Chapter 13
Preparing to Output to Tape
195
III
If you plan to do a series of insert edits to output your whole program onto tape, you
must use a tape that’s blacked from beginning to end. If you’re assemble-editing a long
program to a new tape, you don’t have to black the entire tape, but it’s a good idea to
black at least 30 seconds of the tape so there is enough timecode so you can set an
In point as well as allow for pre-roll before the In point.
To prepare a tape with black and timecode:
1
Insert a videotape into your camcorder or deck.
2
Choose File > Edit to Tape.
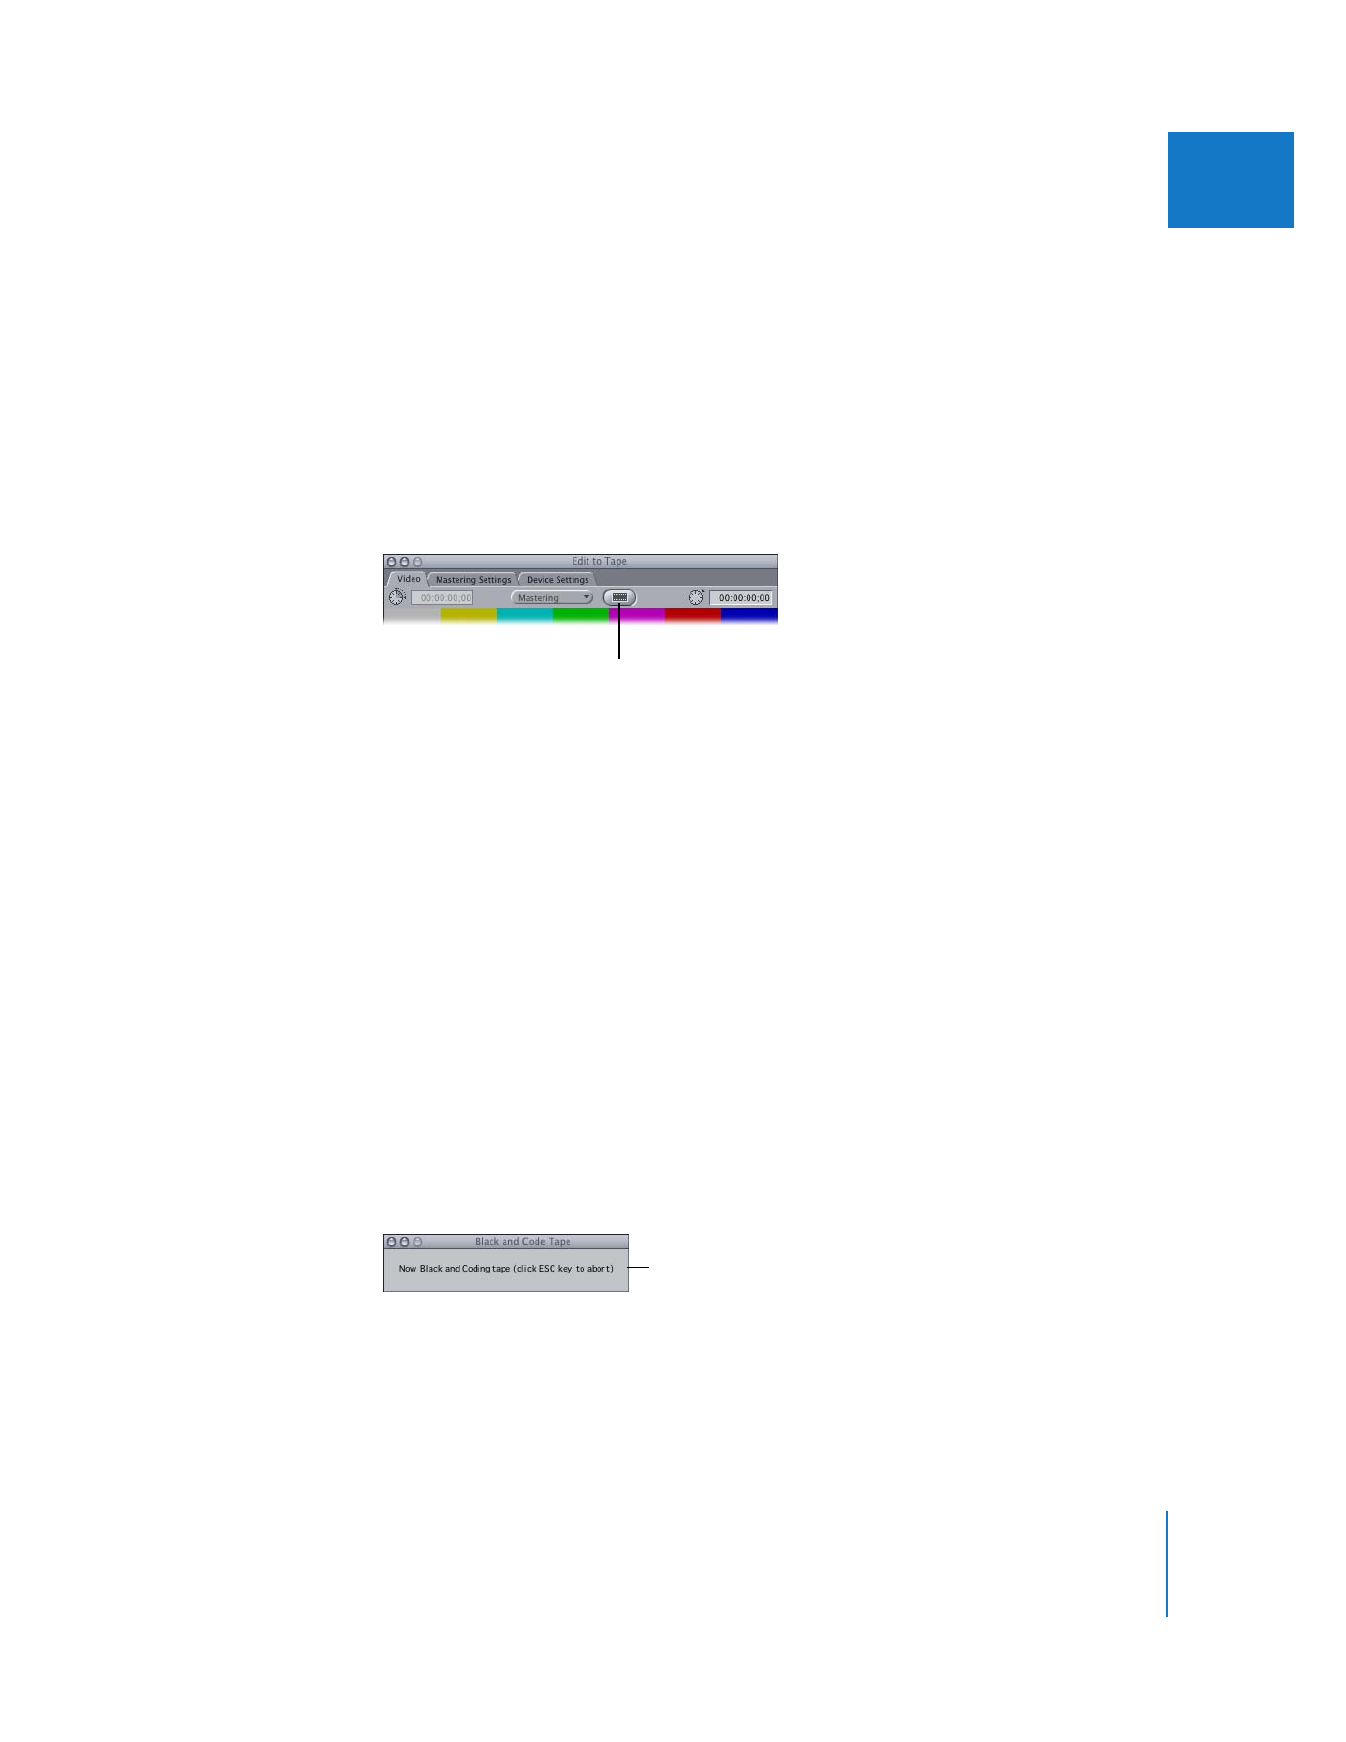
3
In the Edit to Tape window, click the Black and Code button.
4
If your video equipment supports timecode generation, make sure your deck is set to
accept an external timecode signal.
Note: Timecode is sent via an RS-422 serial port. This is not supported for DV FireWire.
5
Enter the starting timecode in the dialog, then click OK.
This defines the starting timecode number that appears on your tape.
6
In the Black and Code dialog, choose an option from the Settings pop-up menu,
then click OK.
Current settings are based on the sequence preset in your current Easy Setup. If you
select Custom, the Sequence Preset Editor appears and you can choose custom settings.
For more information, see “
About Sequence Settings and Presets
” on page 362.
7
When a message appears saying your tape will be erased and rewritten with black
frames and timecode, click OK.
The tape rewinds to the beginning and the entire tape is blacked. If your video
equipment supports timecode generation, timecode is also recorded, starting from the
timecode specified. To cancel the black and code process, press the Esc key.
Click this button
to black your tape.
This message indicates the black
and code progress has started.


14
197
14