
Recording from the Timeline
The easiest way to output to tape is to enable external video output in Final Cut Pro,
play back your sequence in the Timeline, then press Record on your connected
camcorder or deck. If you want to show black before and after your program, you have
to add Slug generators to the beginning and end of your sequence, or move all the
sequence clips to the right to leave a gap before the beginning of your sequence.
Important:
Make sure you’ve read and followed the instructions in “
Setting Up Your
Editing System to Output to Tape
” on page 191.
To record directly from the Timeline:
1
If you want to add elements before or after your program (such as showing black), add
them directly to the Timeline.
Many of these elements are available from the Generator pop-up menu. For more
information, see Volume III, Chapter 21, “Using Generator Clips.”
2
If necessary, render any unrendered effects by doing one of the following:
 Choose Sequence > Render All > Both.
 Choose Sequence > Render Selection > Both.
 Press Command-R.
For more information on additional rendering options, see Volume III, Chapter 29,
“Rendering and Video Processing Settings.”
All audio that requires rendering is automatically rendered with a render quality of
High, regardless of the render quality setting. Unrendered audio sections are output as
a series of beeps.
∏
Tip: You can turn off the beeps by deselecting “Beep when playing back unrendered
audio” in the Playback Control tab of the System Settings window.
224
Part III
Output
3
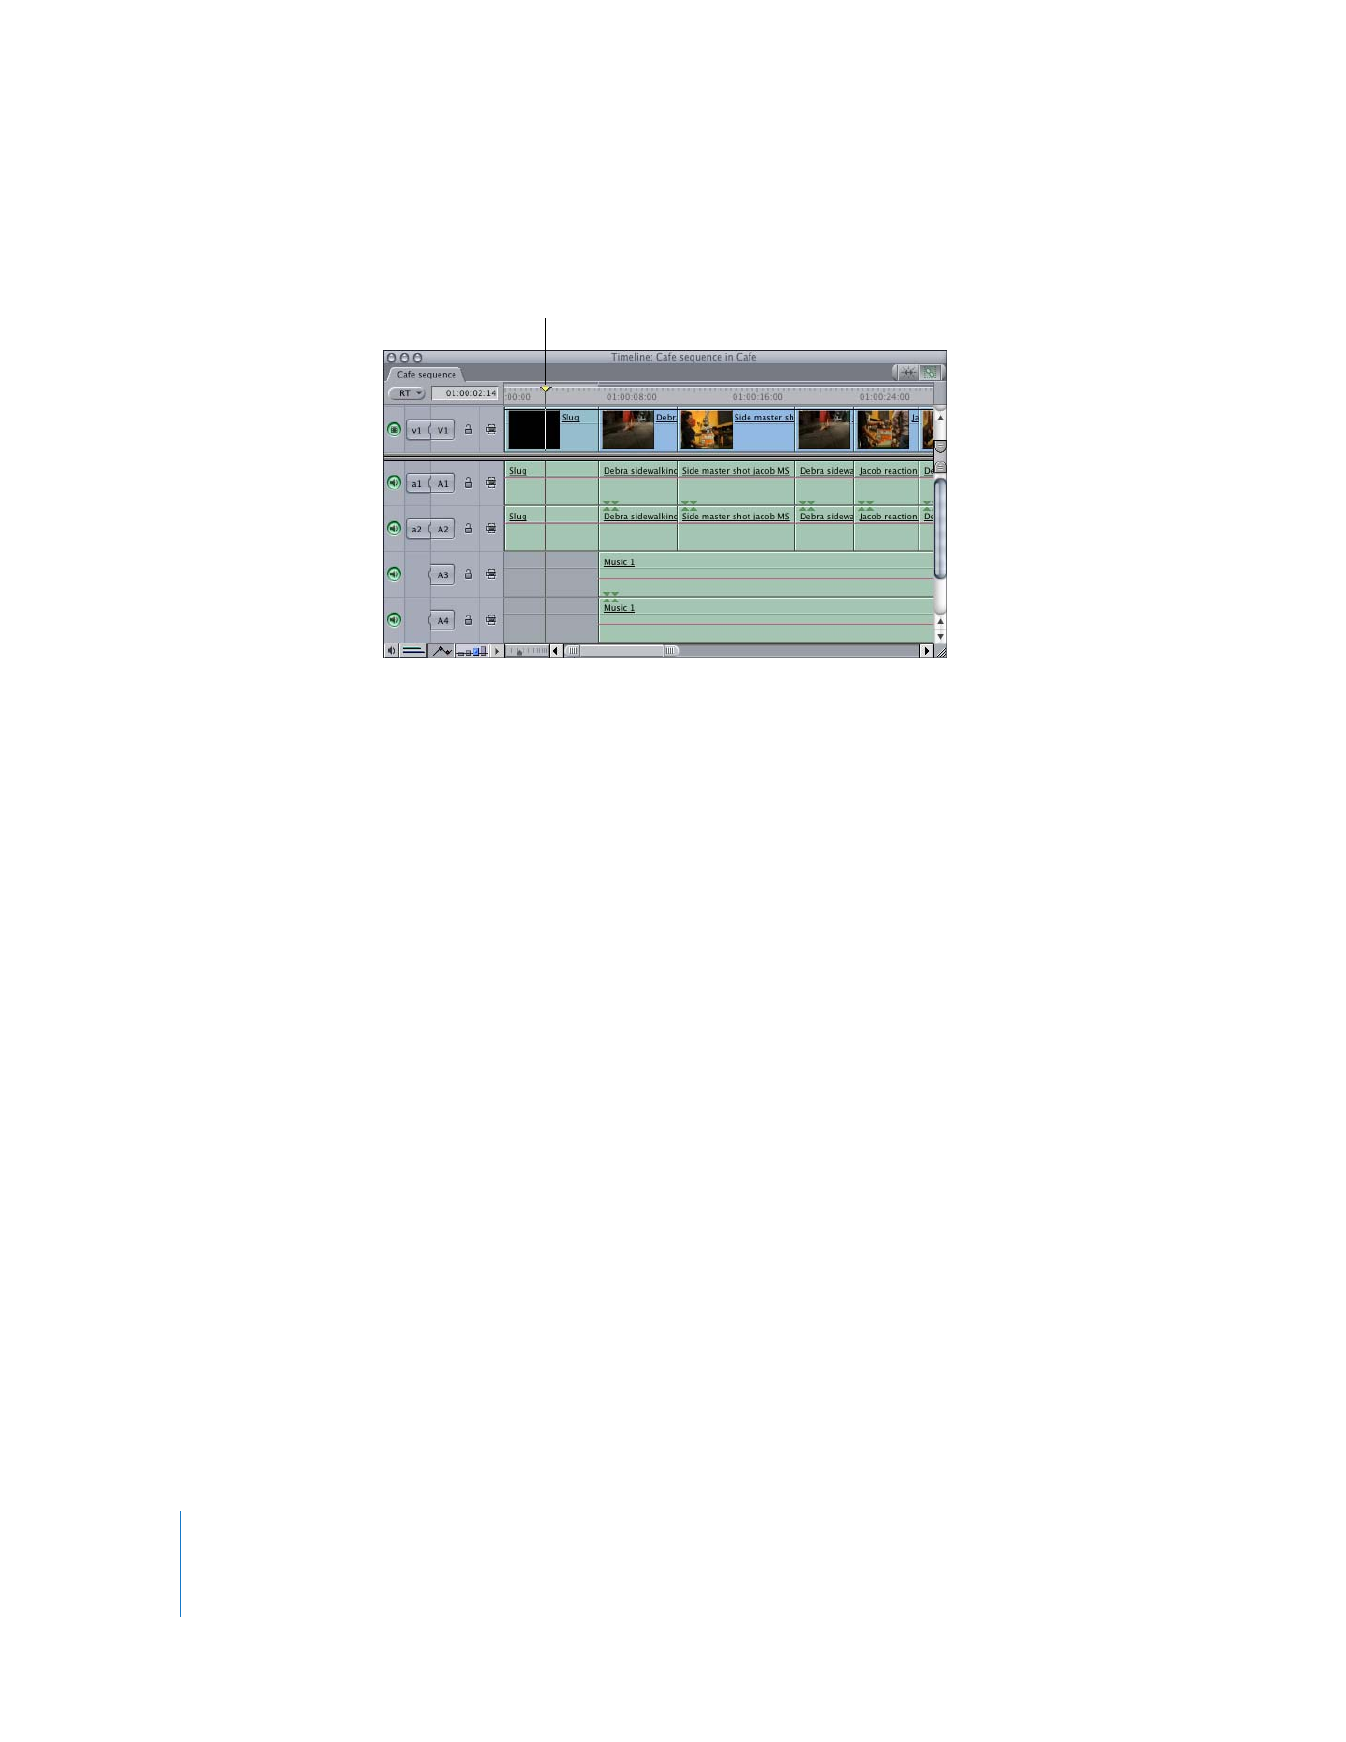
In the Timeline, move the playhead to where you want to start recording in your sequence.
The first frame will be recorded immediately after you press Record on your camcorder
or deck. To avoid an awkward freeze frame at the beginning of your sequence, you may
want to move the playhead to an initial frame of black.
4
If you want to loop your sequence, choose View > Loop Playback so there’s a
checkmark next to it.
When looping is enabled, your sequence will loop endlessly without stopping. There
may be a slight pause after each loop. If you need a smooth loop, use the Print to Video
command with looping enabled instead.
5
Press Record on your camcorder or deck to start recording, then wait a few seconds.
This allows your camcorder or deck to reach a smooth recording speed. Otherwise, you
could end up with unwanted video artifacts at the beginning of your tape.
6
Choose Mark > Play, then choose an option from the submenu to control how your
sequence plays back.
 In to Out: Plays back the sequence from the In point to the Out point. If you haven’t
set an In or Out point, the sequence plays from the beginning to the end.
 To Out: Plays from the current position of the playhead on the Timeline to either the
defined Out point or the end of the sequence.
 Around: Plays a specified amount of time before and after the position of the
playhead, based on the preview pre-roll and post-roll settings in the Editing tab of
the User Preferences window.
For more information about these settings, see “
Default Timing Options
” on page 310.
Move the playhead where you
want to start recording.

Chapter 15
Printing to Video and Output from the Timeline
225
III
 Every Frame: Plays back every frame of the sequence, whether or not rendering is
required. If there are transitions or effects in your sequence that haven’t been
rendered, your sequence will not play back in real time, but every frame will be
recorded on tape.
 Forward: Plays from the current position of the playhead forward to the end of the
sequence in the Timeline.
 Reverse: Plays from the current position of the playhead back to the beginning of the
sequence in the Timeline.
7
Press the Stop button on your camcorder or deck when the sequence is finished
playing in the Timeline.
Important:
The last frame in your sequence will be held as a freeze frame when
playback stops. This may be awkward if this frame is not black. To avoid this, add a Slug
generator to place black at the end of your sequence.