Creating a New Preset
If none of the existing presets is exactly what you need or want, you can create a new
one by duplicating an existing preset and modifying the duplicated preset’s settings.
To create a new preset:
1
Choose Final Cut Pro > Audio/Video Settings.
2
Click the tab for the type of preset you want to create.
3
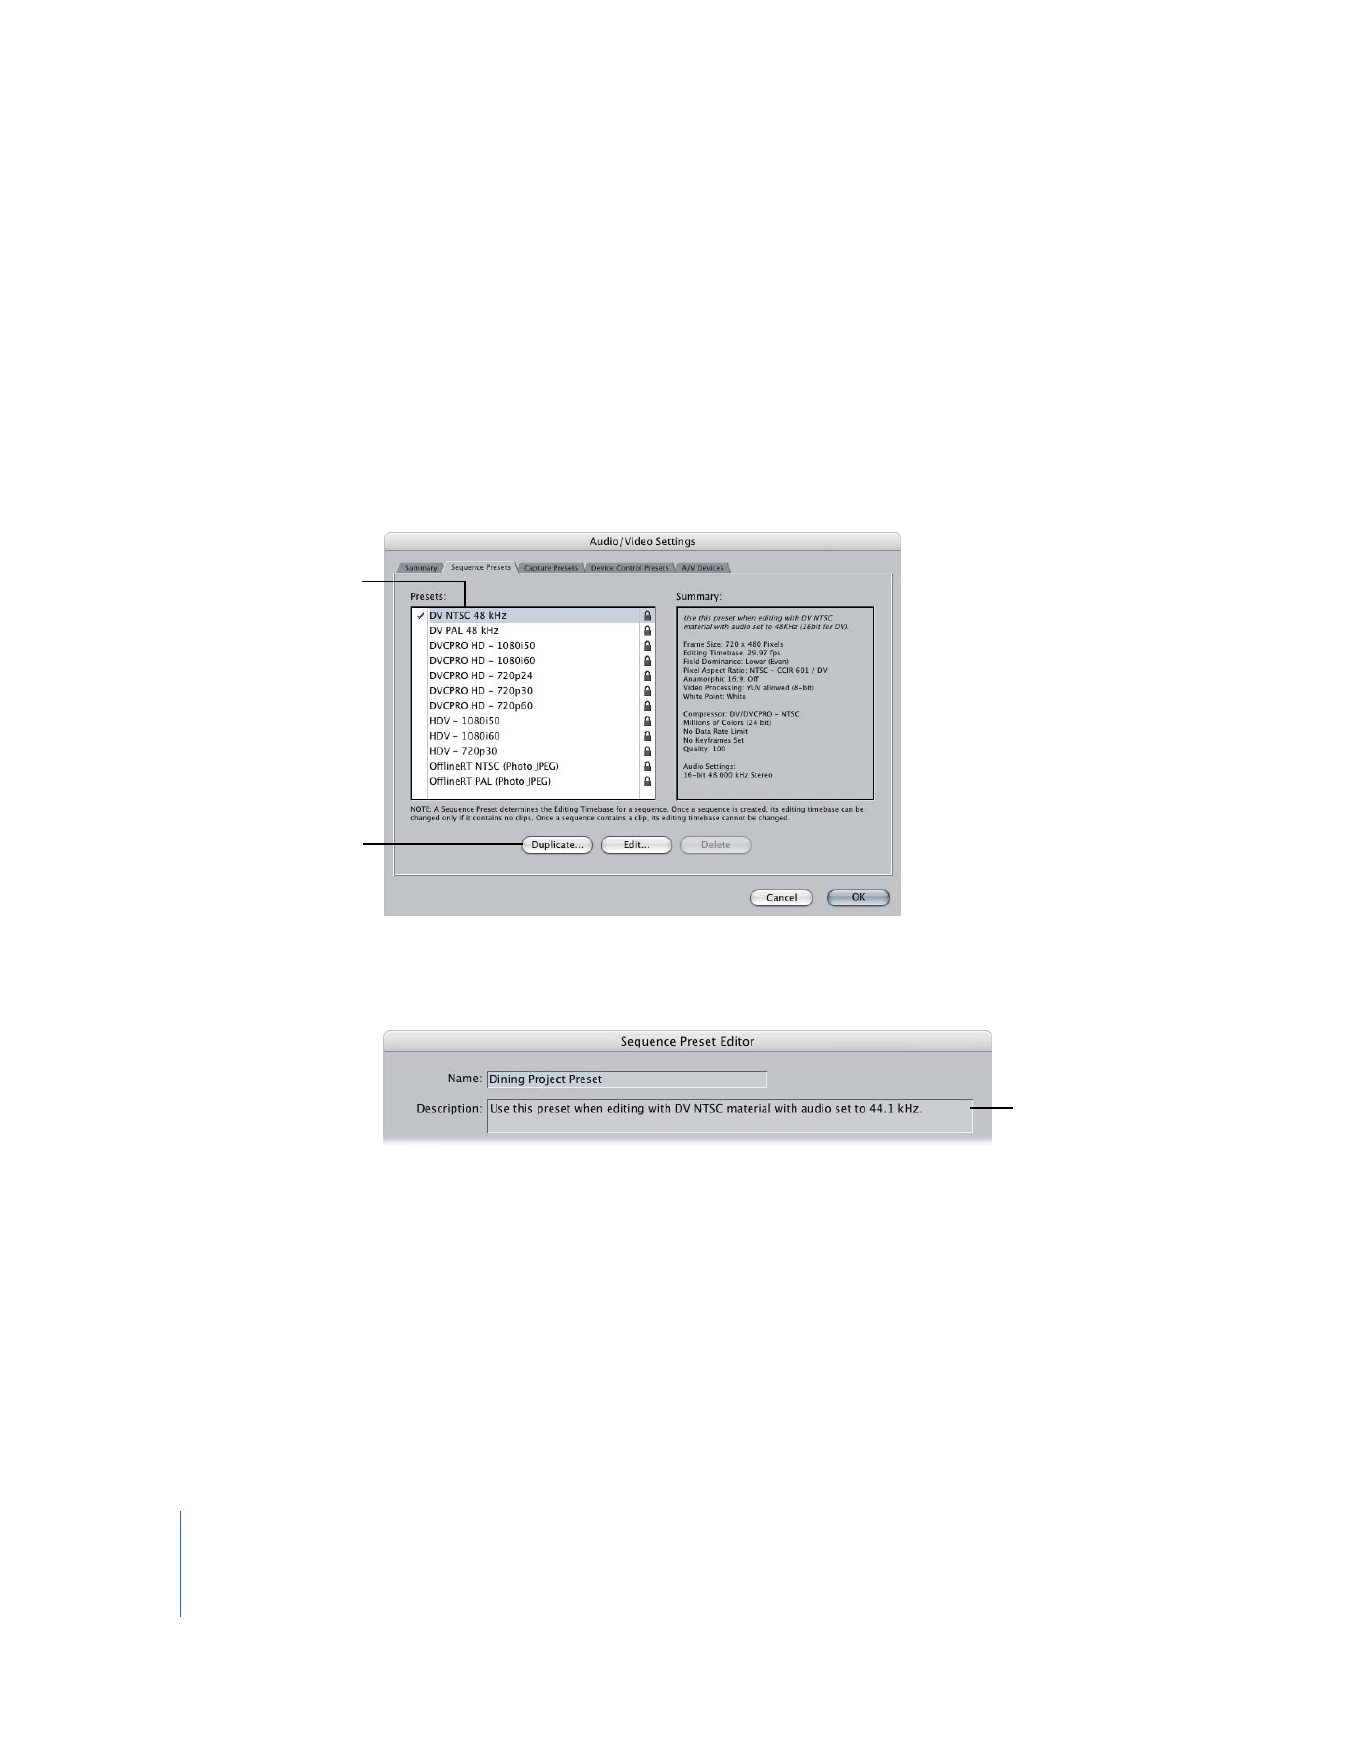
Click a preset you want to use as starting point for creating a new preset, then
click Duplicate.
4
In the Preset Editor window, enter a name and description for the new preset, select
the settings you need, then click OK.
For detailed information about settings and options for a particular kind of preset, see
one of the following:
 “
About Sequence Settings and Presets
” on page 362
 “
About Capture Preset Settings
” on page 339
 “
About Device Control Presets
” on page 349
Click the preset you want
to duplicate so it’s
highlighted.
Then click Duplicate.
The information you
enter here becomes
the summary.

Chapter 24
Audio/Video Settings and Easy Setups
331
IV
The newly created preset becomes the currently selected preset and appears in the
appropriate preset pop-up menu in the Summary tab of the Audio/Video Settings window.