
Learning About Audio/Video Presets
You usually only need to change Audio/Video settings when you install a new video
interface, connect a new VTR, or change the format you are capturing and editing. For
example, if you connect a PAL DV camcorder for capture and output, Final Cut Pro
needs to be set up with the appropriate capture and sequence settings such as the
horizontal and vertical dimensions of the video frame (720 x 576), the video and audio
devices you are using to capture from, the video codec (DV - PAL), and so on. Since it
can be time consuming to change each individual setting in the Audio/Video Settings
window, Final Cut Pro comes with several kinds of presets that are preconfigured to
work with common video formats and devices.
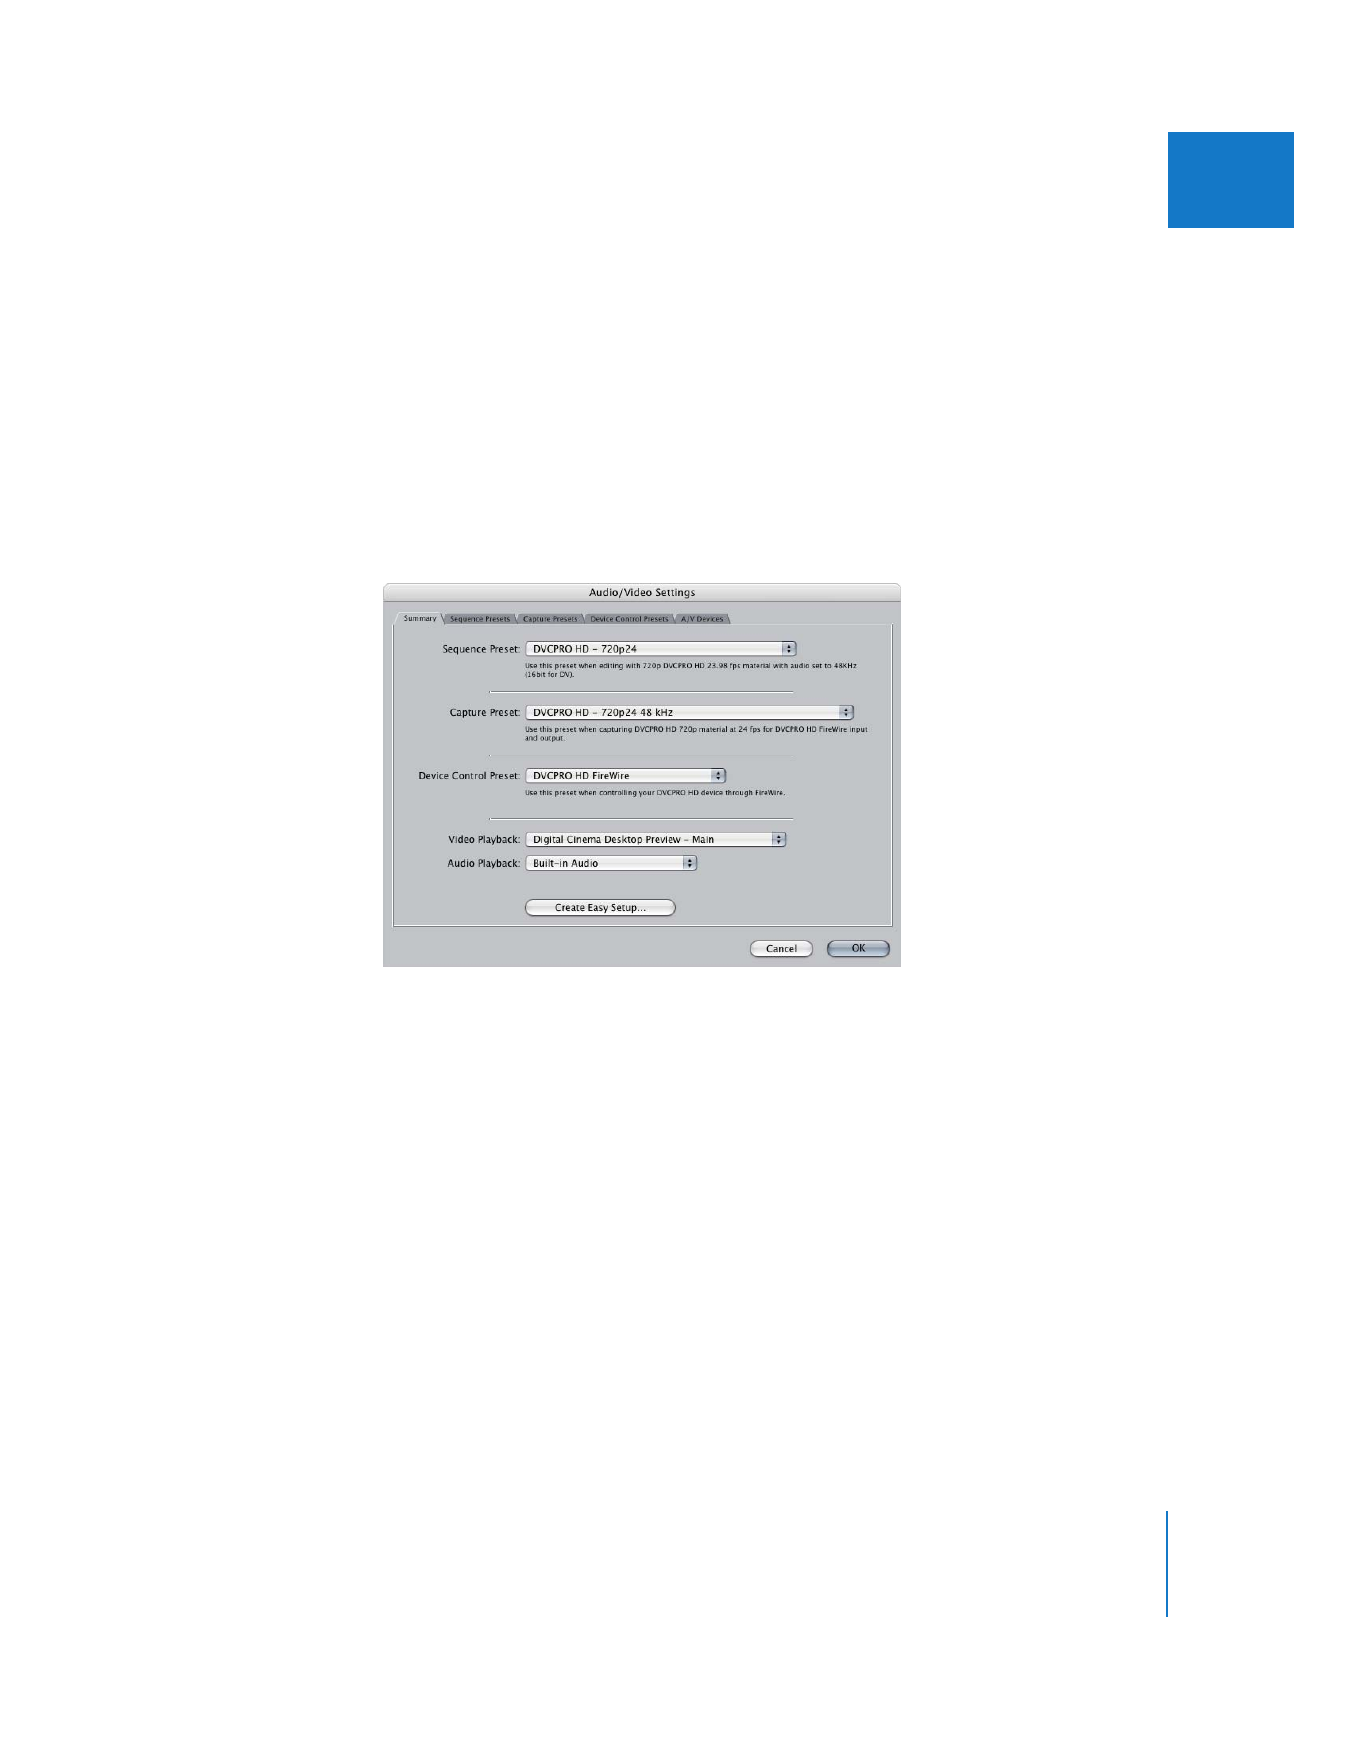
There are several kinds of presets, each accessible from the corresponding tab in the
Audio/Video settings window:
 Capture Presets: These determine the dimensions, frame rate, codec, and interfaces
used when capturing media files to disk. This group of settings is used during
capture and usually matches the format of your source tapes. Different capture
presets allow you to quickly set up Final Cut Pro to capture a wide range of video
formats. For details, see Chapter 25, “
Capture Settings and Presets
,” on page 339.
 Device Control Presets: These settings establish how a camcorder, VTR, or other video
or audio device communicates with Final Cut Pro via remote control protocols and
timecode. You choose a device control preset whenever you connect a video or
audio device for logging, capturing, or output. For more information, see Chapter 26,
“
Device Control Settings and Presets
,” on page 349.
 Sequence Presets: These determine the video and audio formats of a sequence, such
as image dimensions, frame rate, codec, color space, sampling rate, and bit depth.
Unlike a capture preset, which determines the format of captured (incoming) media
files, a sequence preset determines the format used during editing, which affects
real-time performance and your output format. New sequences automatically use
the settings specified in the currently selected sequence preset, but you can change
a sequence’s settings after it has been created by choosing Sequence > Settings.
Important:
When your media files’ settings and sequence settings don’t match, you
usually see a red render bar in the Timeline, indicating that all the media needs to be
converted to the sequence settings before real-time playback or output. In most
cases, you’ll want to use matching capture and sequence presets so Final Cut Pro
doesn’t need to render media files just to play back. For more information, see
Chapter 27, “
Sequence Settings and Presets
,” on page 361.
Chapter 24
Audio/Video Settings and Easy Setups
325
IV
 A/V Devices: This tab allows you to choose which video and audio interfaces you use
for external monitoring during editing and for output to tape. These settings
determine if and how you monitor external video and audio. For details, see
Volume I, Chapter 14, “External Video Monitoring.”
Note: Unlike the other tabs, the A/V Devices tab does not have a list of presets to
choose from. However, they are included with every Easy Setup.