
the clip.
 If no dropped frames are reported, recapture the same clip, raising the data rate by
1 MB/sec. each time, until the clip you capture reports dropped frames.
When a message appears saying frames were dropped, you’ve reached the maximum
data rate for your equipment.
344
Part IV
Settings and Preferences
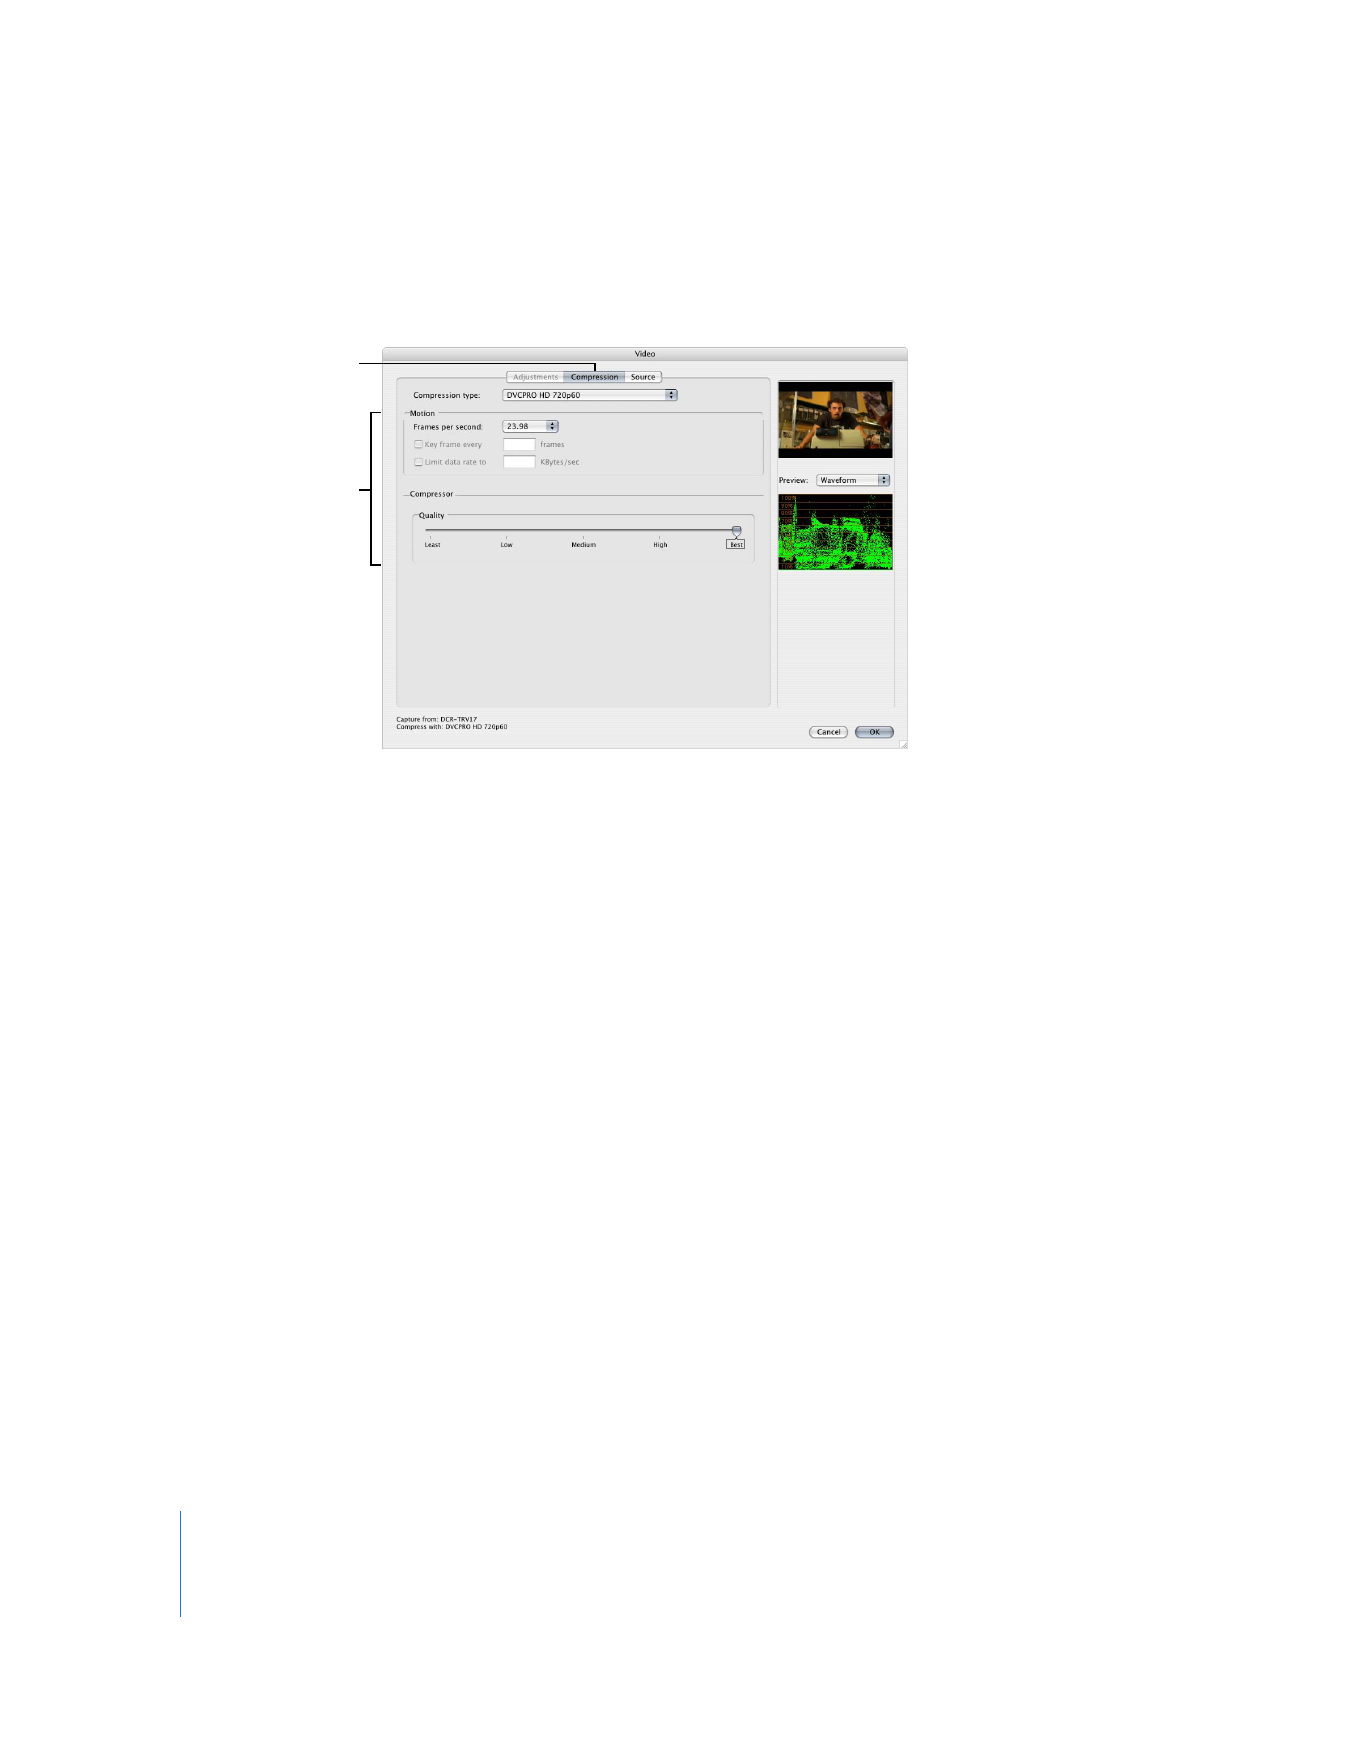
Compression Tab
The settings available in the Compression tab depend on the codec chosen from the
Compressor pop-up menu.
Motion Settings
 Compression type: This pop-up menu has the same codec choices as the Compressor
pop-up menu in the QuickTime Video Settings section of the Preset Editor window.
 Frames per second: Choose a value to specify the number of frames captured per
second. This value is the same as the FPS field in the QuickTime Video Settings
section of the Preset Editor window.
 Key frame every N frames: Even though QuickTime supports temporal compression
using keyframes and in-between frames, you should not select this option
when capturing.
 Limit data rate to N KBytes/sec.: Some codecs allow you to enter a target data rate for
your compressed QuickTime file. The codec may use a combination of spatial (per
frame) and temporal (across multiple frames) compression to try to reach your target
data rate. Be aware of your frame size and frame rate so you don’t set an impossible
goal and get disappointing quality in the visual image. This is identical to the Limit
Data Rate field in the QuickTime Video Settings section of the Preset Editor window.
Click Compression.
Specify the
desired settings.

Chapter 25
Capture Settings and Presets
345
IV
Compressor Settings
 Depth: This option is not available for all codecs. Choose a color bit depth for
captured video. Third-party codecs may have several options. For more information,
see the documentation that came with your video interface.
 Quality: This is identical to the quality slider in the QuickTime Video Settings section
of the Preset Editor window. Adjust the slider to determine the image quality for your
video. Lesser image quality yields lower data rates, while higher image quality yields
higher data rates.
Note: For DV, make sure this slider is set to Best.
 Options: This button is not available for all codecs. When available, you can click this
button to make further codec adjustments.
There may be additional settings available for specific codecs.
Source Tab
The settings available in the Source tab depend on the video interface connected to
your computer. You can choose from a list of available inputs on video interfaces
connected to your computer.