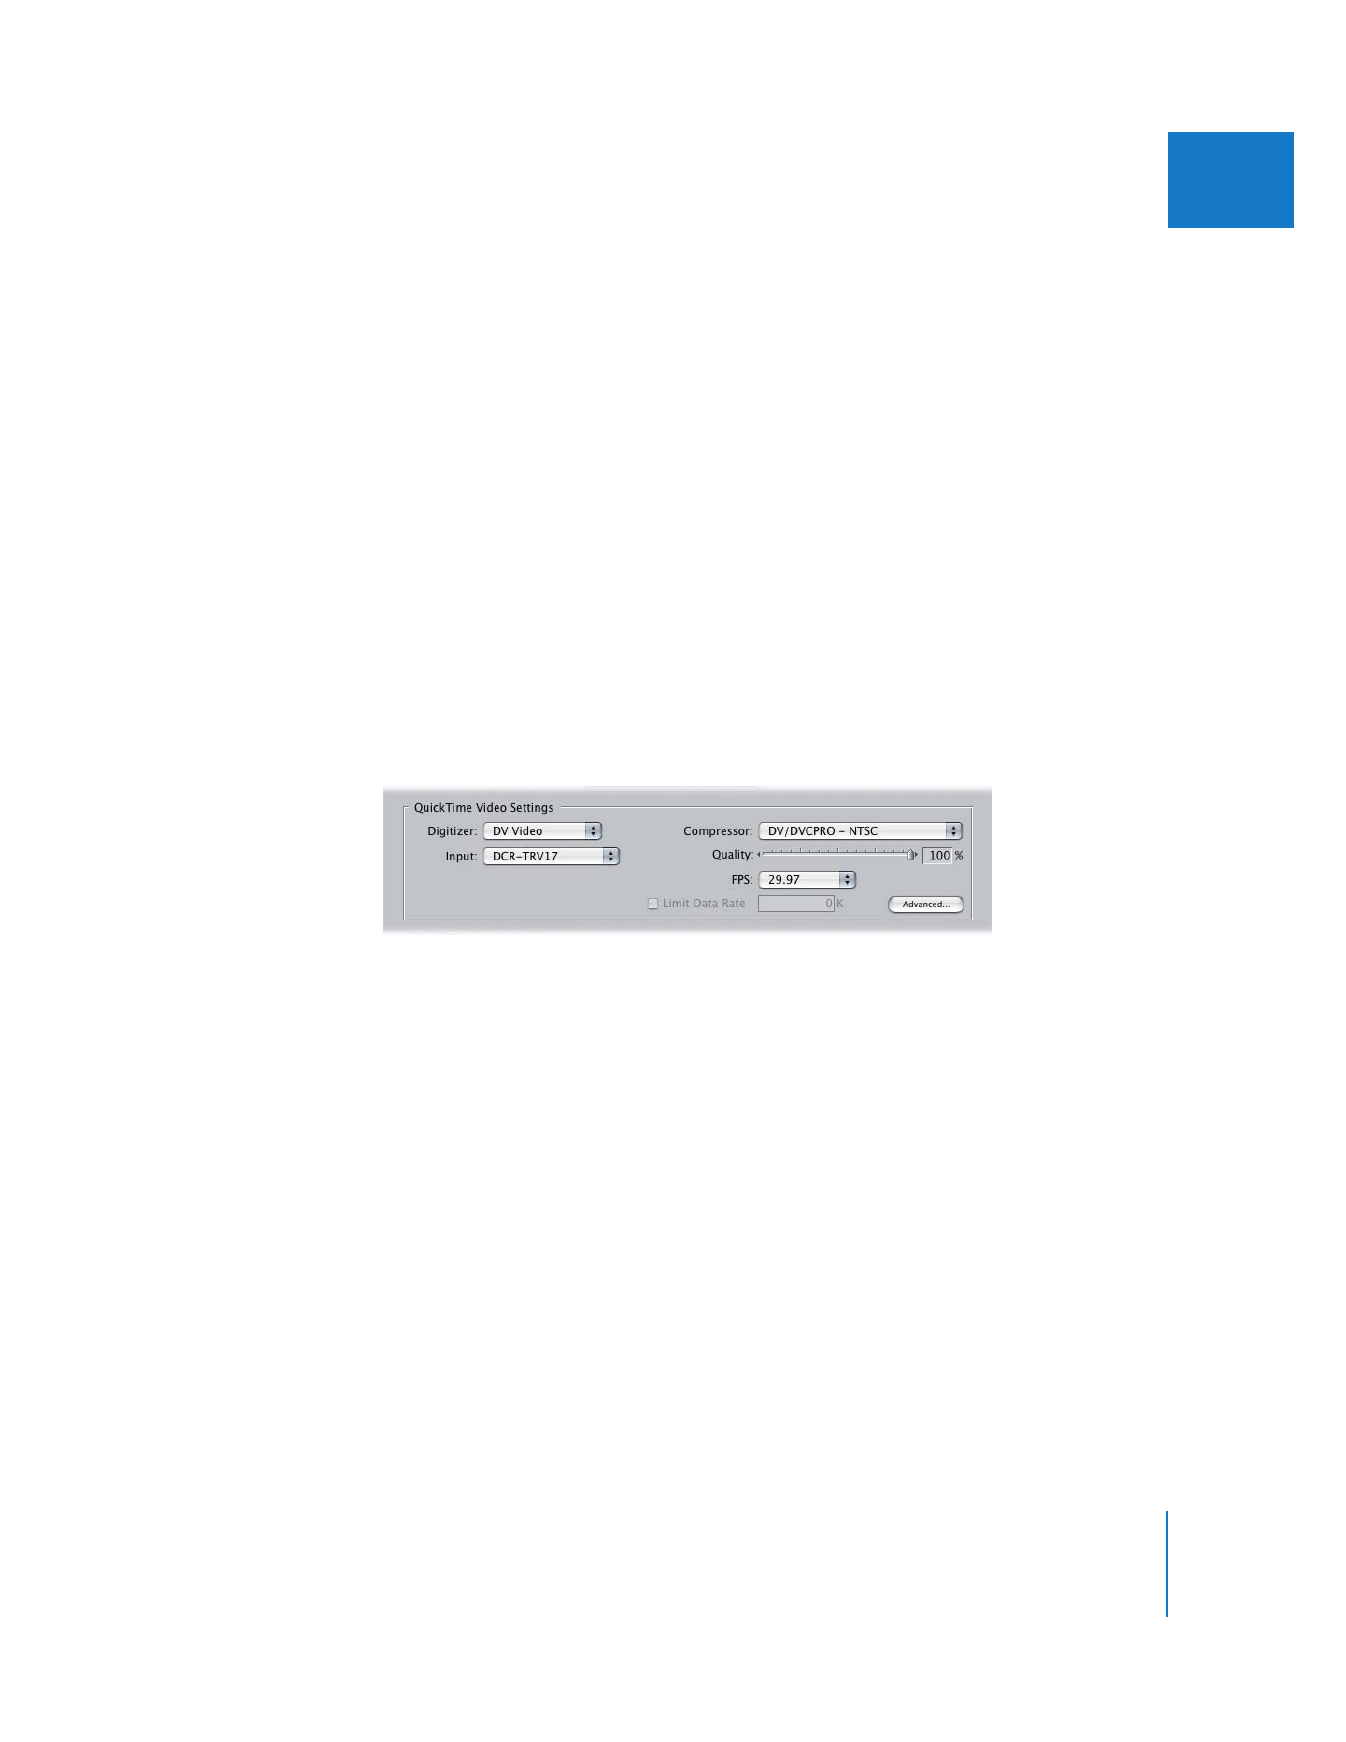
QuickTime Video Settings for Capture Presets
Final Cut Pro uses the built-in QuickTime architecture of Mac OS X to compress
incoming video during capture.
Choose from the following options:
 Digitizer: Choose the video interface you want to use for capture. If you’re using
FireWire but don’t have a FireWire device attached, this is set to [Missing] DV Video.
 Input: Choose the video input you want to use on the video interface. Many third-party
interfaces have multiple video inputs, including analog composite, S-Video, component
YUV (also called Y´C
B
C
R
), or SDI. FireWire DV video has only one option, so when
FireWire is selected as the digitizer, the input pop-up menu is disabled.
 Compressor: Choose one of the codecs that comes from the manufacturer of your
video interface. If you’re using FireWire, choose a DV codec that corresponds to the
international standard (NTSC or PAL) or HD standard of your DV tape.

342
Part IV
Settings and Preferences
 Quality: Enter a percentage or adjust the slider to set the image quality of the codec
according to the documentation that came with your video interface. Lesser image
quality yields lower data rates, while higher image quality yields higher data rates.
(The quality levels will vary depending on the selected codec.) Many codecs, such as
the DV codecs, are designed to work at the highest quality setting. Unless you have a
good reason, it’s best to leave this slider in its default location.
 FPS (Frames per second): Choose a value to specify the number of frames captured
per second. For a list of common frame rates, see Appendix A, “
Video Formats
,” on
page 375.
Note: The capture preset frame rate should match both the frame rate of your source
tapes and the editing timebase you plan to use in your edited sequences. One
exception to this rule is when capturing 25 fps video for use in a 24 fps sequence.
This is a common film workflow used in Europe. For more information, see the
documentation that came with Cinema Tools.
 Limit Data Rate: If you’re using an analog-to-digital video interface to capture, click
to select this option, then enter a numerical value in the field to define the data rate
for captured clips in kilobytes (KB) per second. You may want to look at capture
presets included with your video interface to get an idea of how this value is set.
The data rate you specify determines the quality of your video. Here are several
sample data rates:
 Offline M-JPEG: 1 MB/sec.
 DV-format video: 3.6 MB/sec.
 Medium quality M-JPEG: 6 MB/sec.
 High quality 2:1 M-JPEG: 12 MB/sec.
The maximum data rate depends on the maximum throughput of your video
interface as well as the maximum sustained transfer speed of your hard disk. For more
information, see the documentation that came with your video interface or hard disk.
Note: DV has a fixed data rate and it is captured digitally via FireWire, so this option
doesn’t apply to DV clips.
 Advanced: Click this button to set additional QuickTime video settings, if necessary
for your video hardware. For detailed information, see “
QuickTime Audio Settings for
Capture Presets
” on page 345.

Chapter 25
Capture Settings and Presets
343
IV
Advanced QuickTime Video Settings for Capture Presets
The QuickTime Video Settings in the Capture Preset Editor and Sequence Preset Editor
are a subset of all the possible QuickTime Video settings. In most cases, these settings
should be sufficient. However, some video interfaces and codecs have specific video
settings not shown in one of the Preset Editor windows. Clicking on the Advanced
button gives you complete access to all QuickTime video options for Source (input) and
Compression settings.
Note: Some of these settings, such as codec and quality, are identical to the settings
found in the Capture and Sequence Preset Editor windows. For example, if you choose
DV/DVCPRO - NTSC from the Compressor pop-up menu, the same codec is chosen
when you click the Advanced tab.