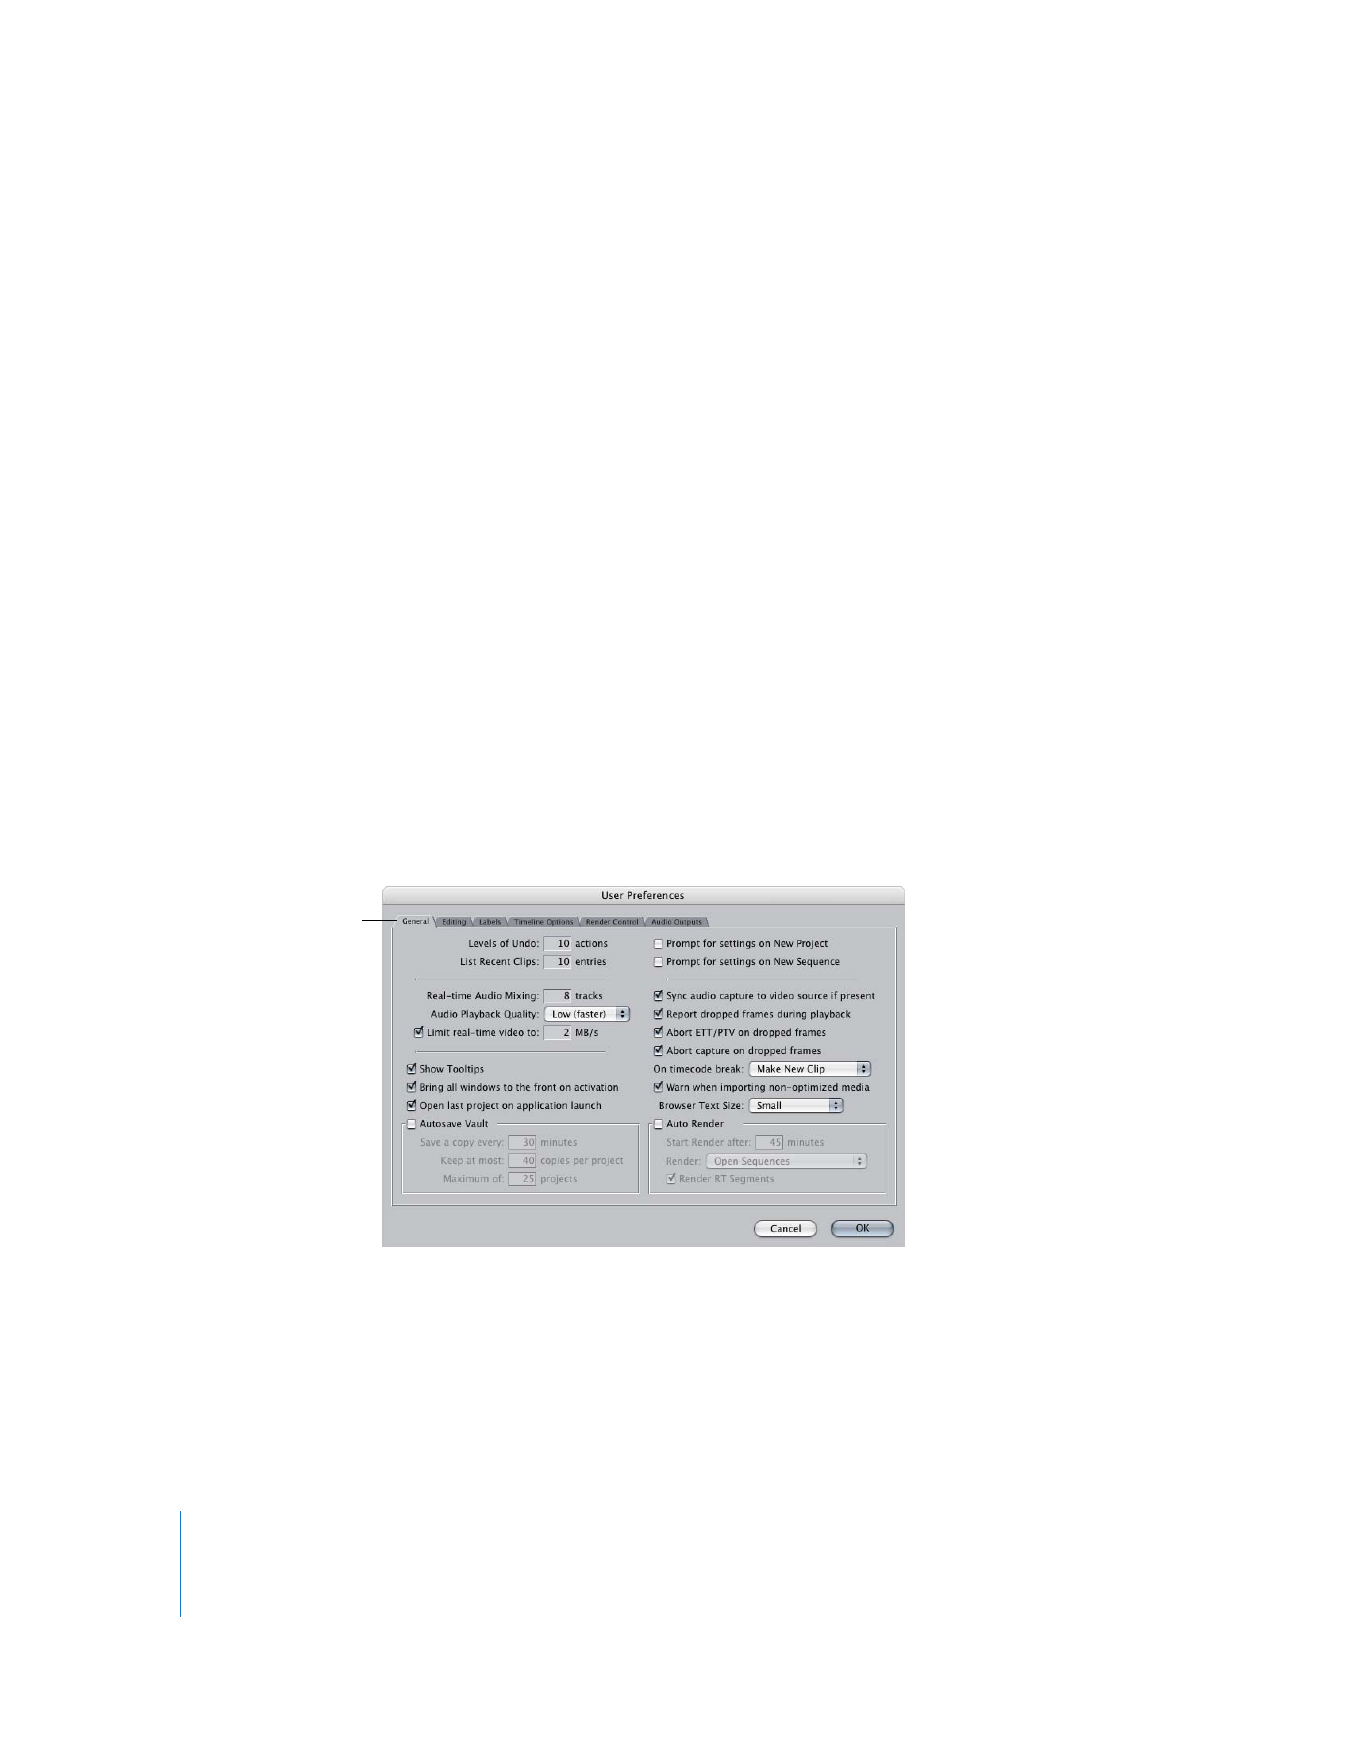
General Tab
This tab contains fundamental preferences relating to application launch, creation of
new projects and sequences, and automatically scheduled events such as Autosave and
Auto Render.
The General tab is
open by default.

Chapter 23
Choosing Settings and Preferences
305
IV
 Levels of Undo: Enter a value to specify the number of actions that can be undone.
The maximum number of Undo levels you can specify is 99. The default is 10. For
information on undoing an action, see Volume I, Chapter 4, “Overview of the
Final Cut Pro Interface.”
 List Recent Clips: This value determines how many clip names appear in the Recent
Clips pop-up menu in the Viewer. This pop-up menu shows a list of clips that you
opened from the Browser, in the order they were opened (with the most recently
opened clip at the top of the list). The default is 10 clips, and the maximum is 20. For
more information on using the Viewer’s Recent Clips pop-up menu, see Volume I,
Chapter 6, “Viewer Basics.”
Real-Time Audio and Video Options
 Real-time Audio Mixing: Enter a number in this field to specify how many audio tracks
can be mixed in real time. The default is 8 tracks, and the maximum is 99. The
maximum number of tracks that can be mixed without having to be rendered is
affected by your computer’s processing capabilities, the number and types of filters
used in your sequence, the data transfer rate of your hard disk, and the amount of
memory available to Final Cut Pro.
 Audio Playback Quality: This pop-up menu affects the quality of sample rate
conversions (when your audio clips have a different sample rate than the sequence
that contains them) and transitions between rendered and nonrendered sections in
the Timeline.
 Low (faster): This choice yields the best real-time audio performance, but the
lowest sample rate conversion quality. When the playhead moves from rendered to
nonrendered audio segments in the Timeline, there may be an audible click or a
distracting shift in levels. For basic editing, this is usually the best choice.
 Medium or High: When you start to do detailed mixing of your audio tracks, you
may want to raise the audio mixing quality to Medium or High. Higher quality
sample rate conversions sound better, but require more processing power and
thus limit the number of simultaneous tracks you can work with in real time. Also,
shifts between rendered and nonrendered audio segments sound smoother.
Important:
Final Cut Pro always uses the highest quality setting (regardless of what is
chosen in the Audio Playback Quality pop-up menu) when rendering, mixing down
audio, editing to tape, printing to video, or exporting audio and OMF files.

306
Part IV
Settings and Preferences
 Limit real-time video to N MB/s: Final Cut Pro uses this number to limit how many
video streams can play back from your scratch disk in real time. This is useful when
multiple editing systems are sharing the same media (such as a storage area
network, or SAN), or when you have a scratch disk with a limited data rate, such as
a portable computer hard disk.
For example, suppose you try to play a sequence with six simultaneous video tracks
containing DV media, and Final Cut Pro warns you that frames were dropped during
playback. If you then try to play a sequence with five simultaneous video tracks and
no frames are dropped, you know that your scratch disk can handle no more than
five simultaneous DV video streams. Since DV has a data rate of 3.6 MB/sec., you can
select the “Limit real-time video to” option and enter 18 MB/sec. (5 x 3.6 MB/sec.) in
the number field. Now, if a sequence requires a sustained data rate of more than
18 MB/sec. for playback, Final Cut Pro shows a red render bar over this portion of
the sequence.
Note: Final Cut Pro always allows a single video stream to play, even if the data rate
limit you set is below the data rate of a single video stream. For example, if you set
the data rate limit to 1 MB/sec., Final Cut Pro would still play back a single DV video
stream, even though its data rate is 3.6 MB/sec.