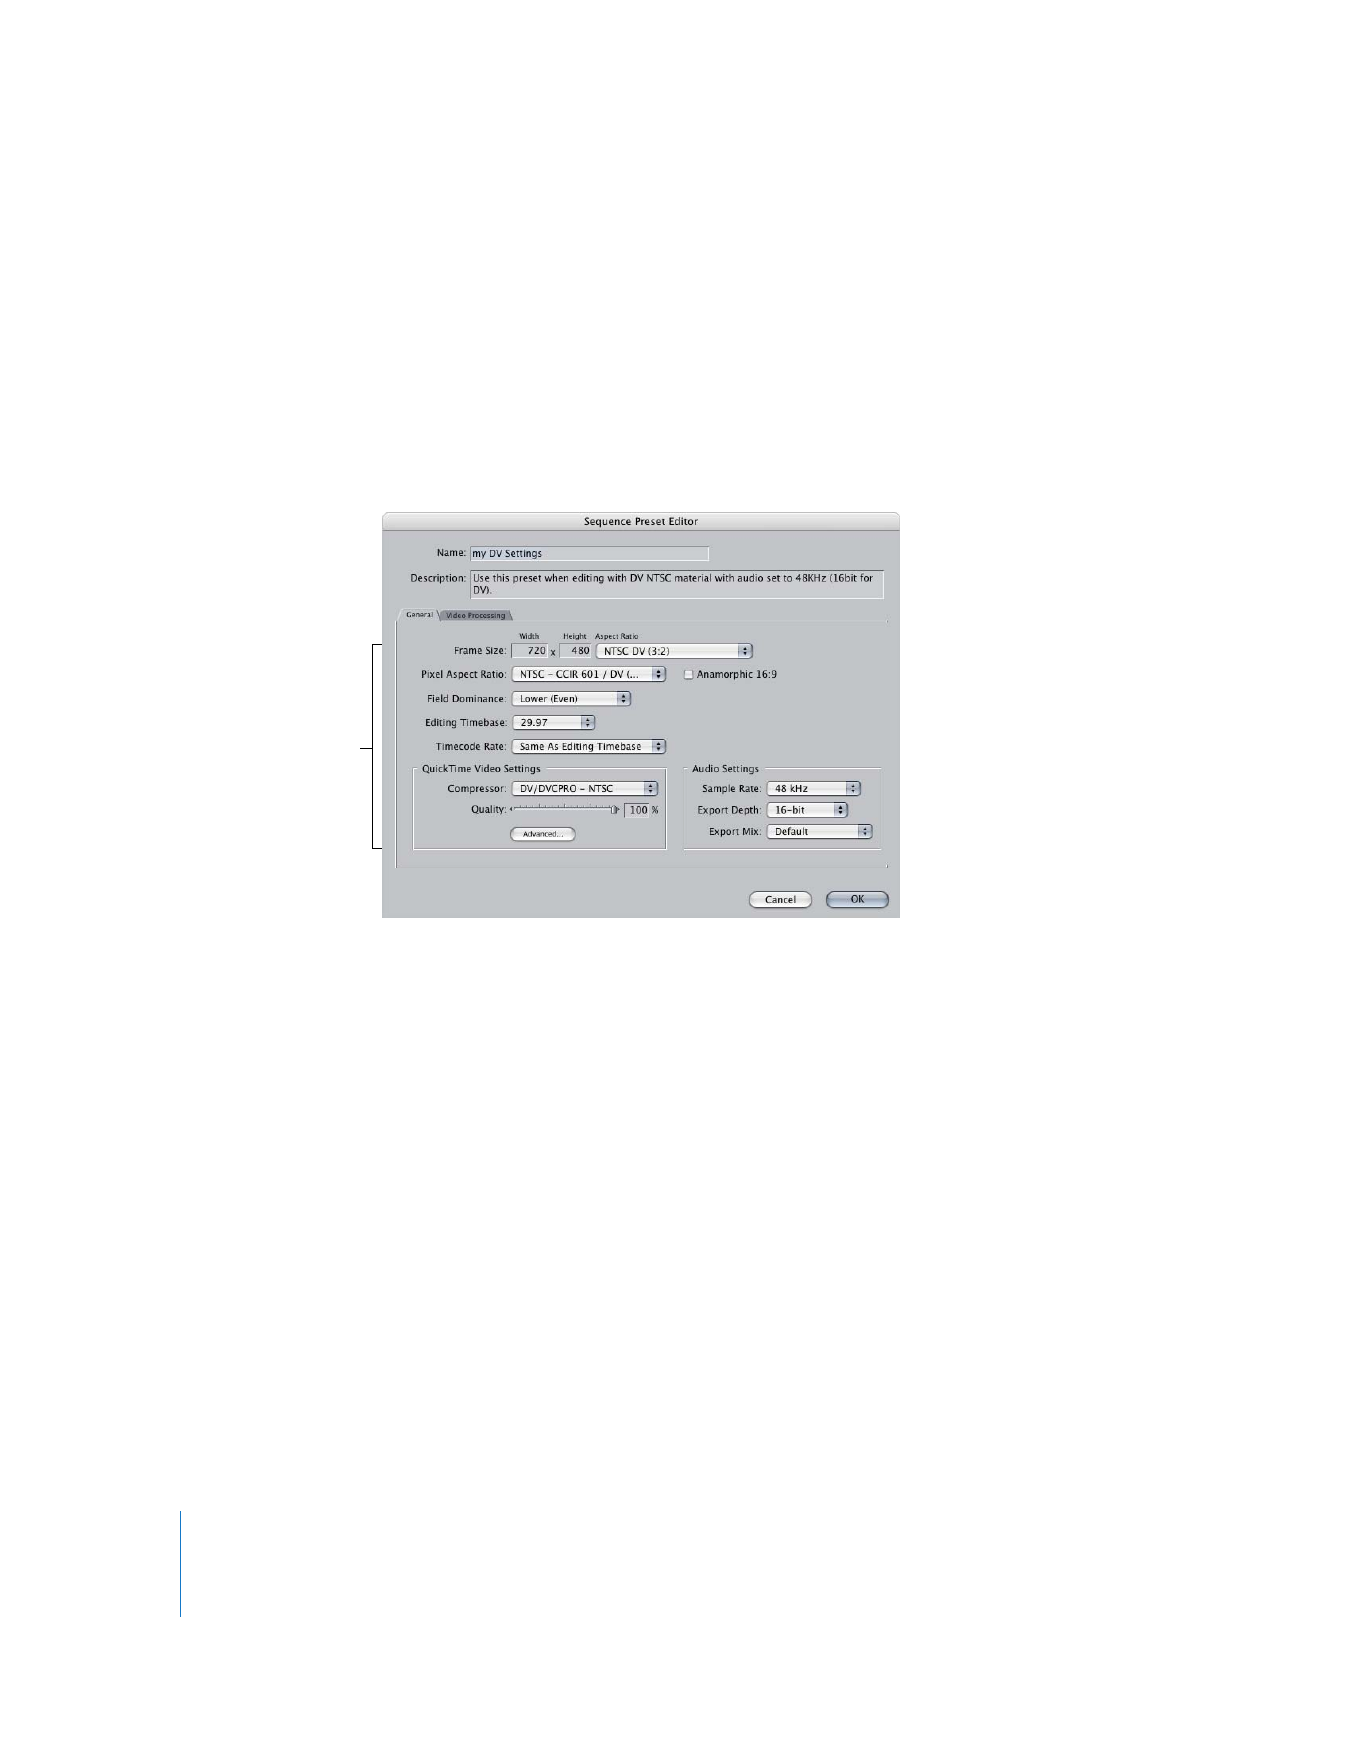
General Tab for Sequences
 Name: Enter a name for the preset. This name appears in the Audio/Video Settings
window in two places: the Sequence Preset pop-up menu in the Summary tab, and
the list of presets in the Sequence Presets tab.
 Description: Enter a brief description, or summary, of what the preset is to be
used for.
 Frame Size: Choose the horizontal and vertical image dimensions from the Aspect
Ratio pop-up menu. To use a different frame size, choose Custom, then enter a
nonconstrained frame size in the Width and Height fields.
Note: Even if you’ll be outputting at a smaller frame size for multimedia use, it’s best
to edit your video at its full size, then scale it down later.
Settings in the
General tab

Chapter 27
Sequence Settings and Presets
363
IV
 Pixel Aspect Ratio: Choose a pixel aspect ratio that matches the format you are
working with. The pixel aspect ratio determines the shape of each pixel, which
affects the overall dimensions and aspect ratio of your video image.
 Square: For multimedia and uncompressed high definition video.
 NTSC - CCIR 601 / DV: For standard definition NTSC formats such as Digital Betacam,
DV, or DVD.
 PAL - CCIR 601: For standard definition PAL formats.
 HD (960x720): For 720p HD video, such as DVCPRO HD and HDV.
 HD (1280x1080): For 1080i60 HD video, such as DVCPRO HD and HDV.
 HD (1440x1080): For 1080i50 HD video, such as DVCPRO HD and HDV.
 Anamorphic 16:9: Select this checkbox only if you’re editing standard definition
anamorphic 16:9 media. This setting only affects the way video is displayed on your
monitor and does not actually rescale your media. For more information on
anamorphic 16:9 video, see Appendix D, “
Working with Anamorphic 16:9 Media
,” on
page 427.
 Field Dominance: Choose the field dominance of your captured video. Most video is
Upper (Odd) or Lower (Even) depending on the video capture interface you’re using.
For progressive (non-interlaced) video, set the field dominance to None. For DV NTSC
and DV PAL, always set this to Lower (Even). For more information, see “
About Field
Dominance
” on page 387.
 Editing Timebase (frame rate): Choose the frame rate of your sequence. For a list of
common frame rates, see “
Choosing a Frame Rate
” on page 408.
Important:
A sequence’s timebase can be changed only if no clips have been edited
into it. If there are clips in the sequence, they must be removed before you can
change the timebase.
 Timecode Rate: This pop-up menu is available in the Sequence Preset Editor window,
but not when you choose Sequence > Settings for an existing sequence. Use this
pop-up menu to choose the timecode rate of your sequence. For most sequences,
the timecode rate should match—or be directly related to—the sequence’s editing
timebase (frame rate). For example, a 23.98 fps sequence would normally use 24 fps
timecode. Unless you have a specific reason, choose Same as Editing Timebase.
If you need to change the timecode rate of an existing sequence, select the
sequence and choose Modify > Timecode, then adjust the rate and format of your
sequence’s timecode. One of the main reasons for doing this is when editing a 24 fps
sequence while using 25 fps timecode.
Note: Some timecode rates are not available with some editing timebases.

364
Part IV
Settings and Preferences